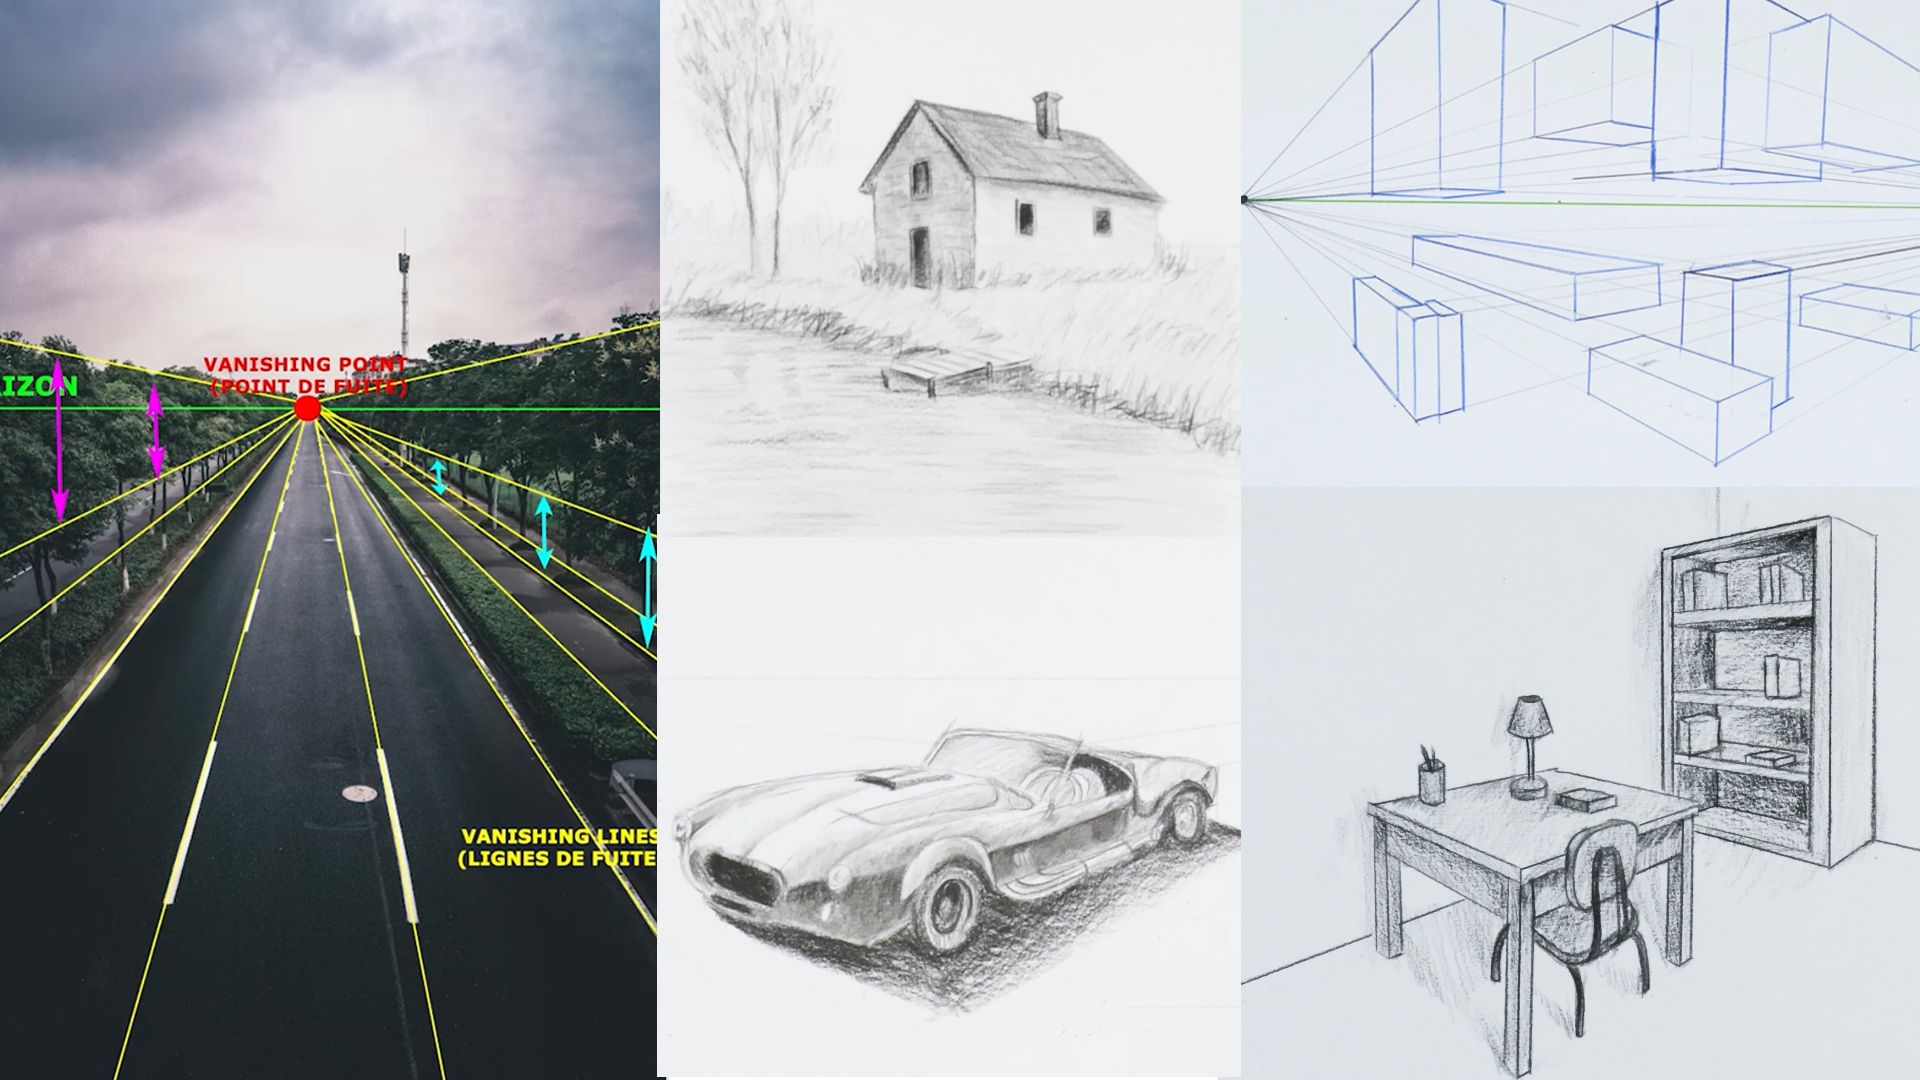
Learn To Draw And Paint Realistic Art

Over 150 hours of step-by-step video lessons designed to help you paint and draw realistically even if you think you have no talent


Trusted by more than 2,000 students • Average rating: 4.7/5 

Lifetime access • 14-day money-back guarantee

If your artworks don’t look as realistic as you’d like…

It’s not a lack of talent. It's a lack of method.

A strong foundation and 9 complete courses to accelerate your progress

Over 100 paintings and drawings completed together in real time, step by step

550 video lessons where every stroke and every decision is explained

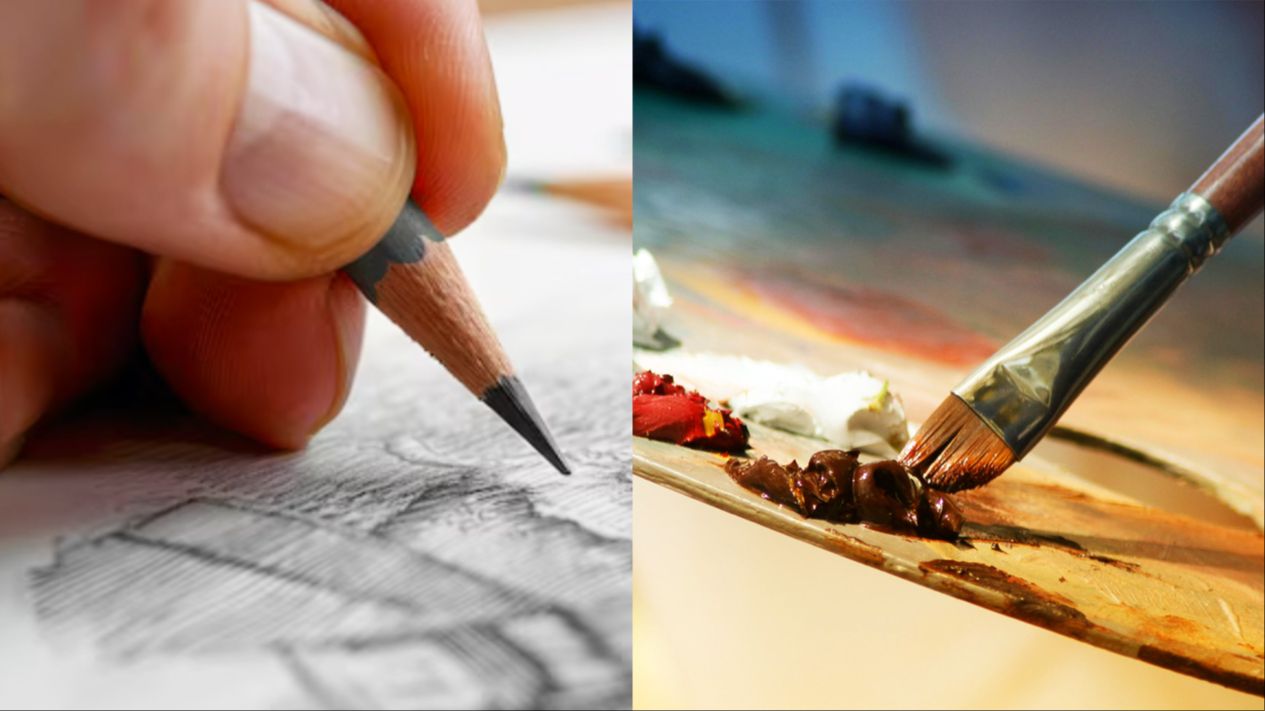
A course that can be followed using oil or acrylic painting
(More information at the bottom of the page)

Lifetime and 24/7 access, ideal to improve at your own pace

Professional-quality videos where you can see every stroke and detail clearly

You don't need talent or prior experience, just the willingness to follow a clear and structured method

If your artworks don’t look as realistic as you’d like…

It’s not a lack of talent. It's a lack of method.

A strong foundation and 9 complete courses to accelerate your progress

Over 100 paintings and drawings completed together in real time, step by step

550 video lessons where every stroke and every decision is explained

A course that can be followed using oil or acrylic painting
(More information at the bottom of the page)

Lifetime and 24/7 access, ideal to improve at your own pace

Professional-quality videos where you can see every stroke and detail clearly

You don't need talent or prior experience, just the willingness to follow a clear and structured method

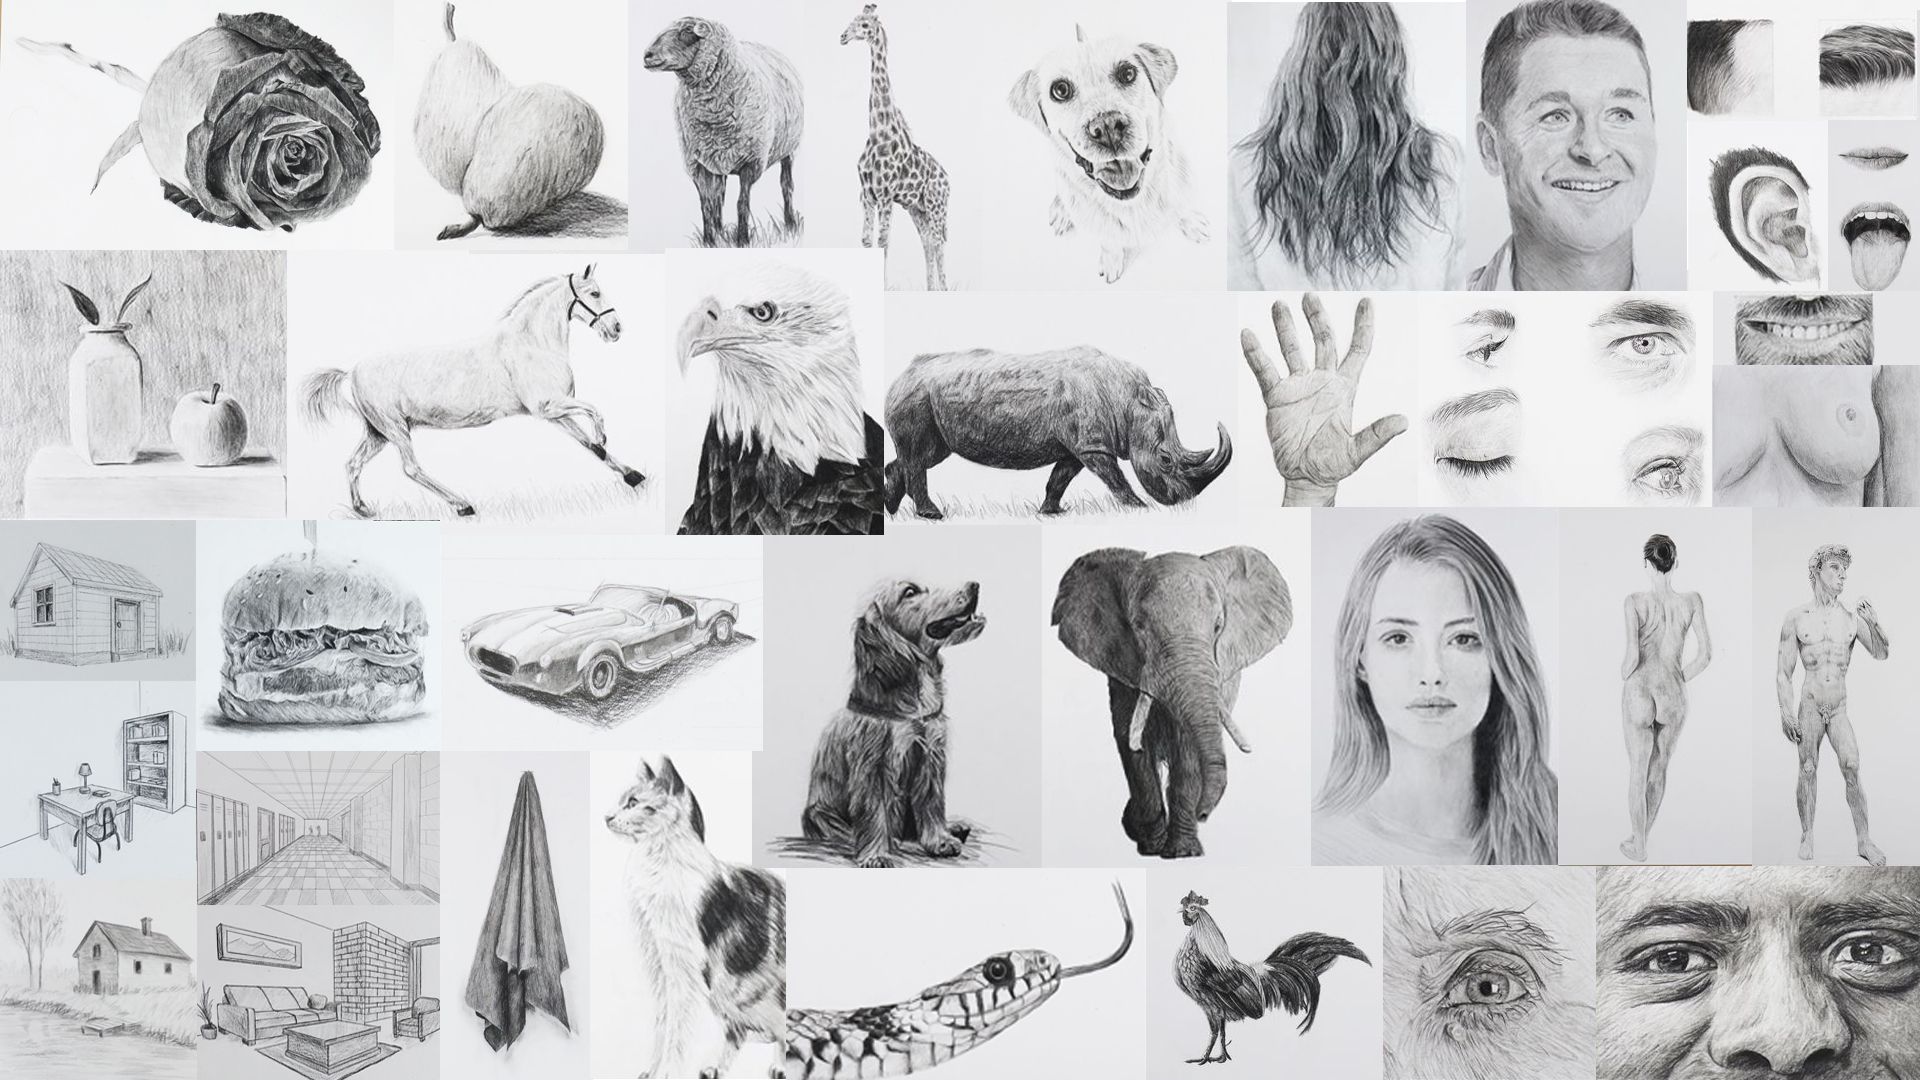
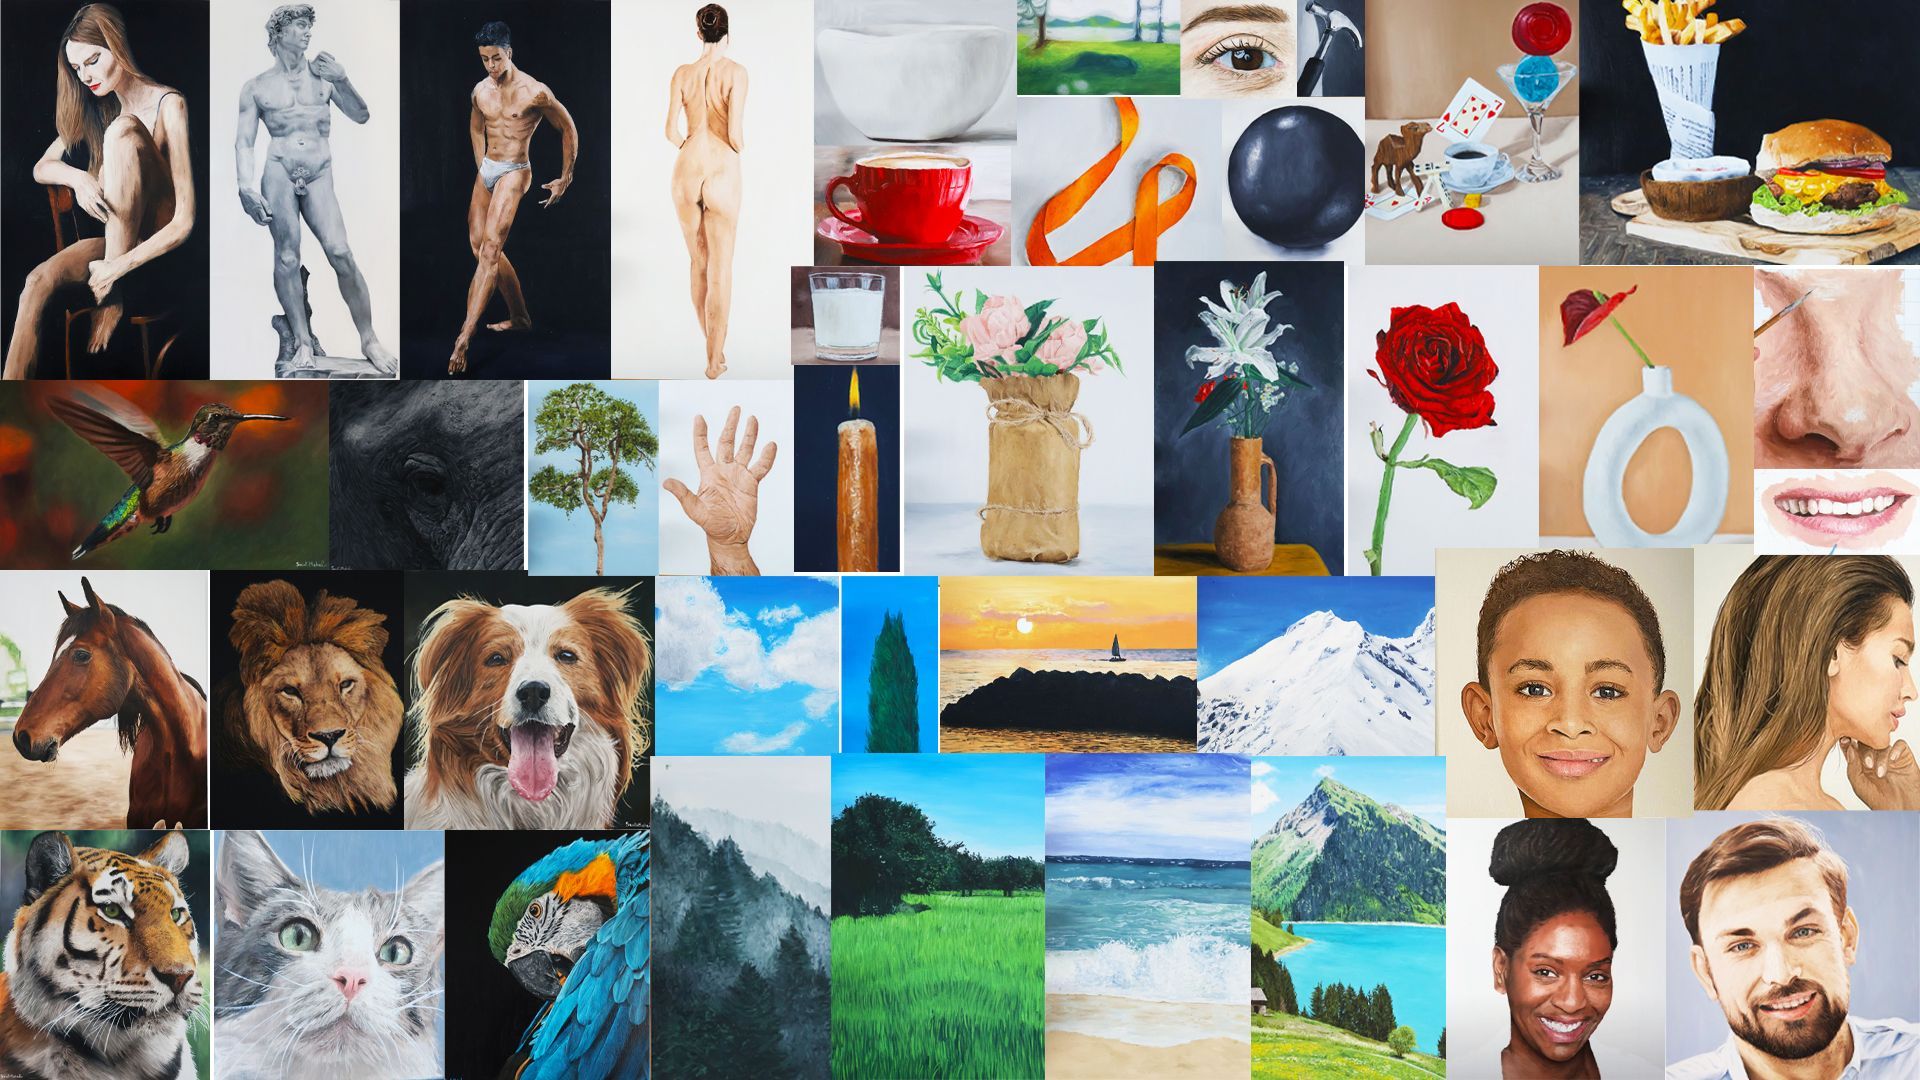
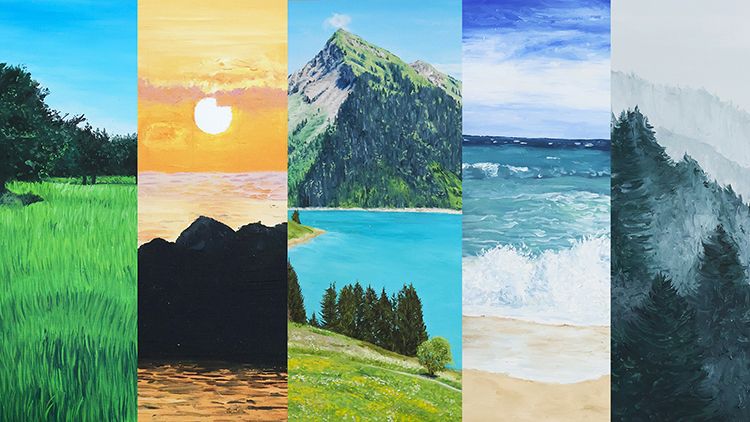
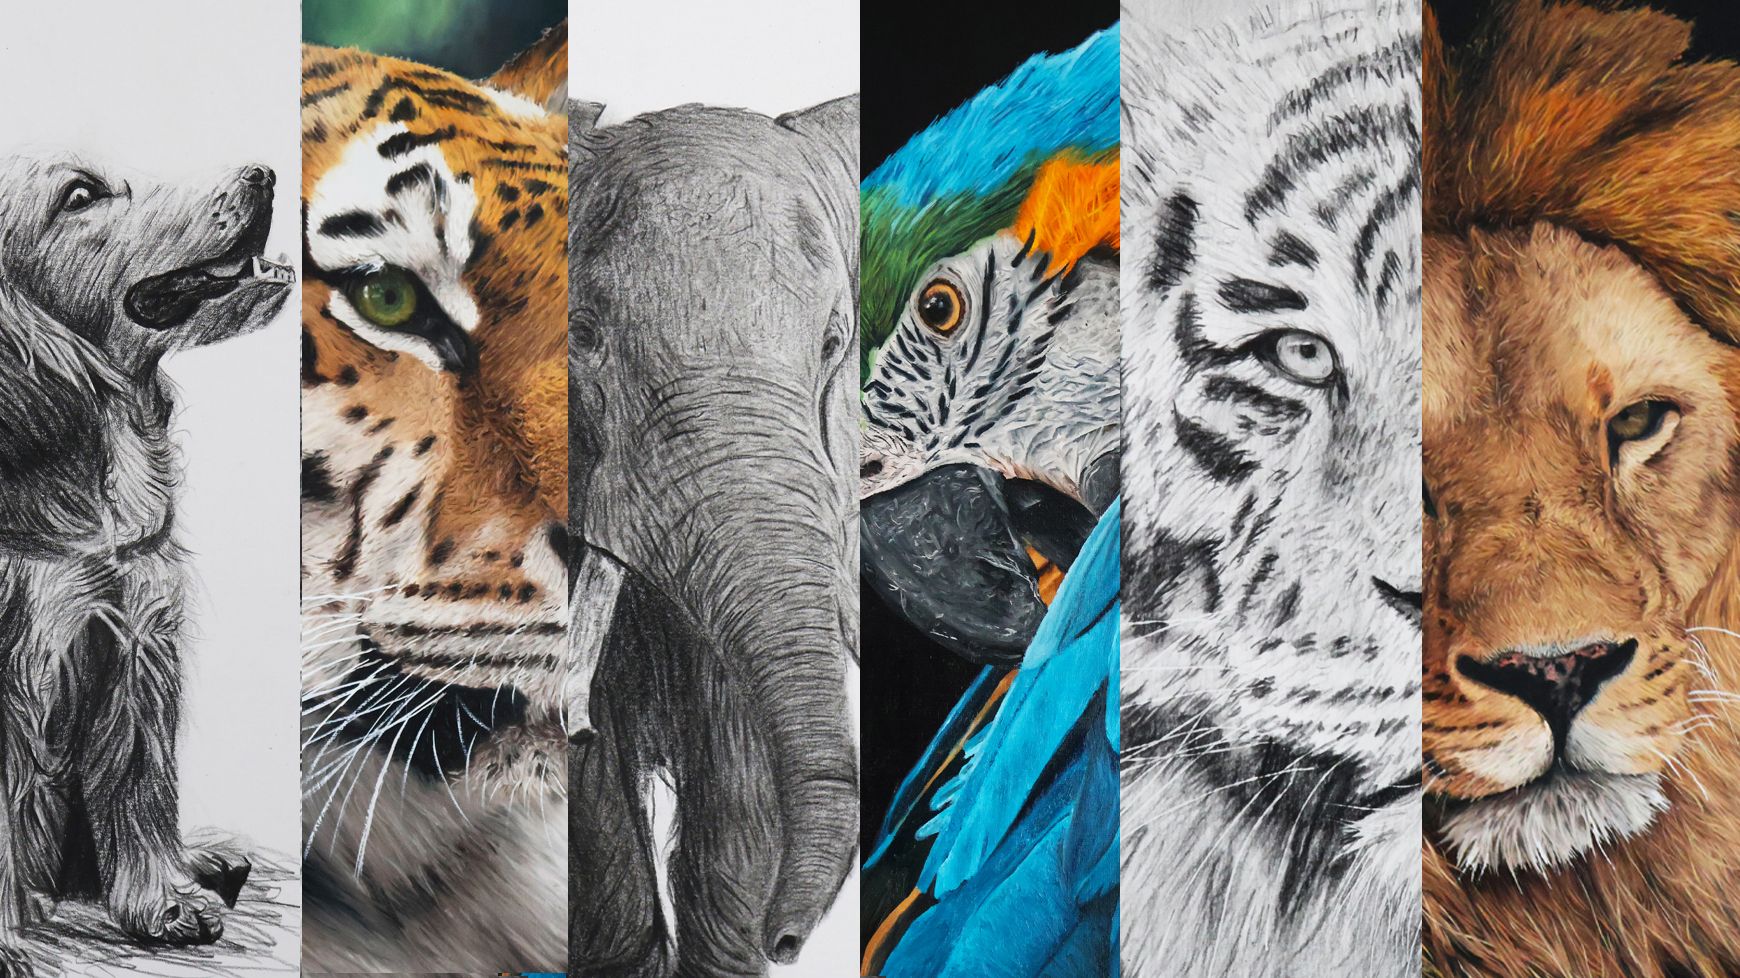
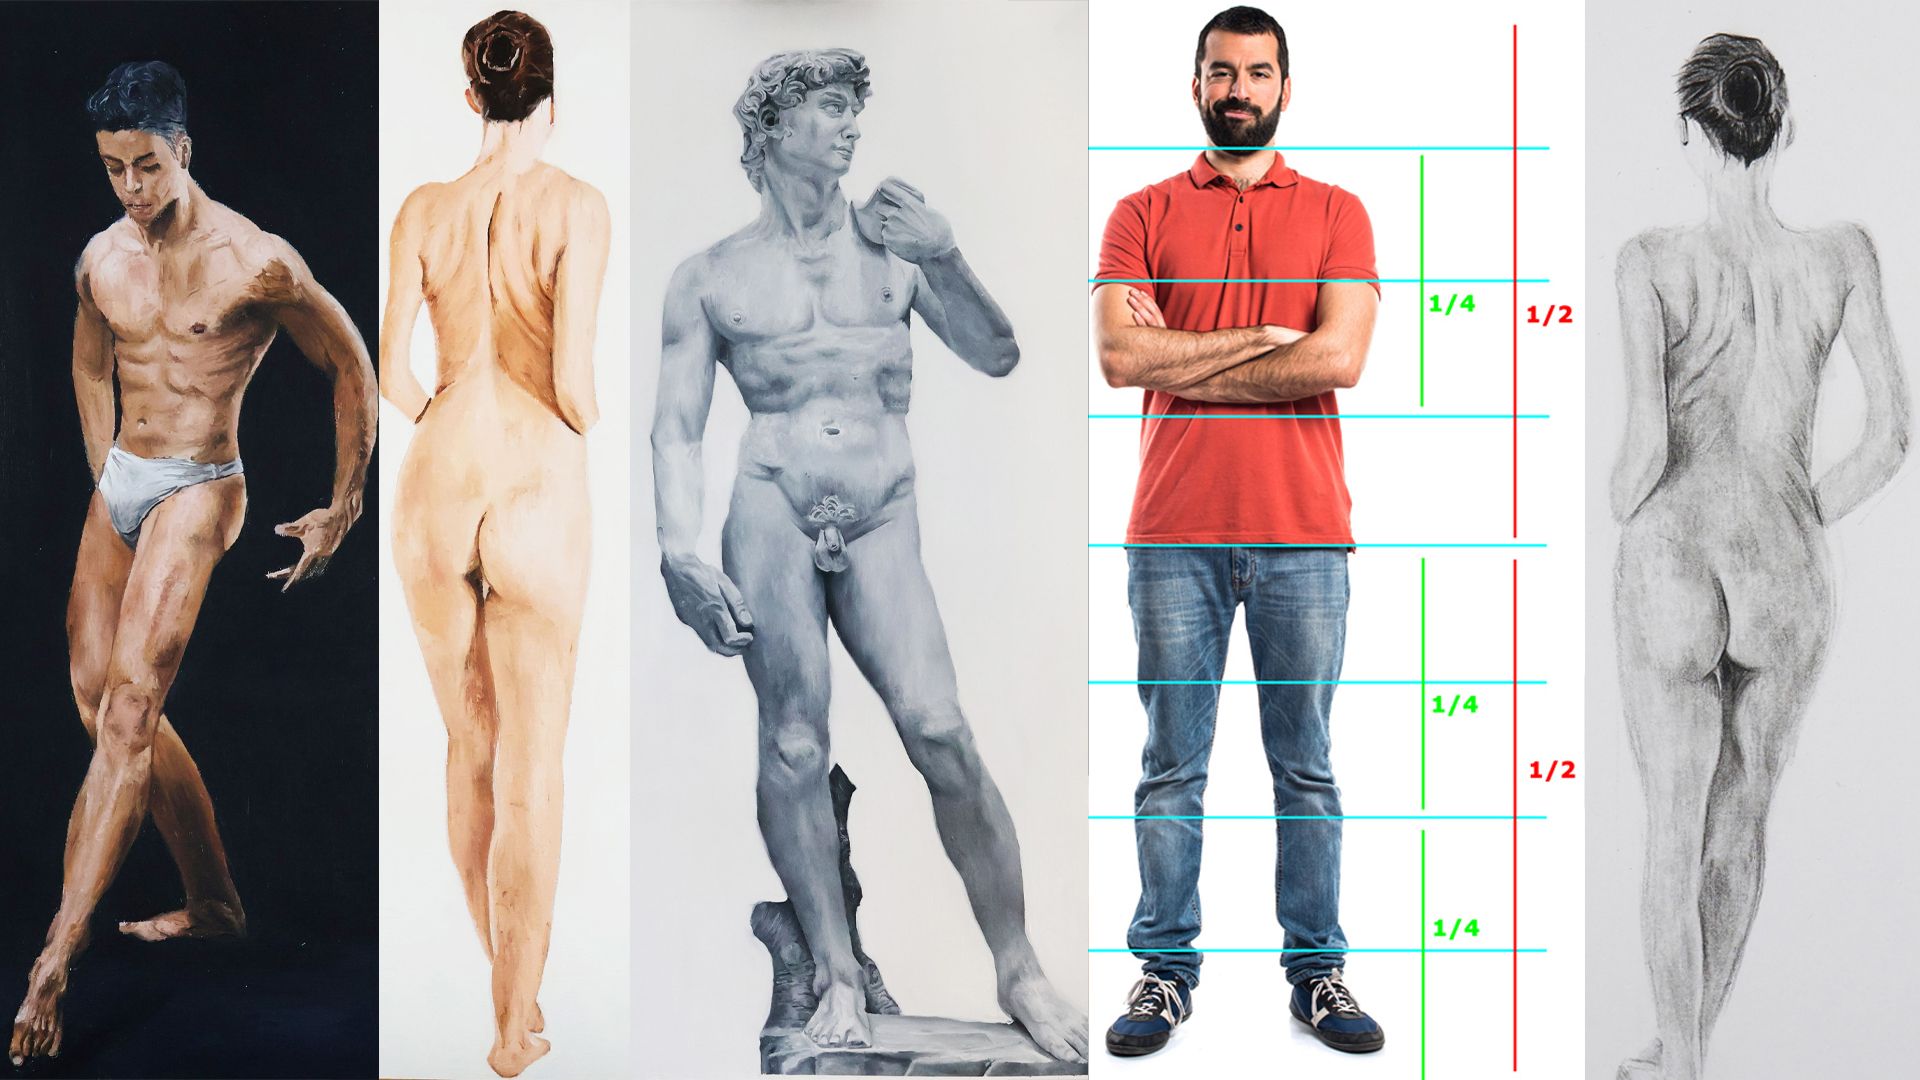
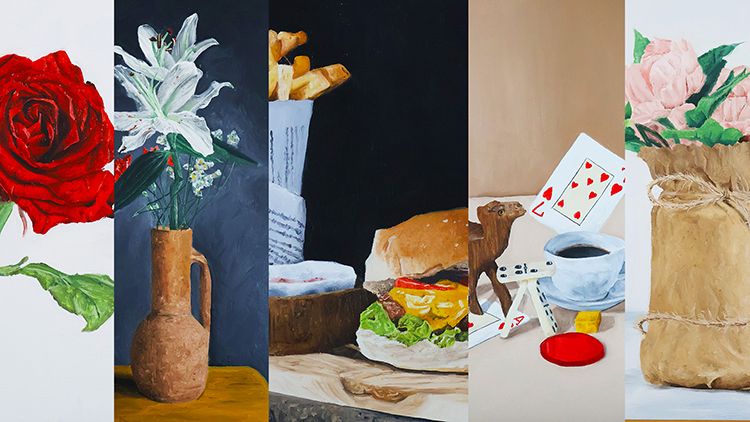
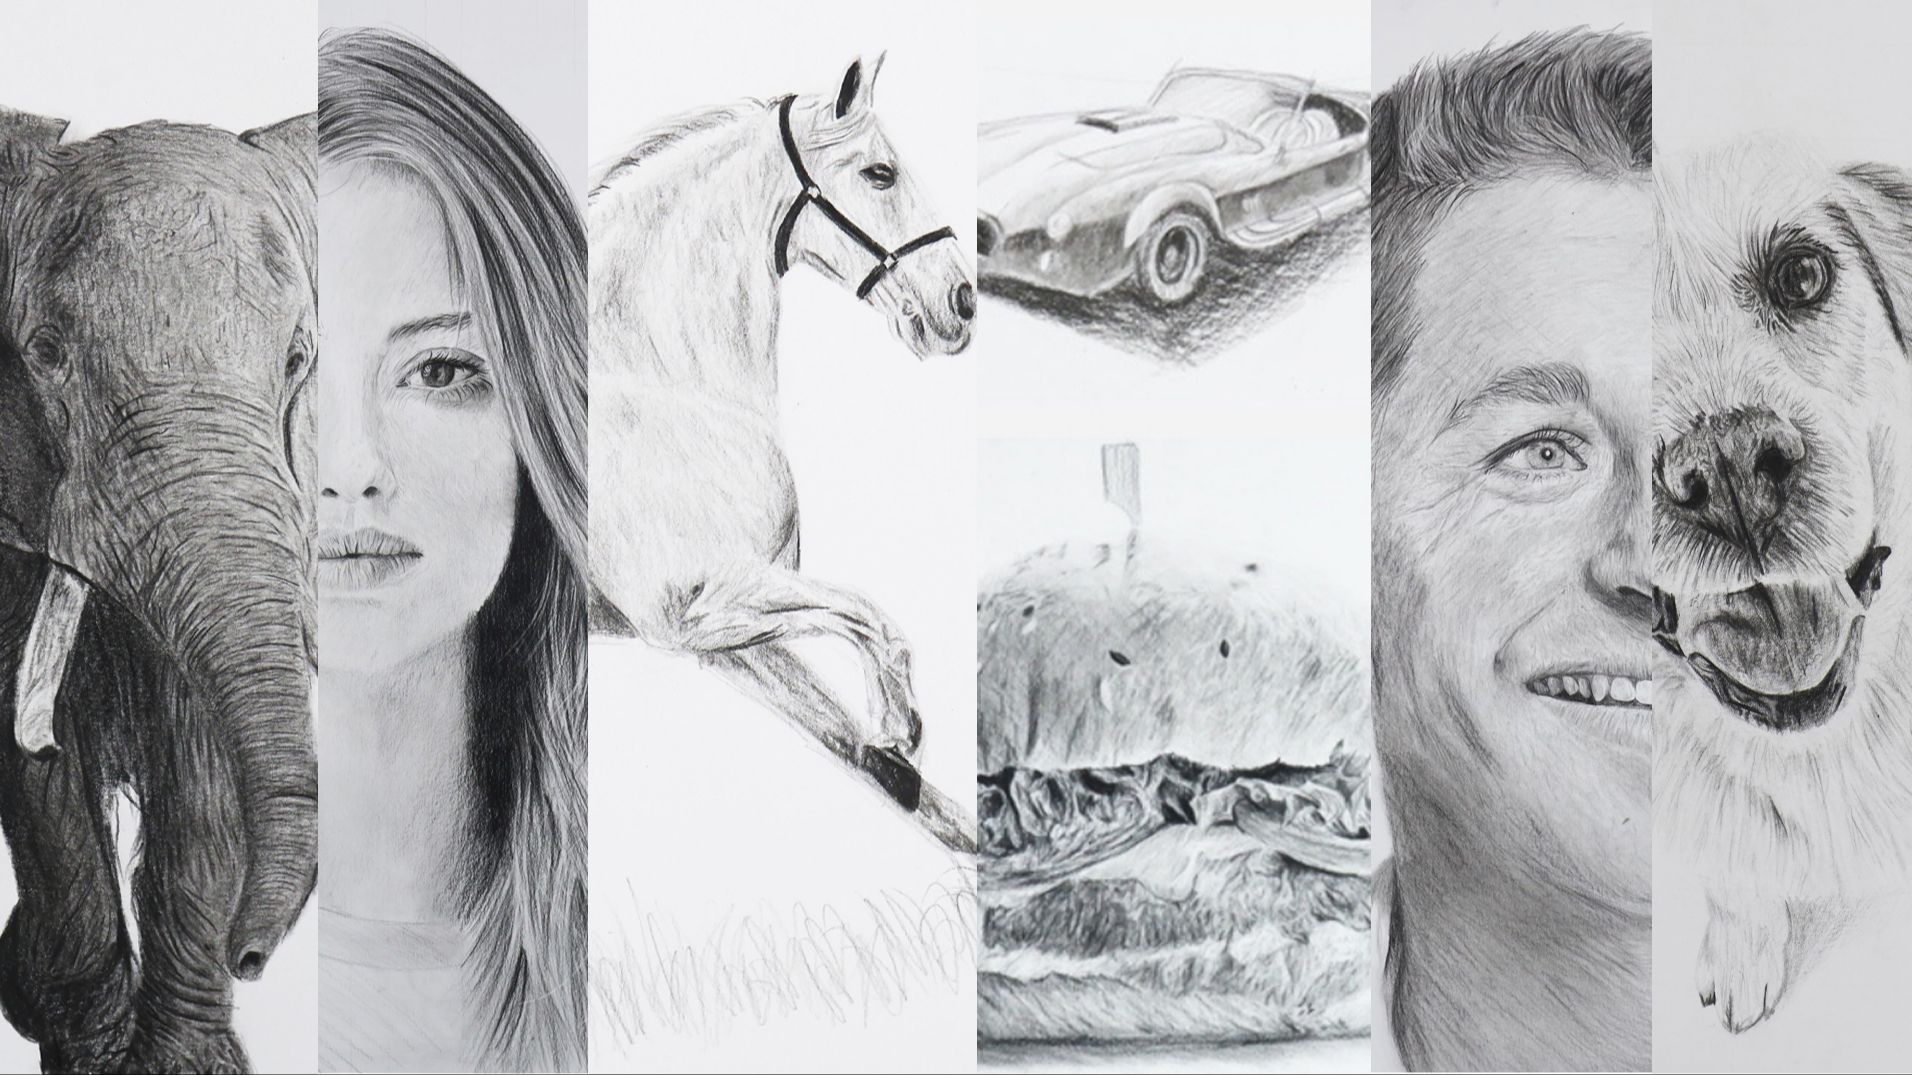
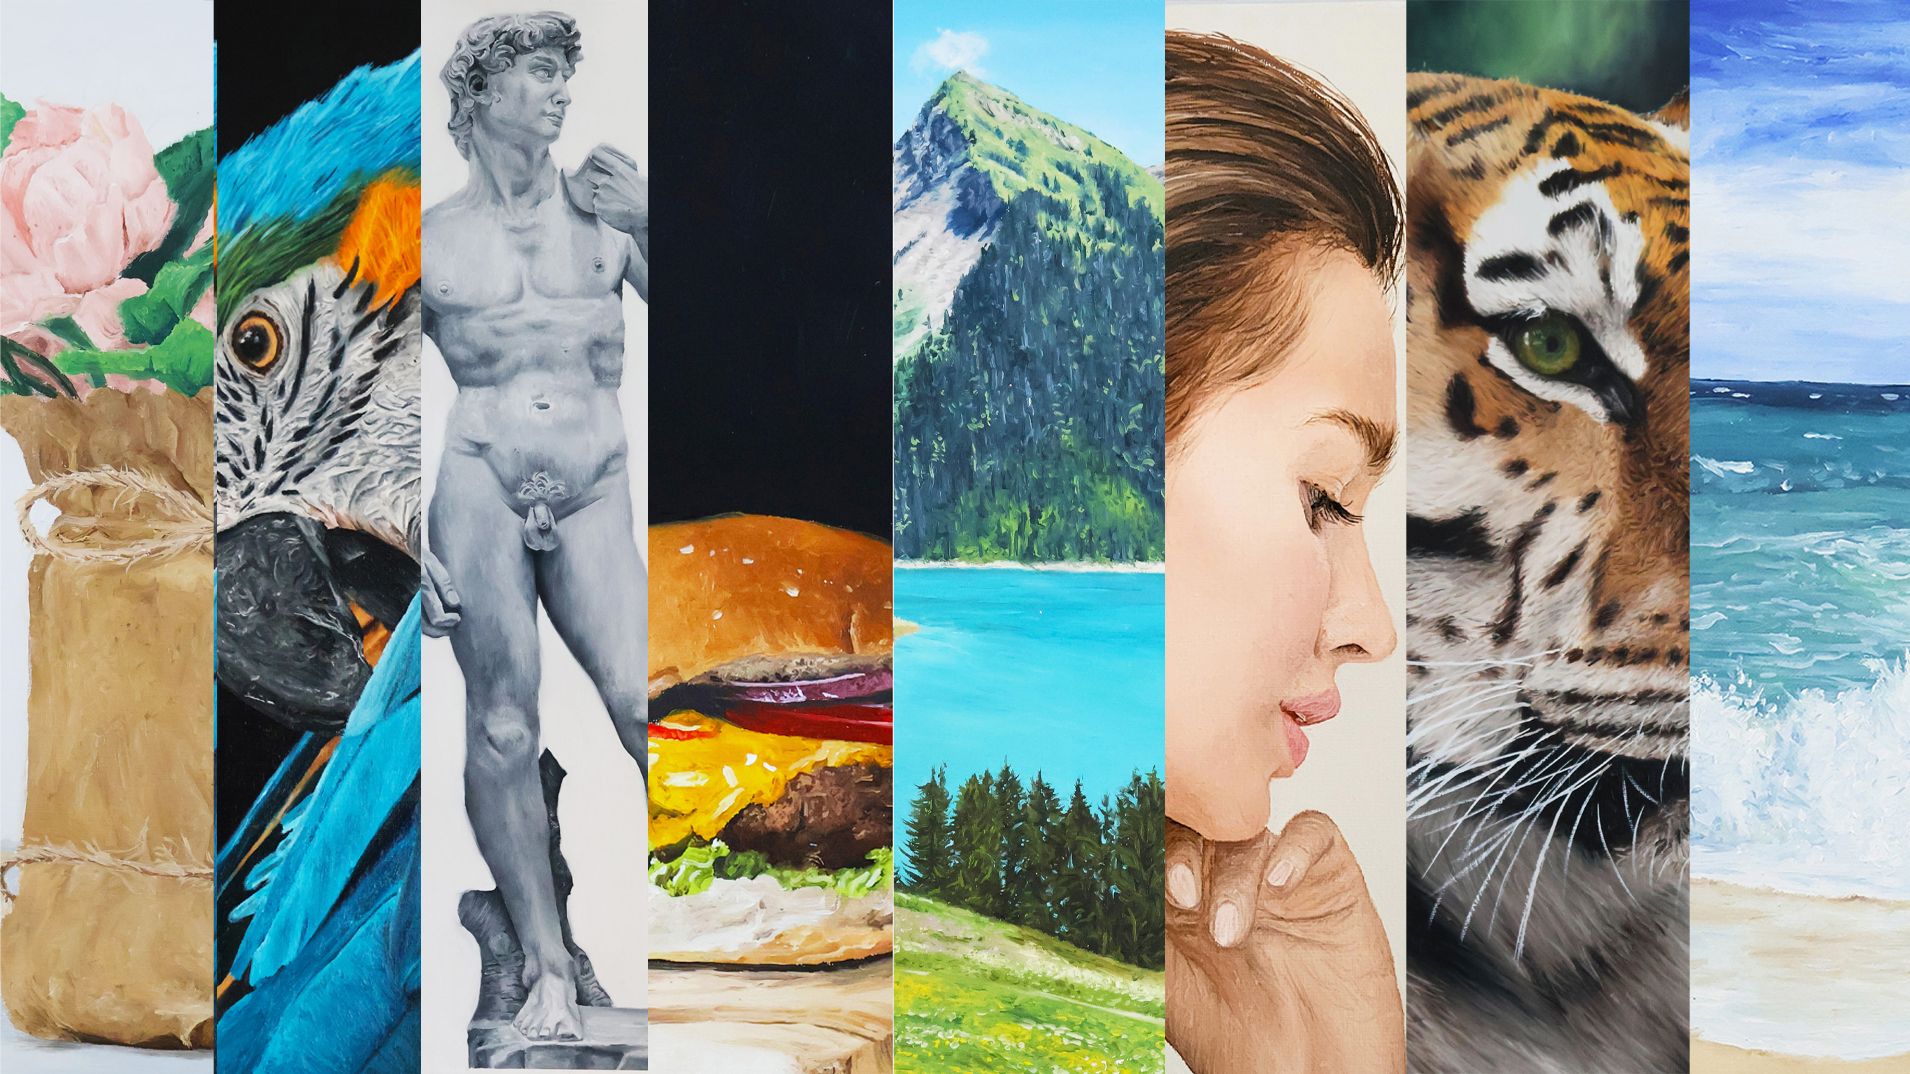
What You Will Learn To Create

Every project is completed step by step, with detailed explanations from the first lines to the final details

Your Learning Journey

A 150-hour program designed to help you improve quickly

Lifetime access • 14-day money-back guarantee

Your Learning Journey

A 150-hour program designed to help you improve quickly

Lifetime access • 14-day money-back guarantee

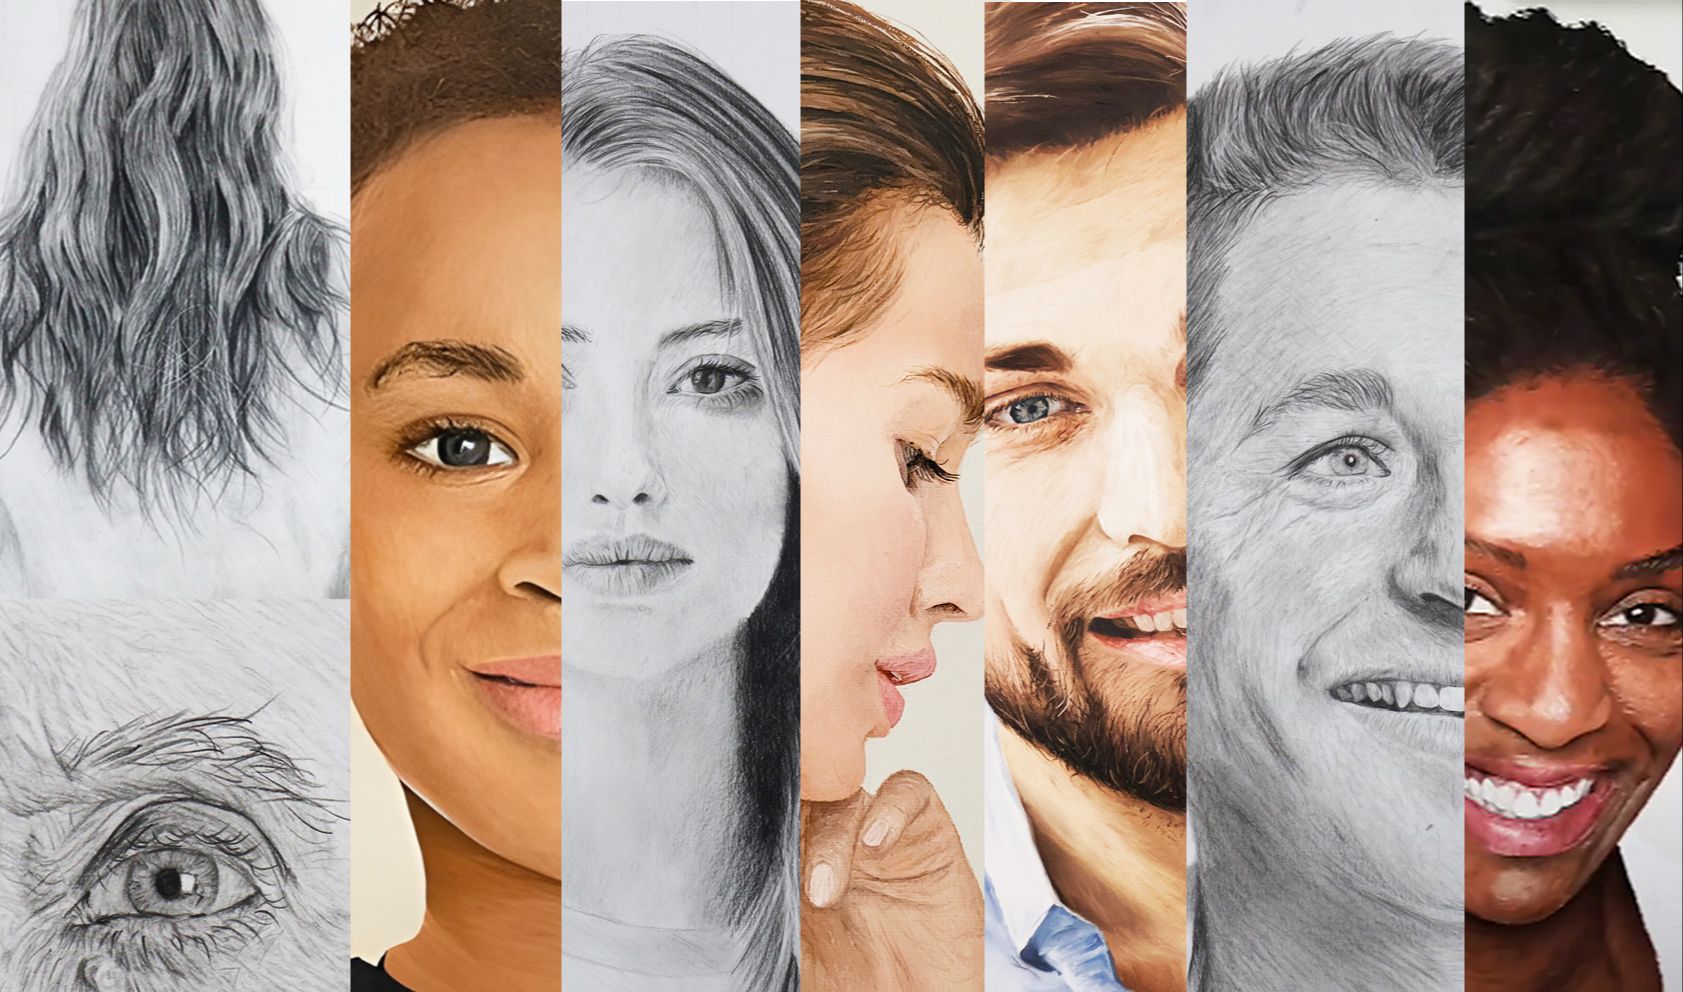
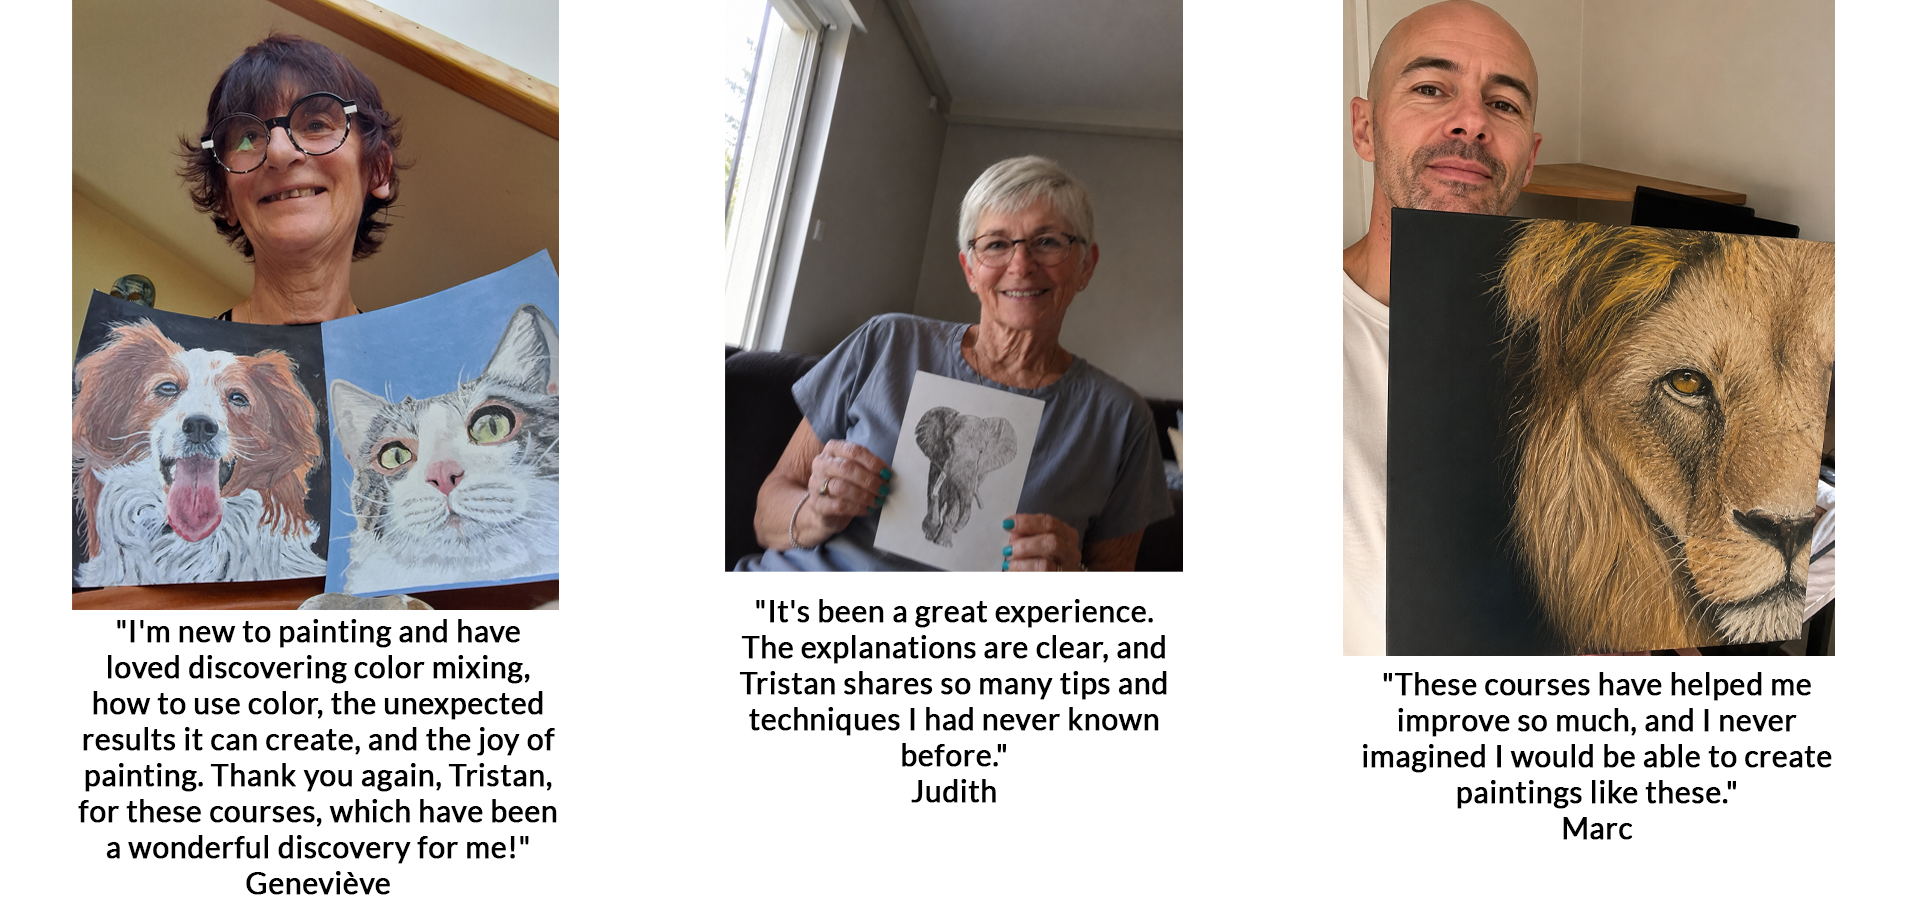
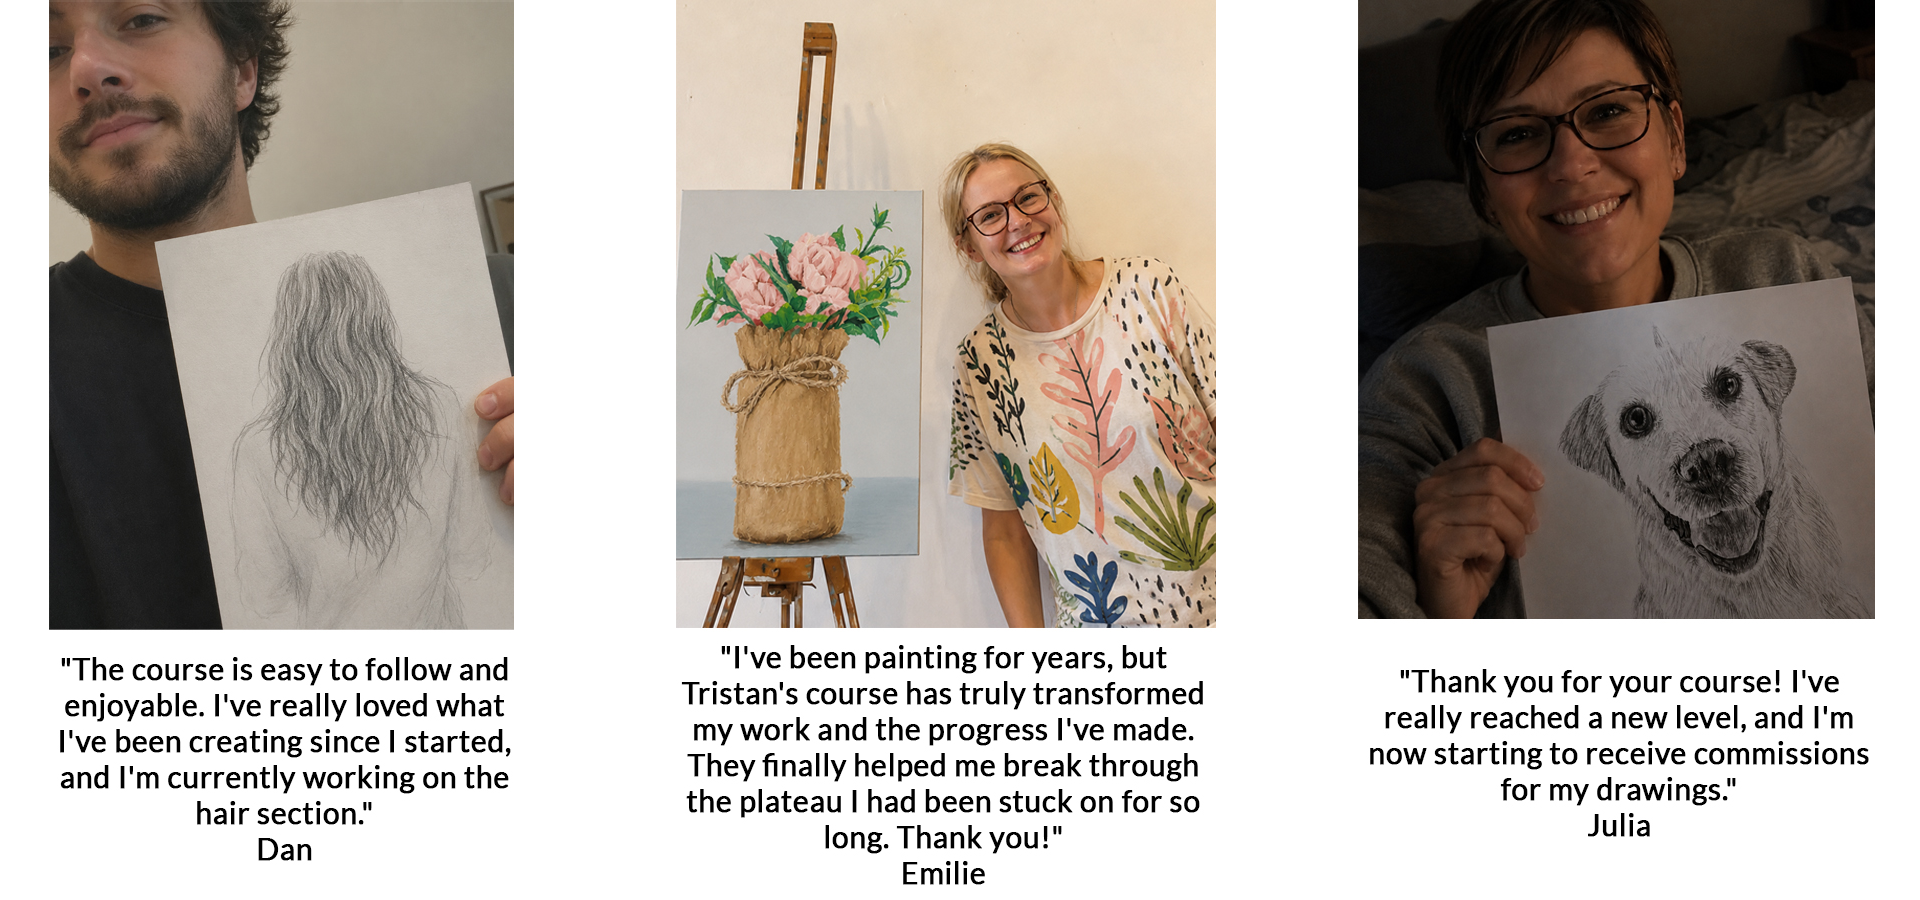
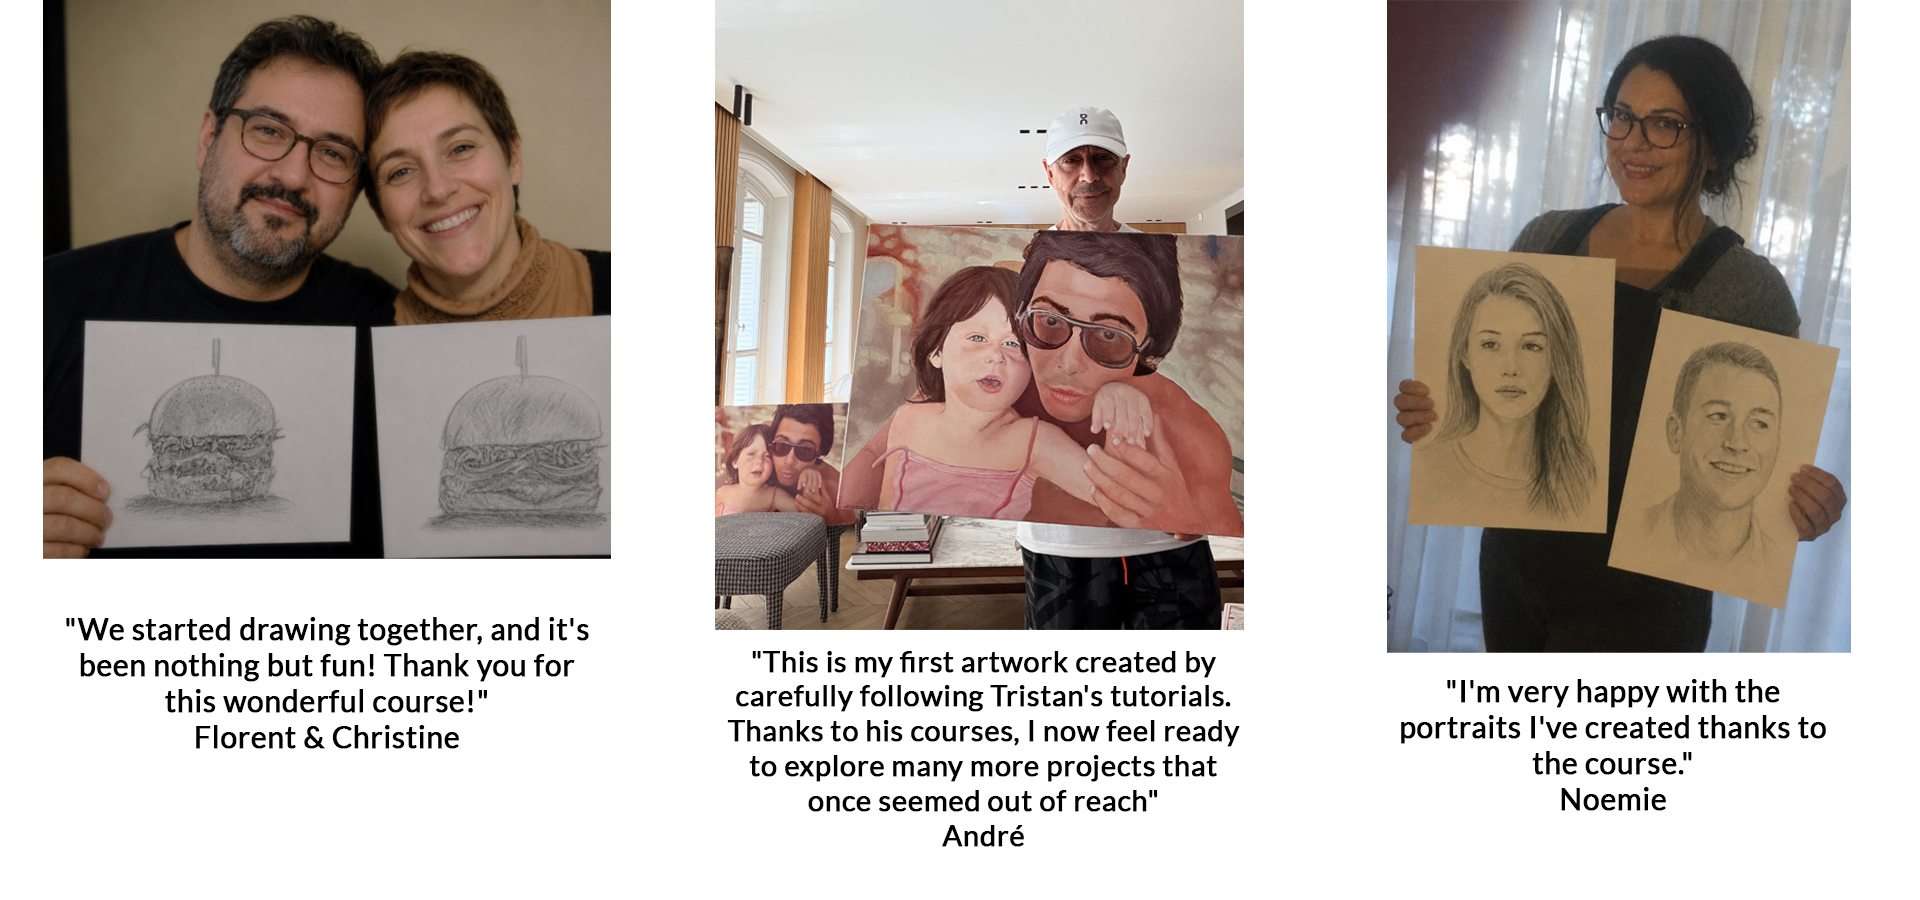
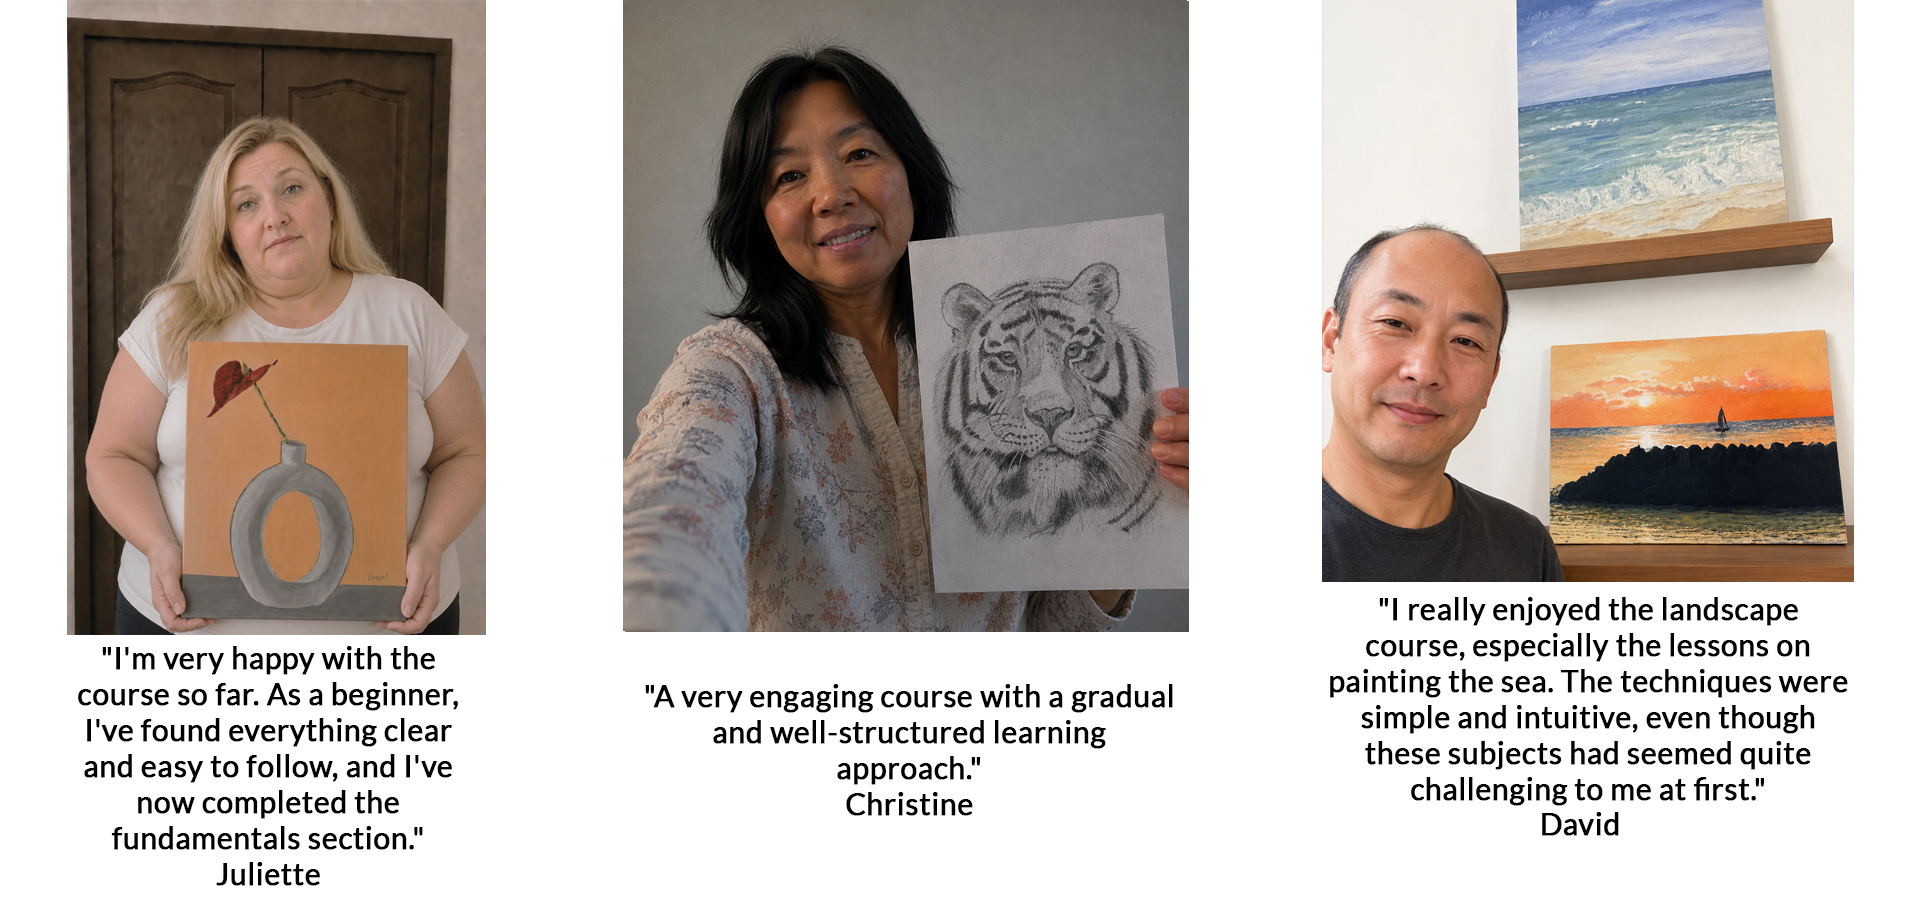
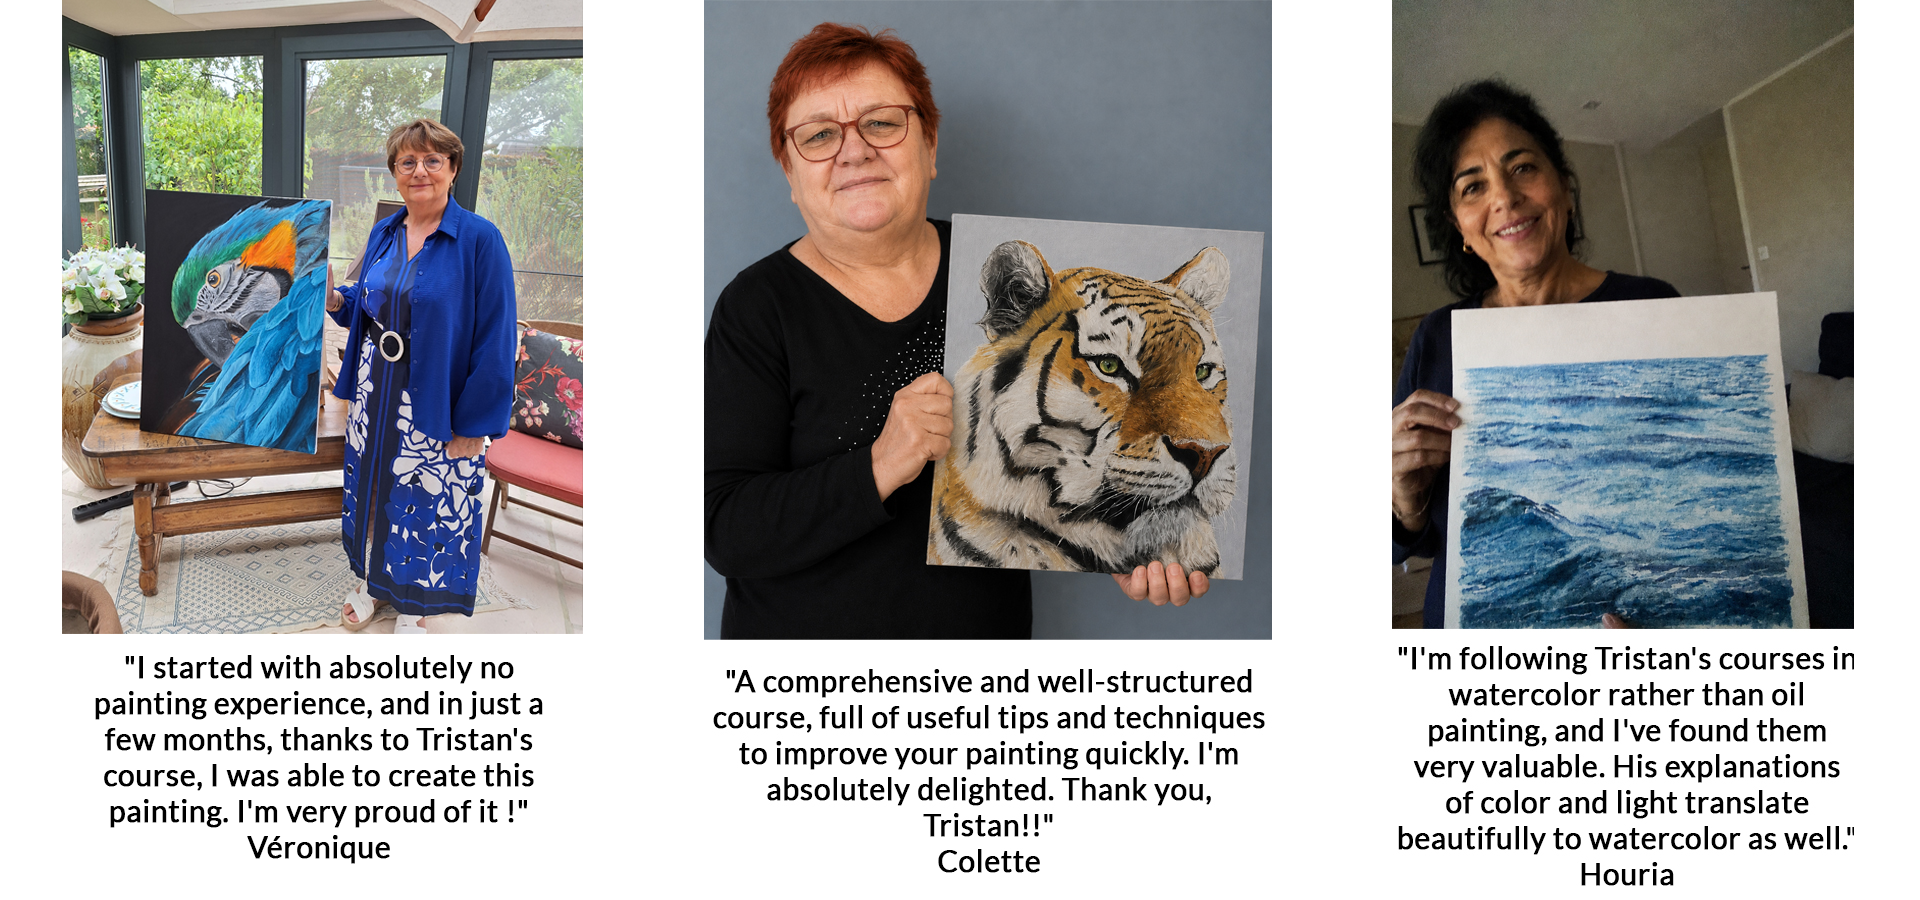
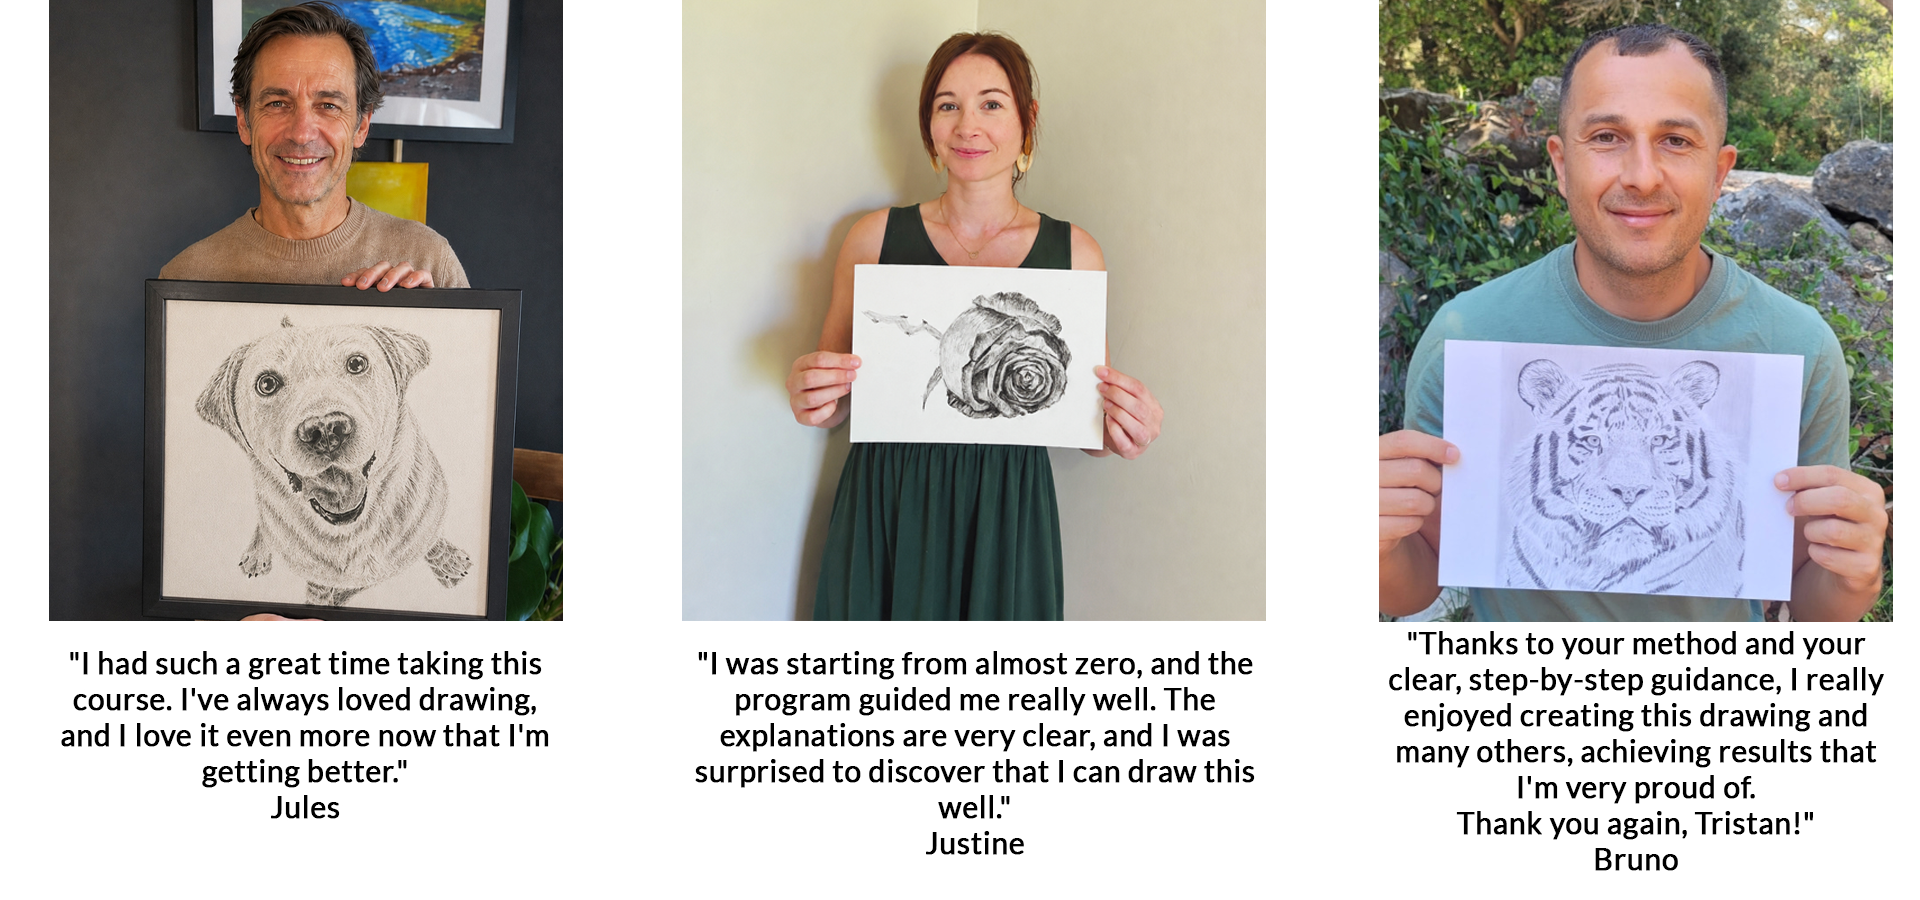
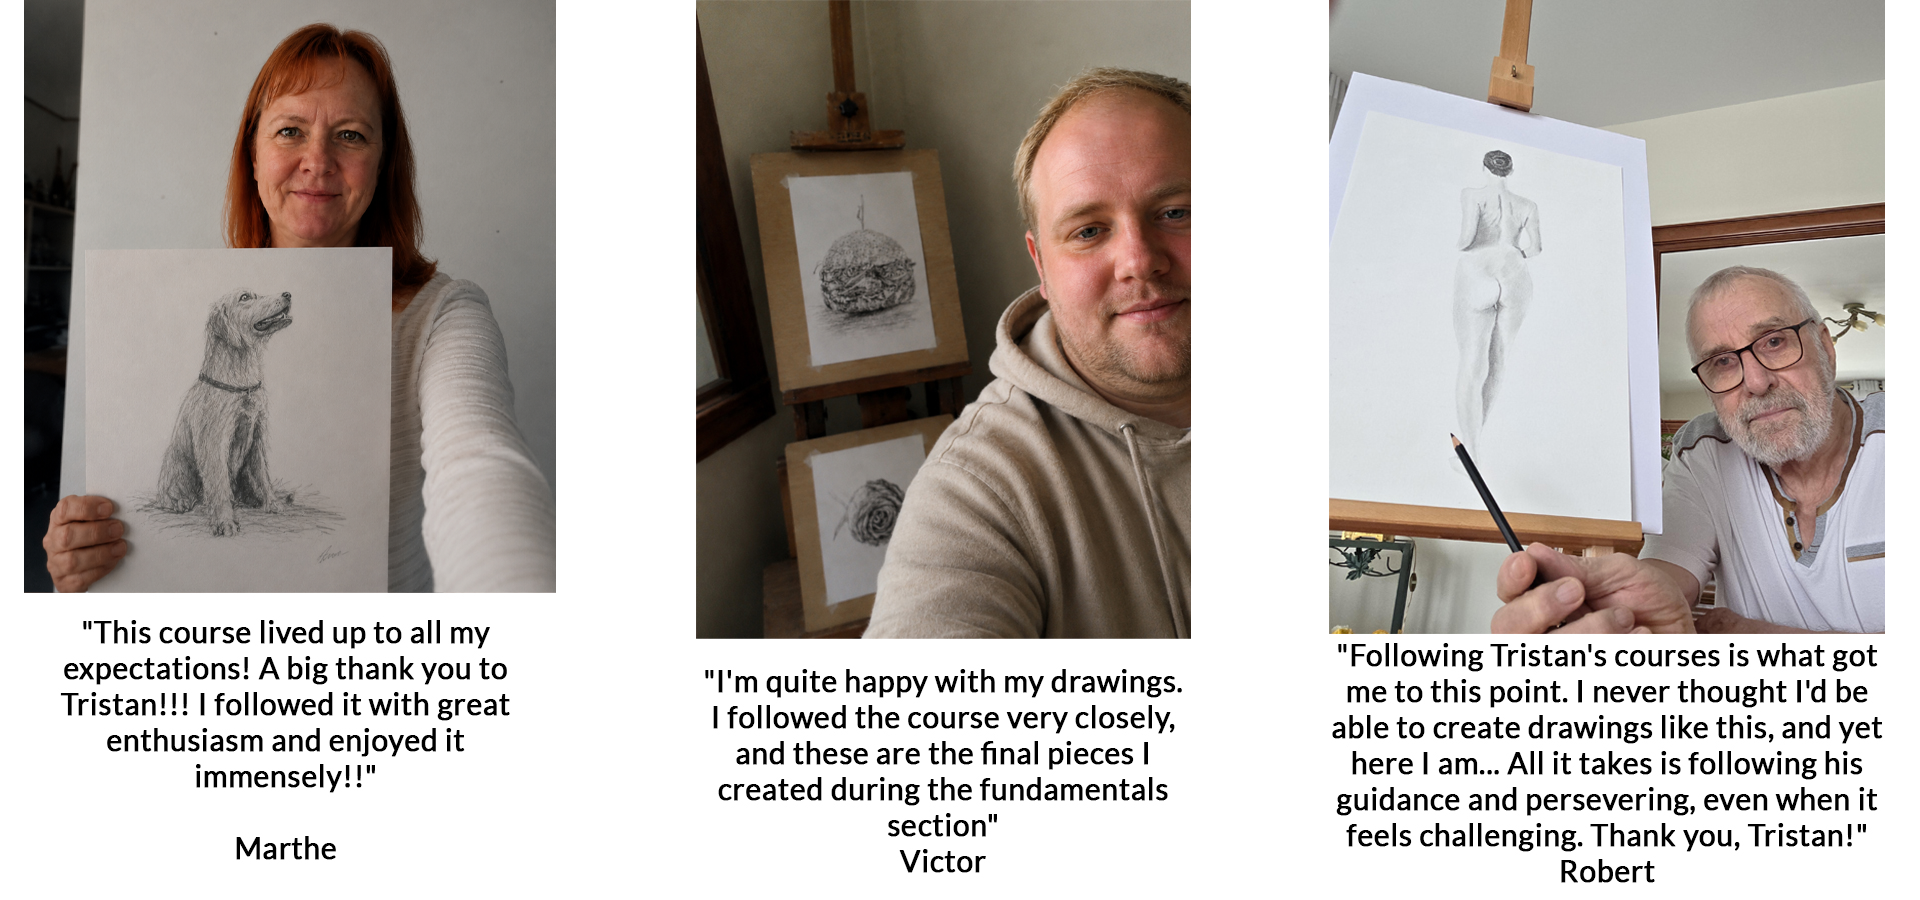
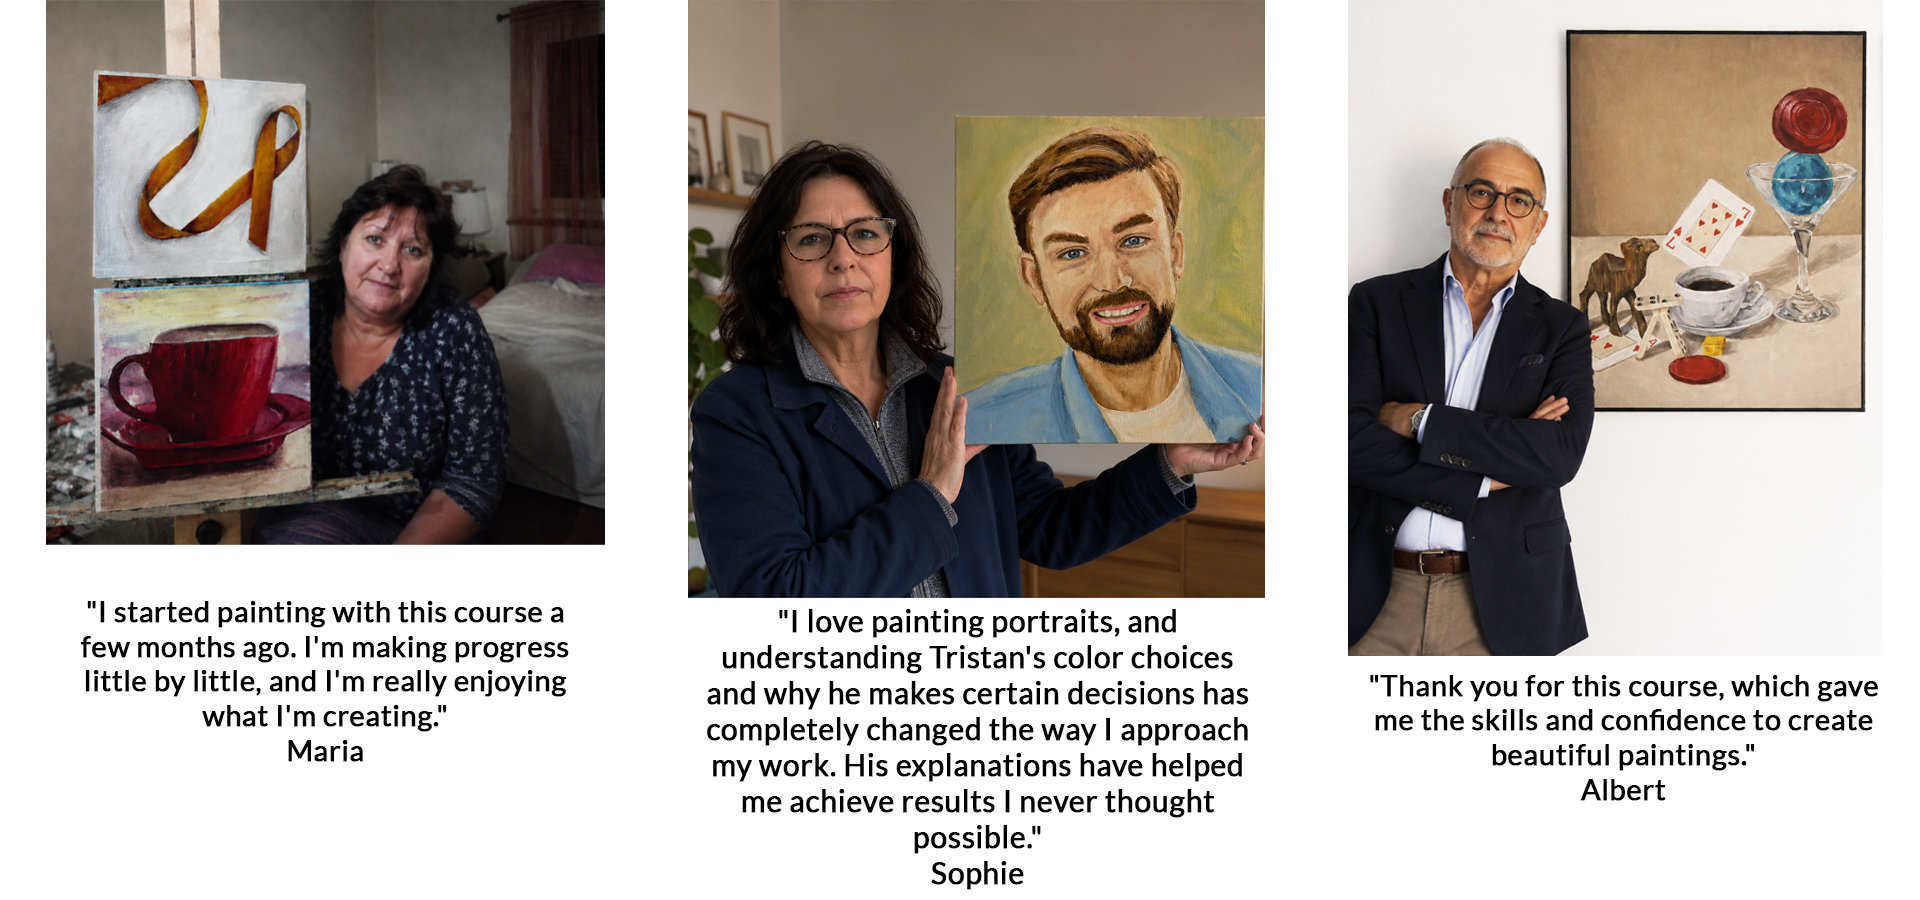
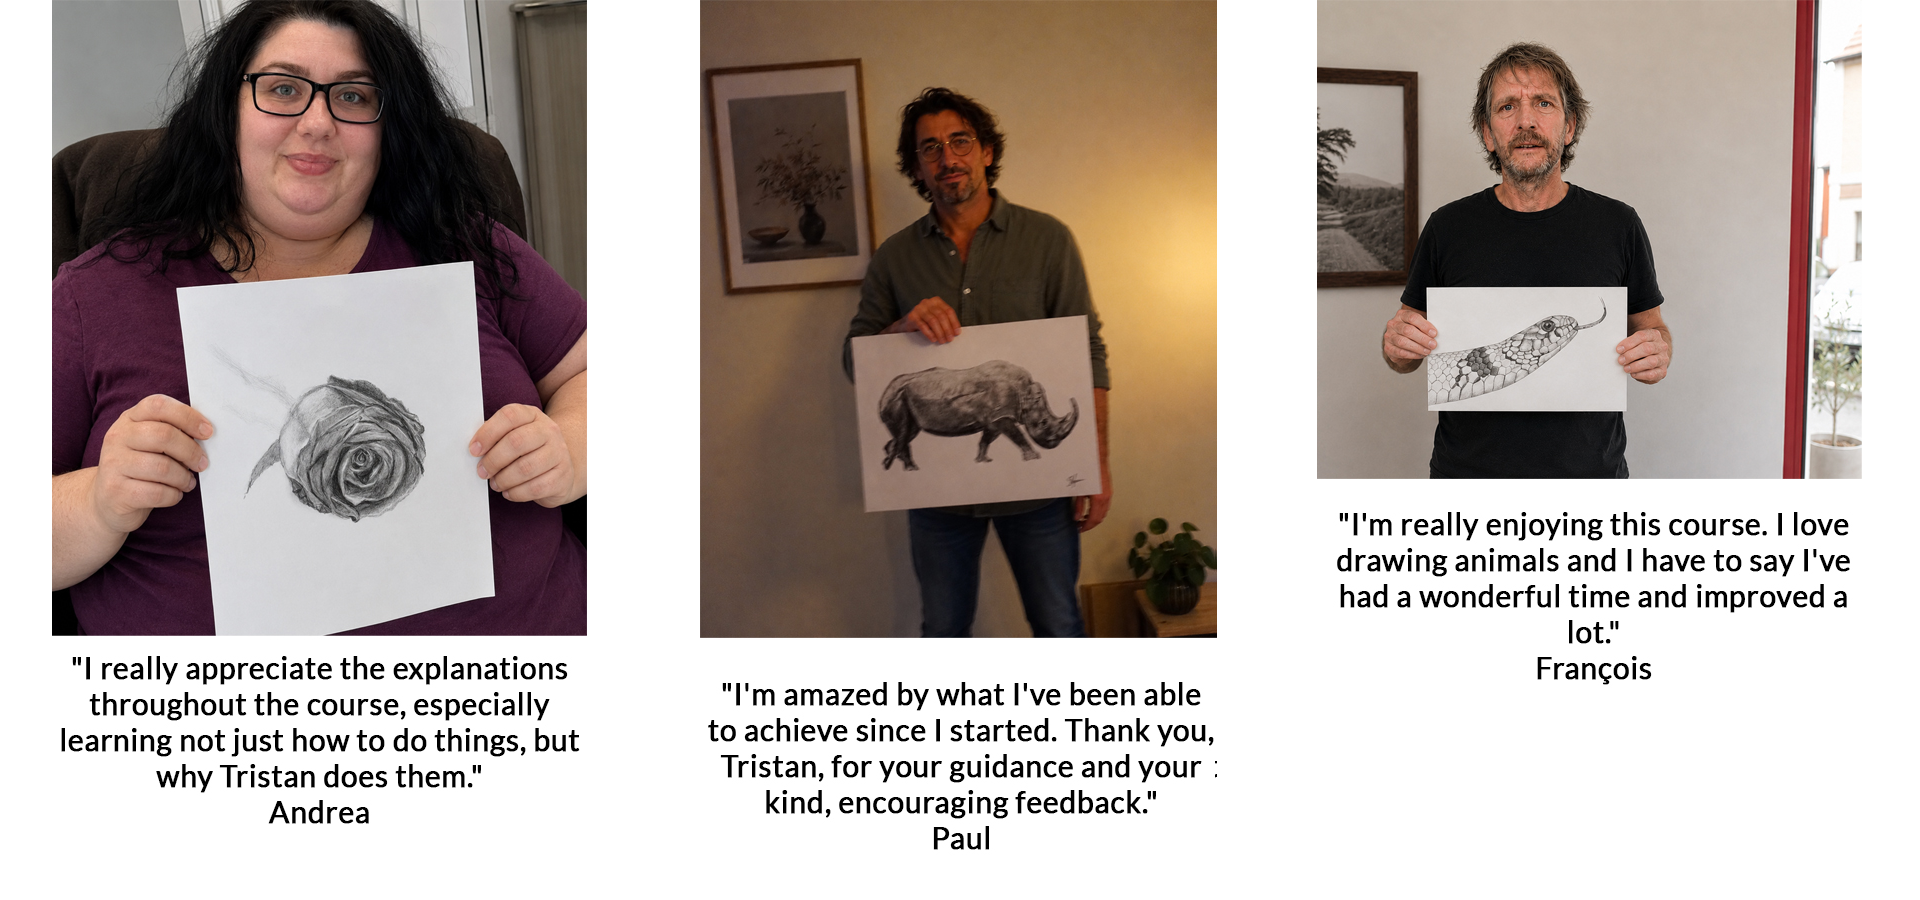
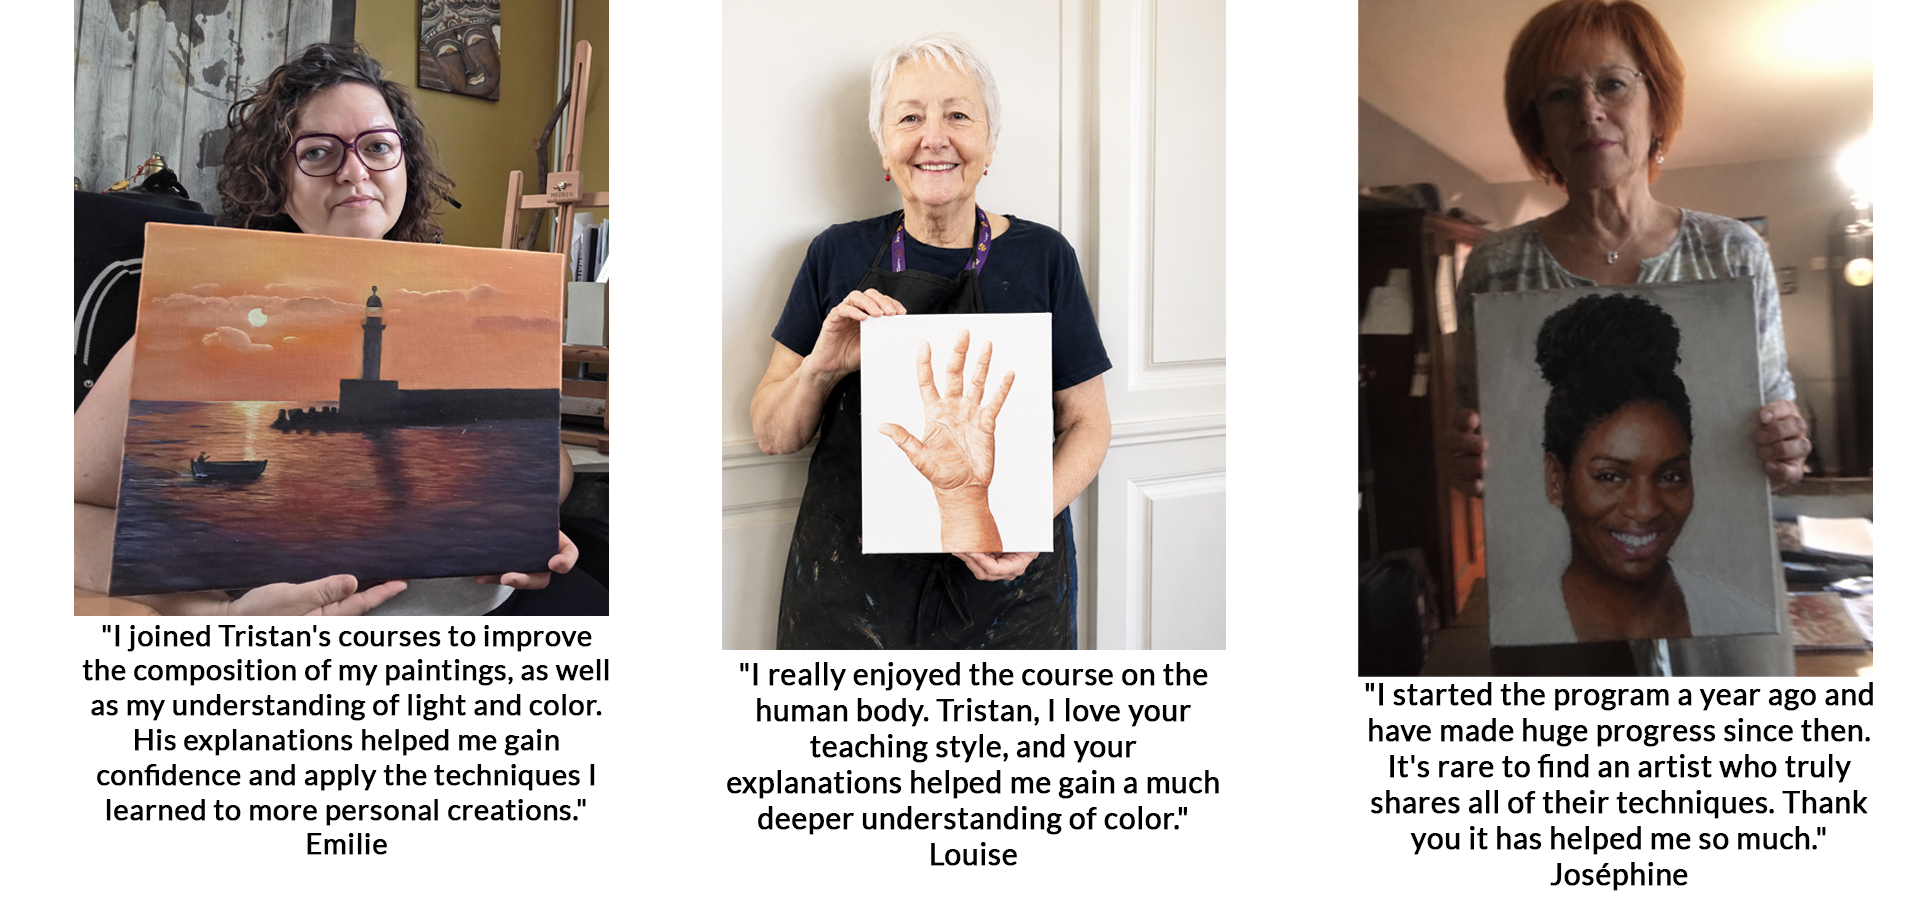
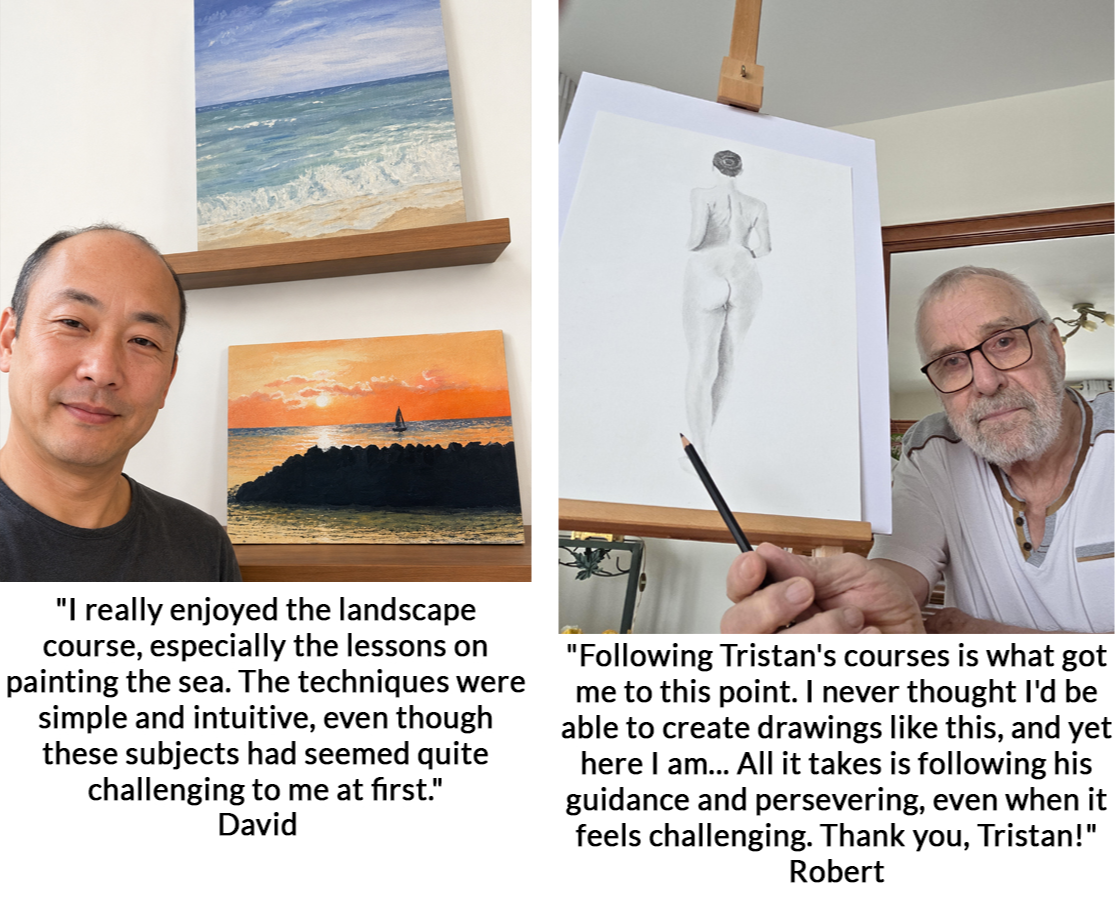
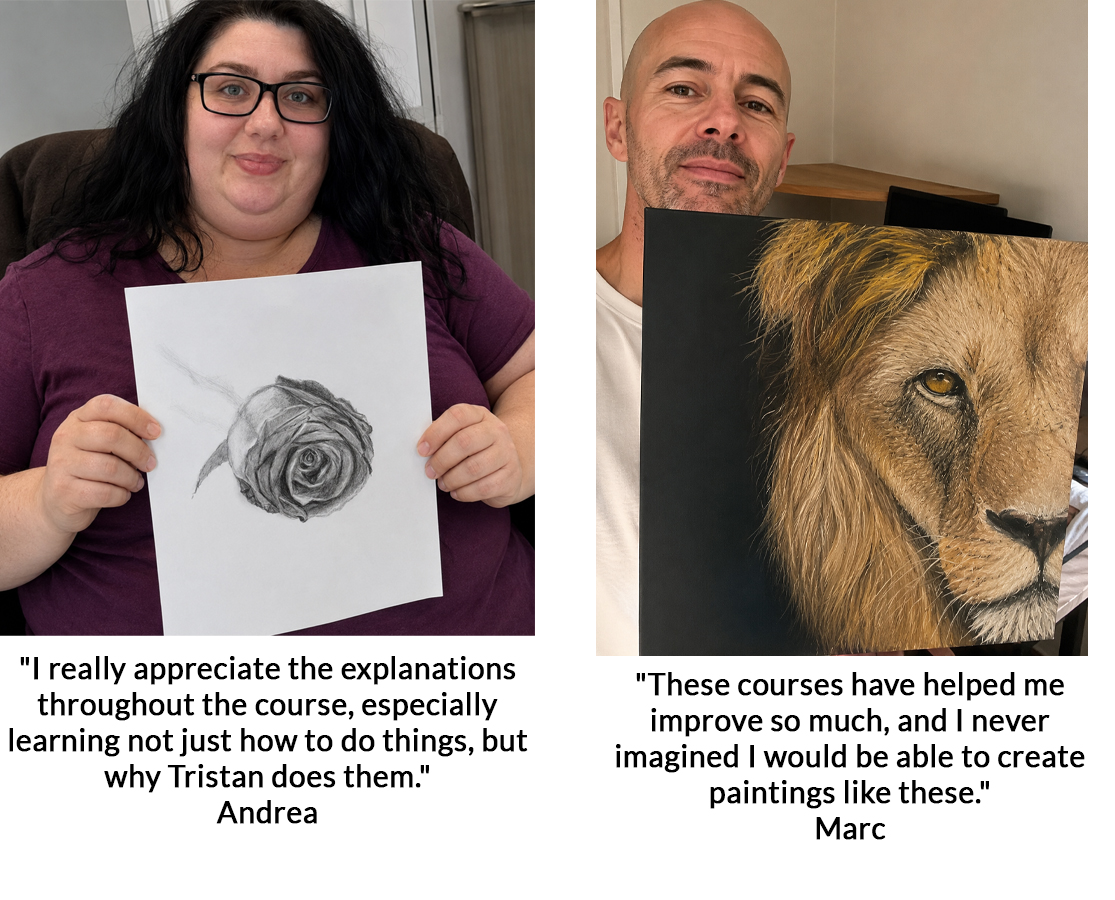
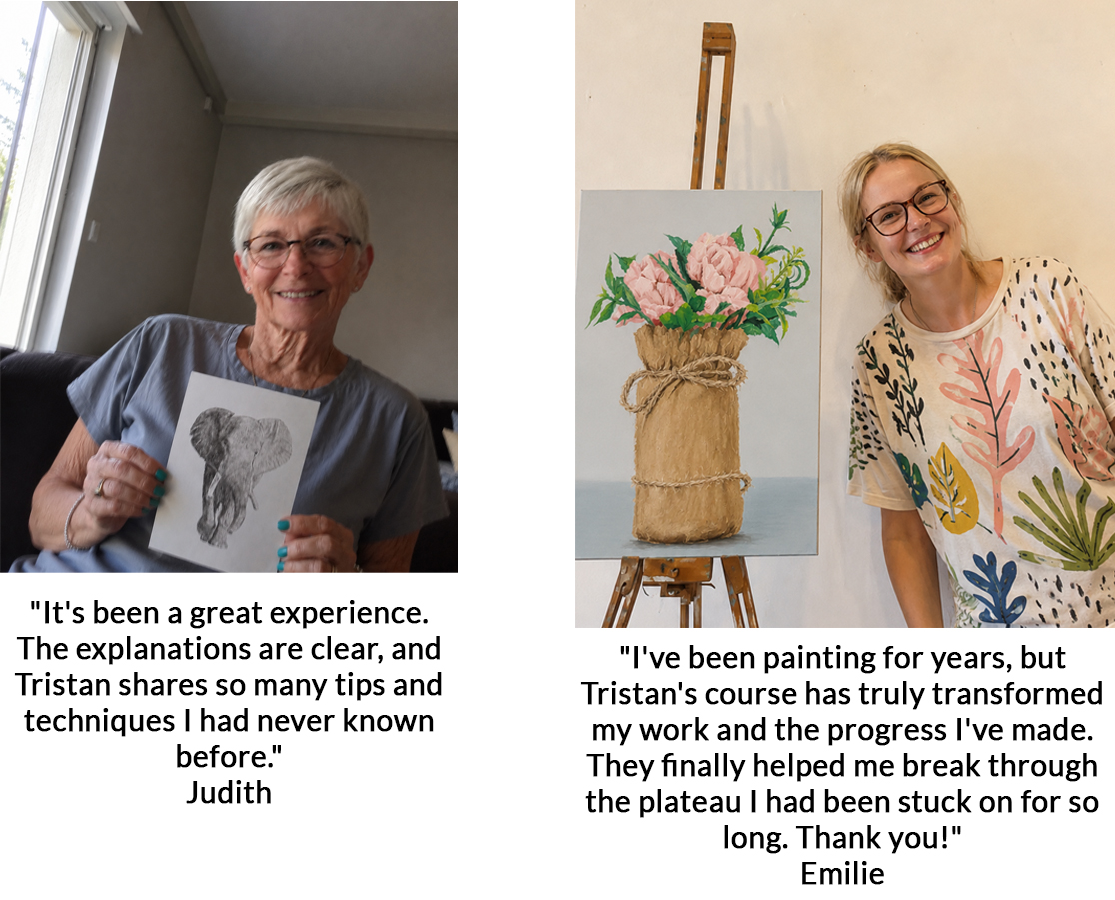
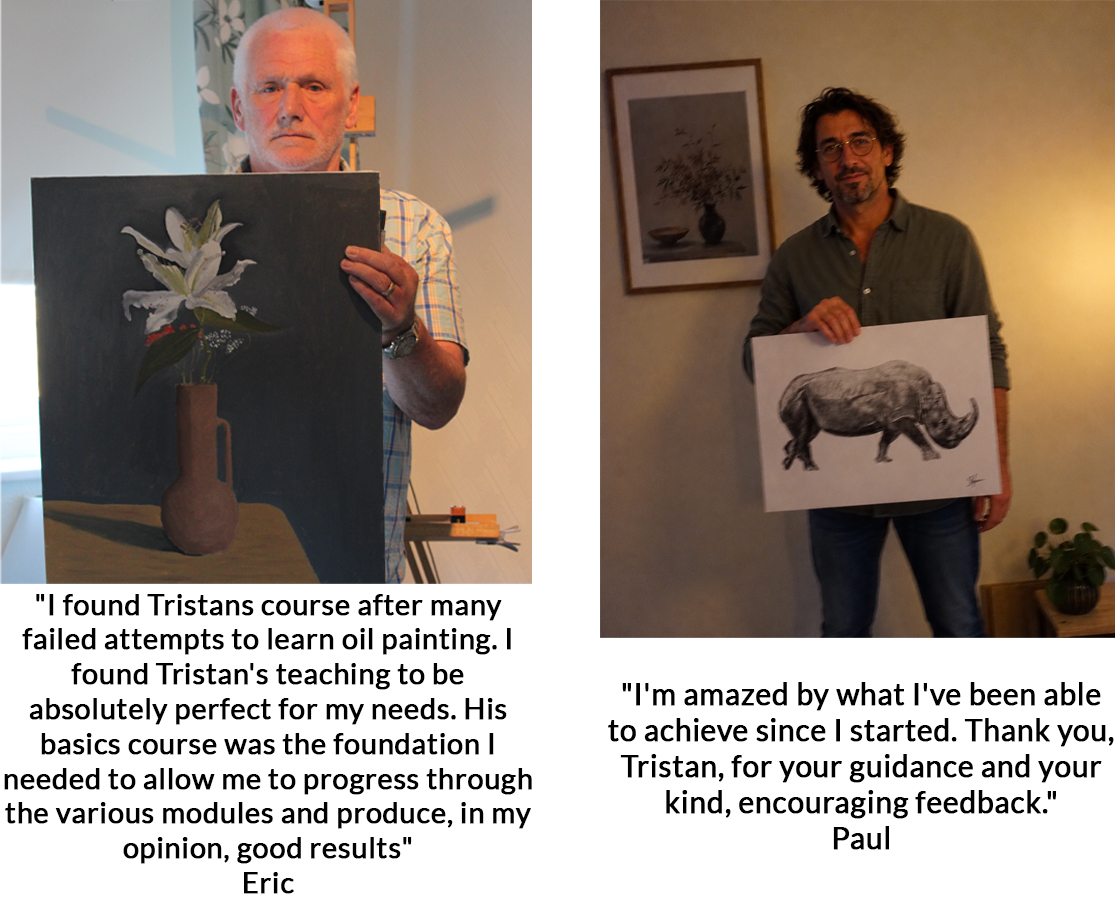
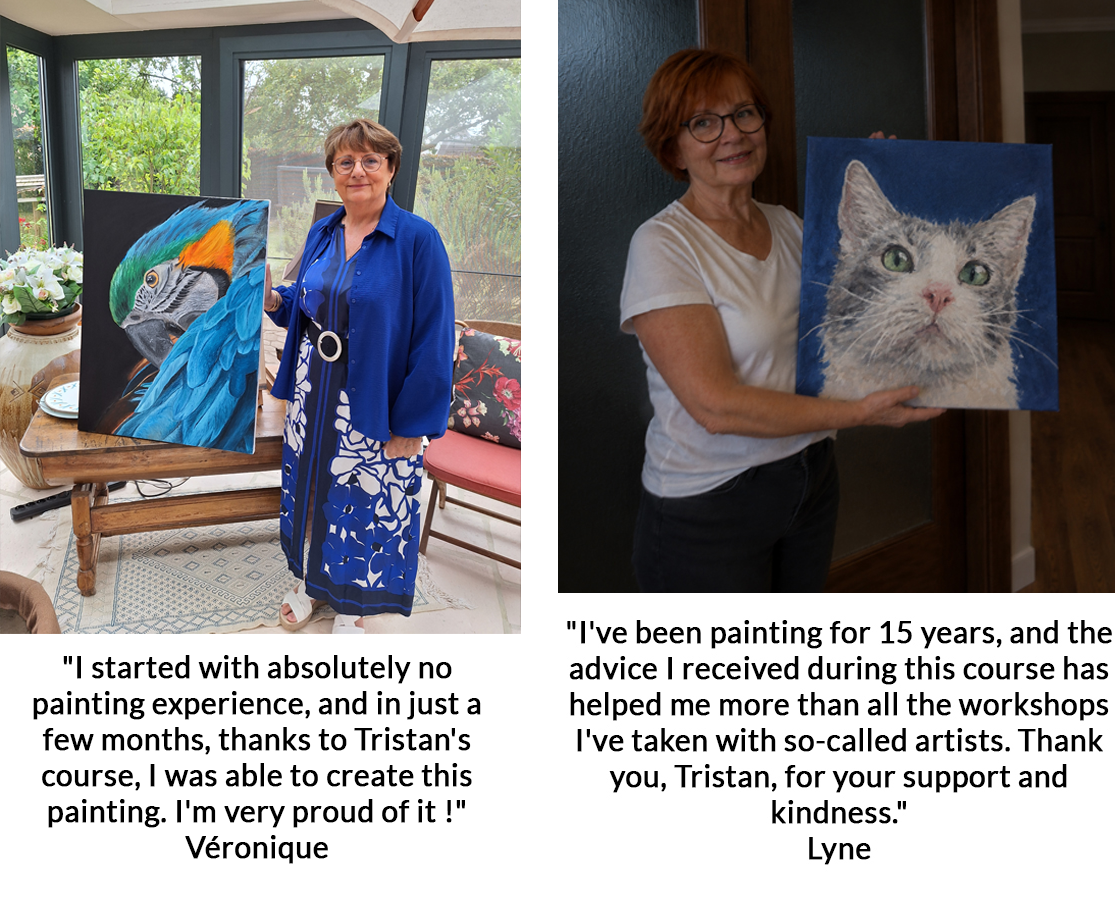
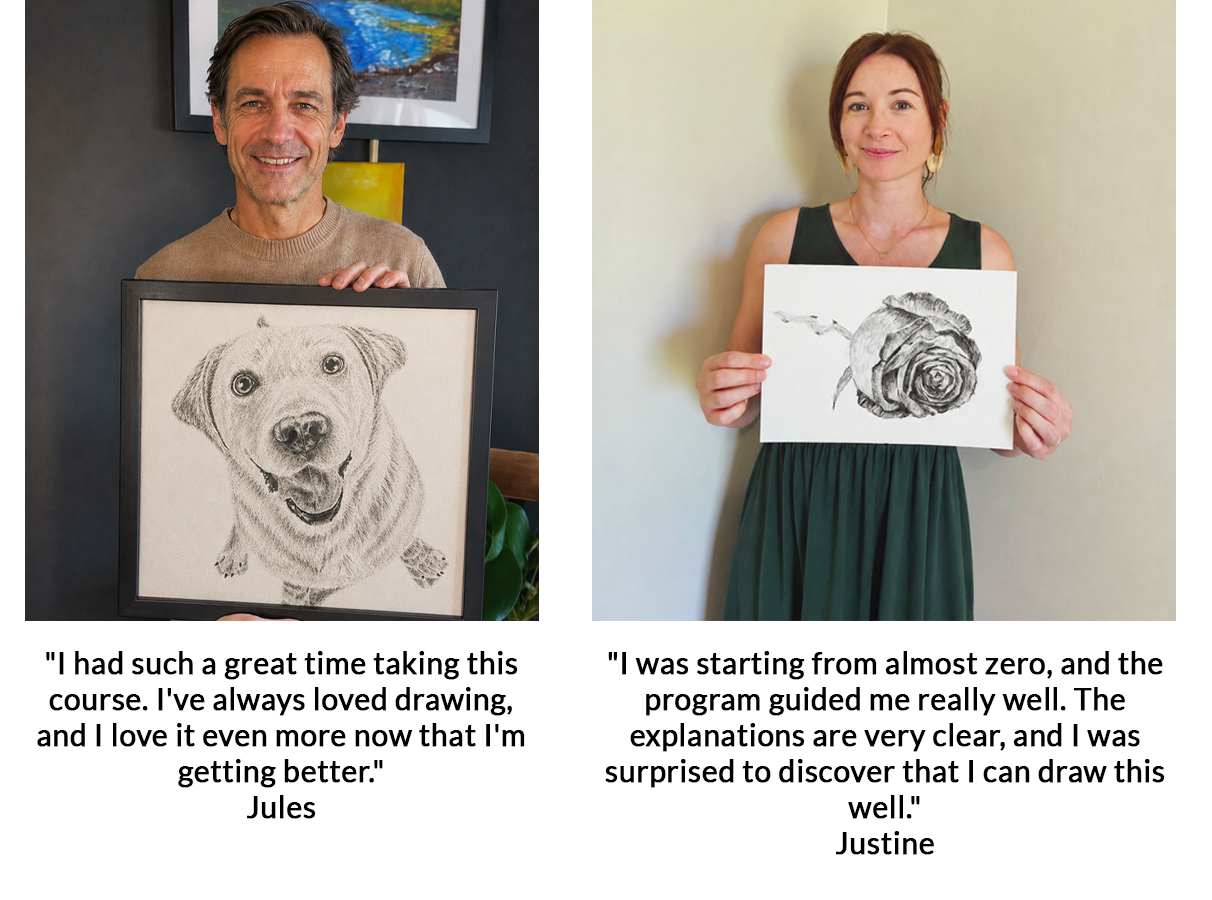
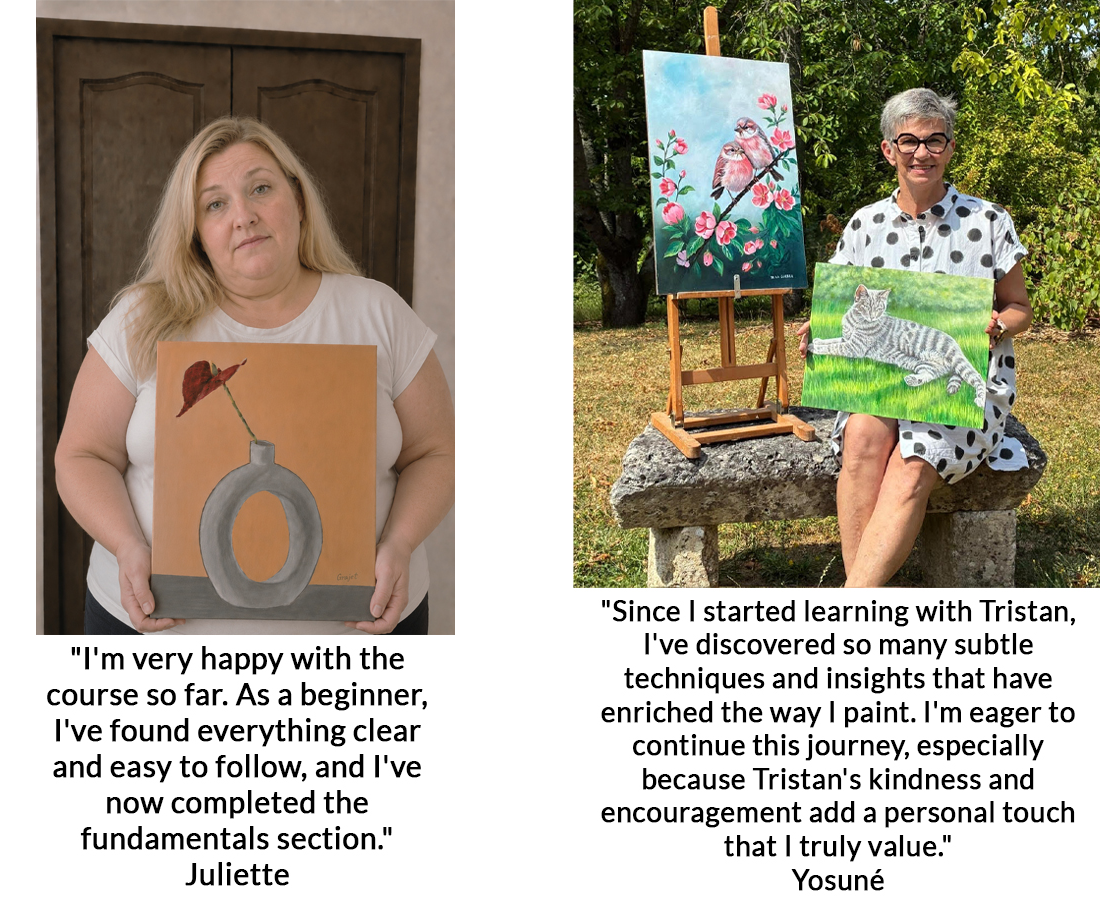
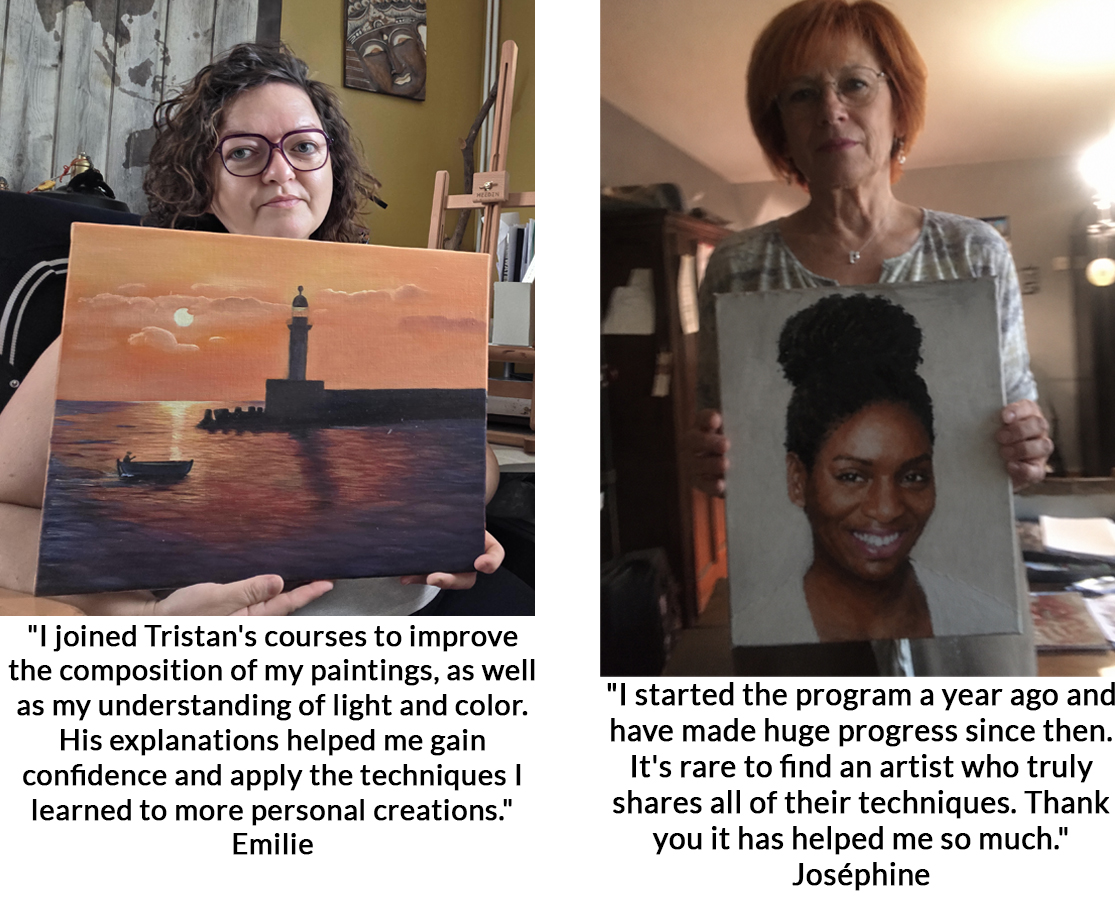
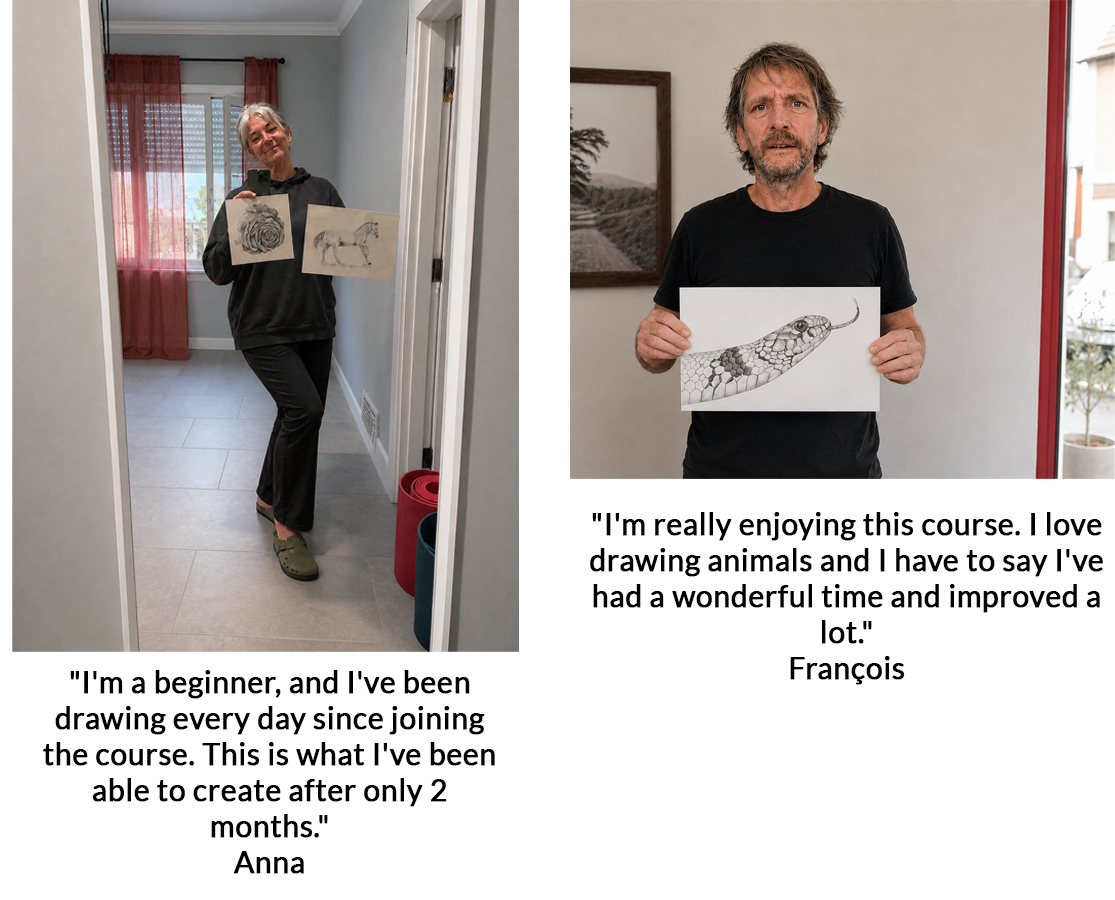
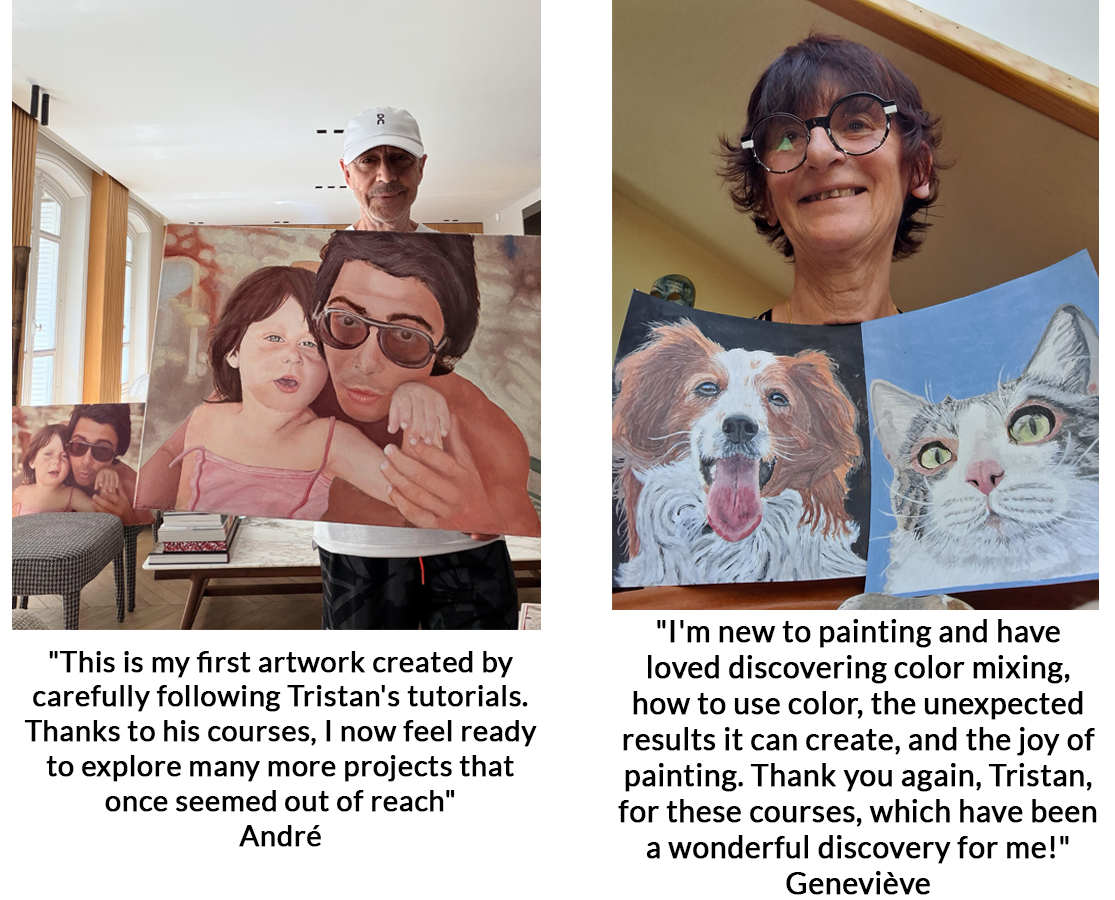
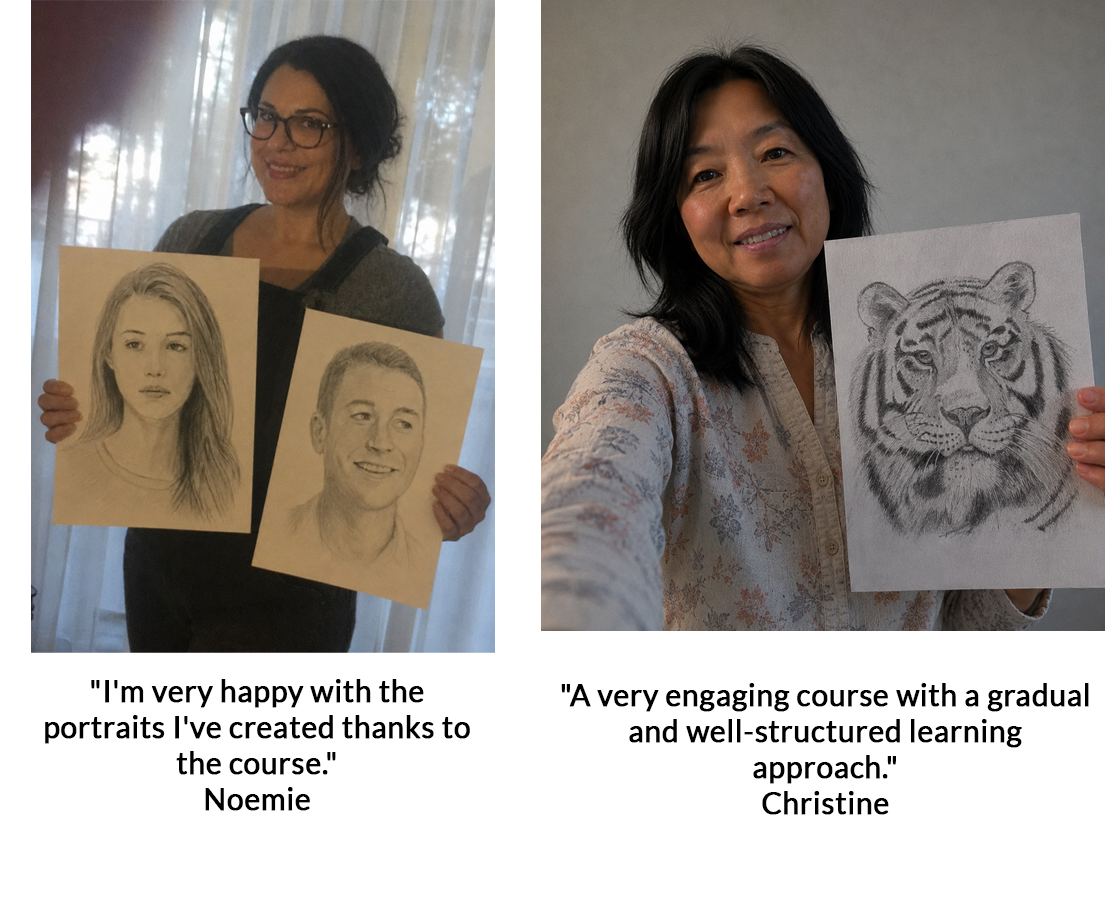
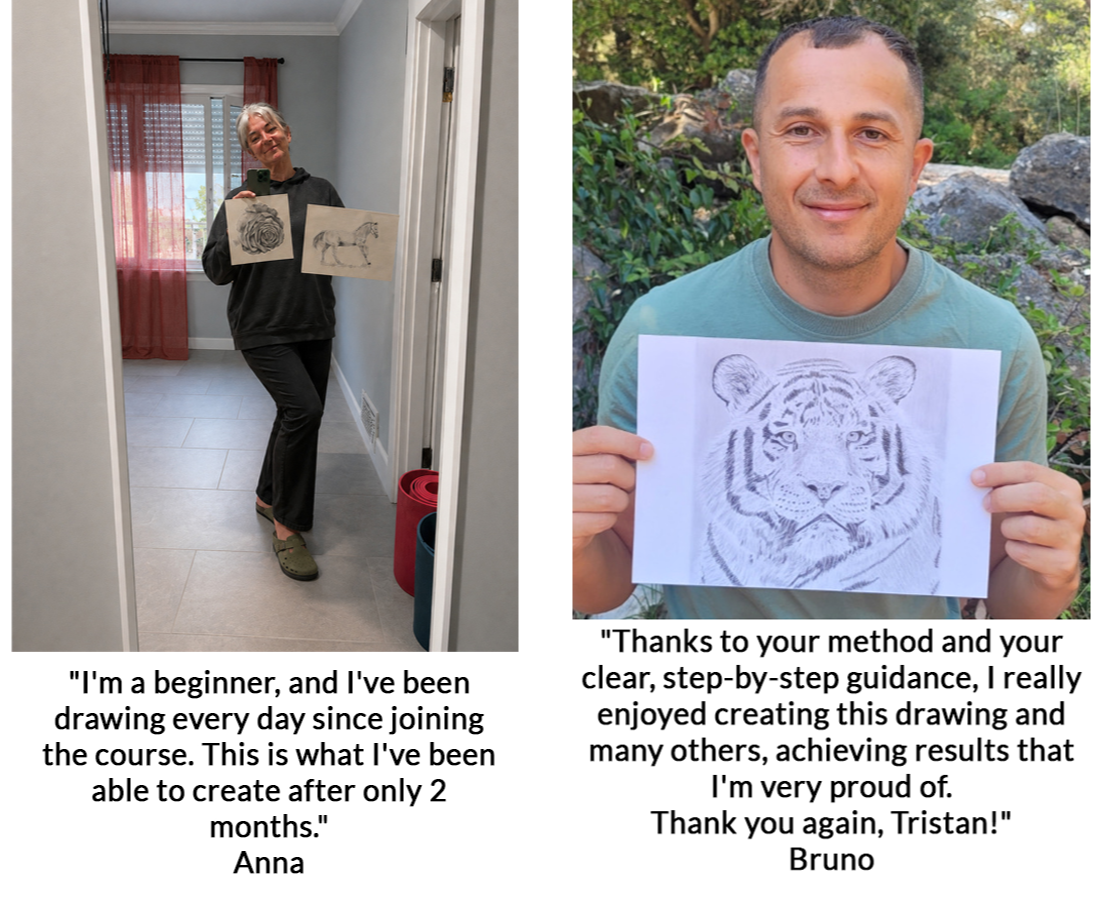
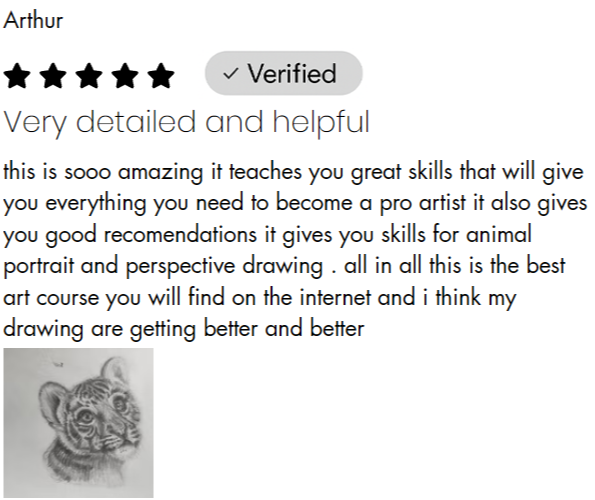
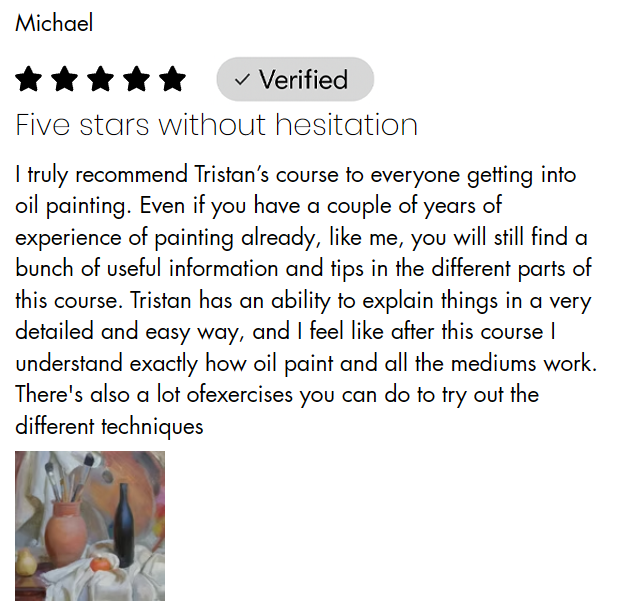
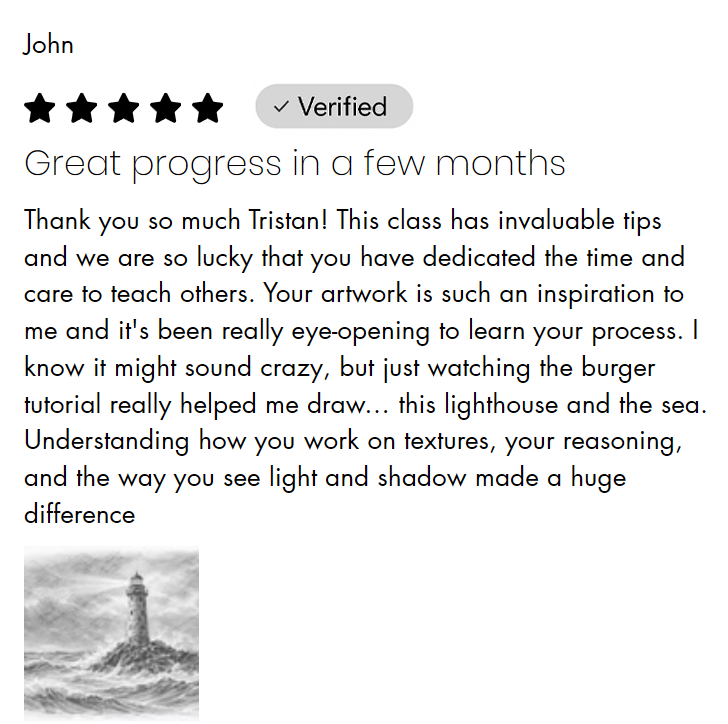
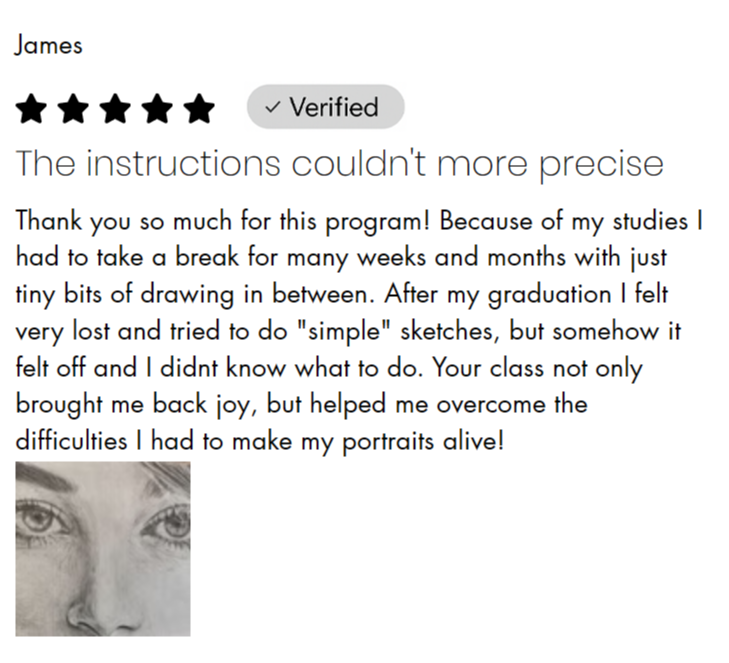
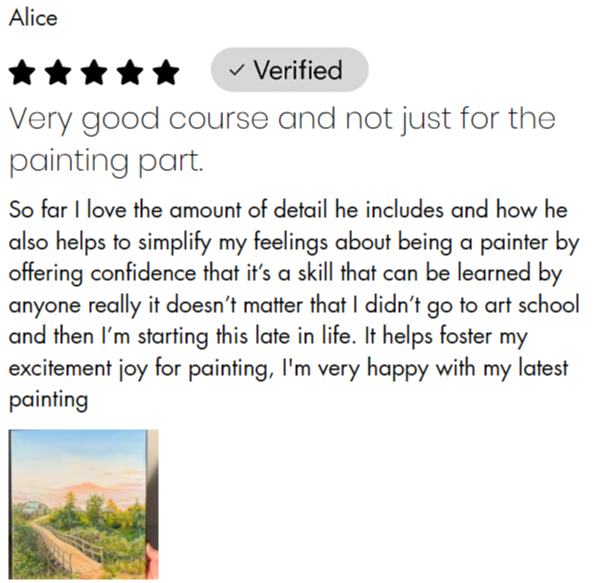
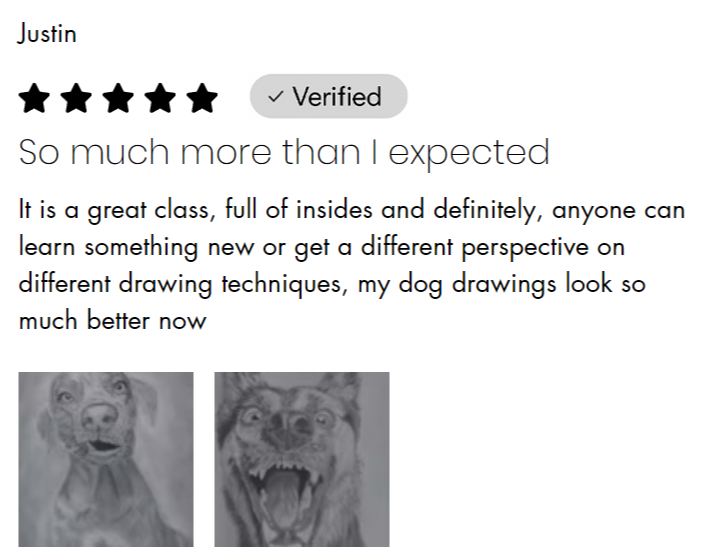
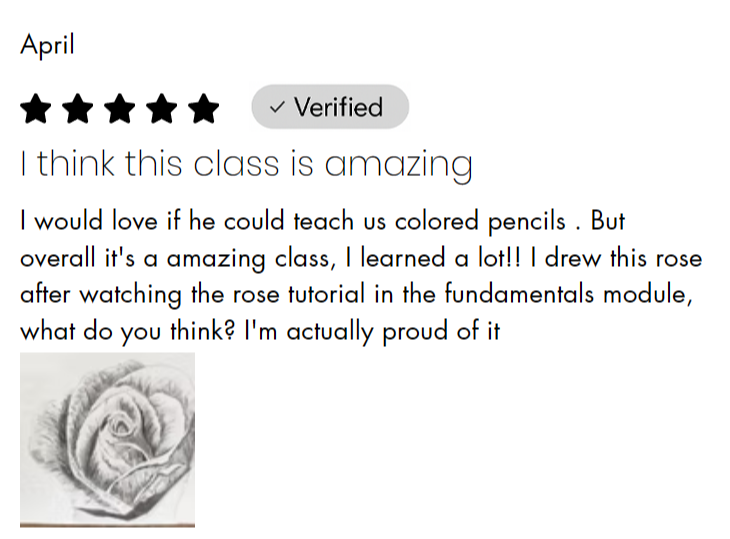
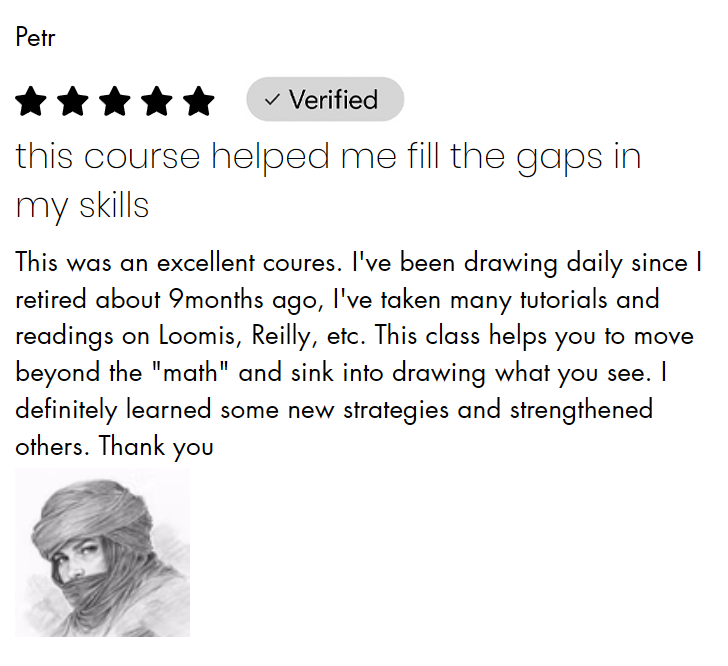
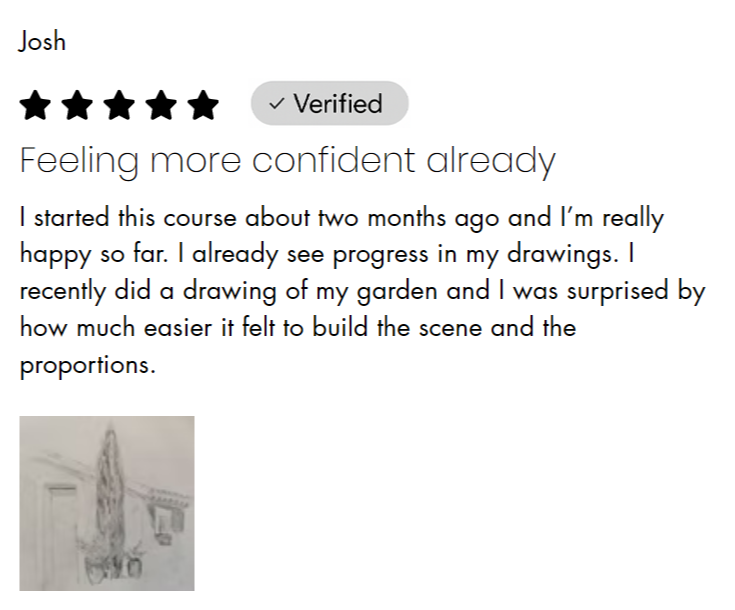
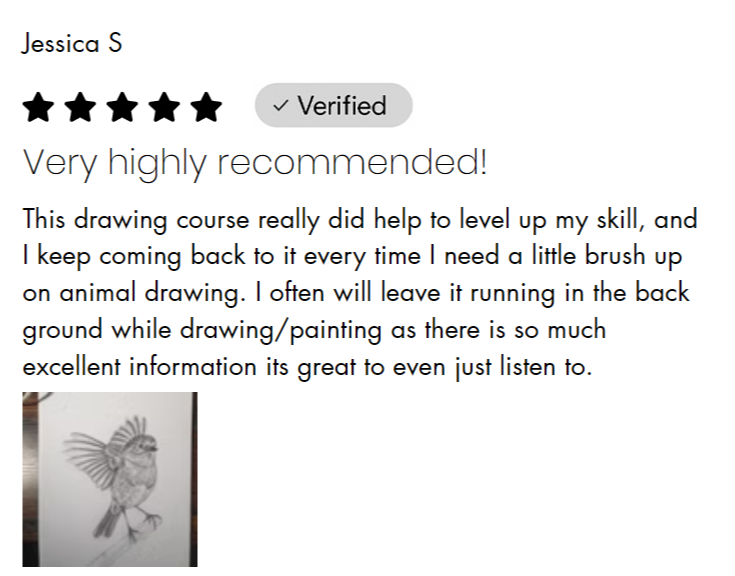
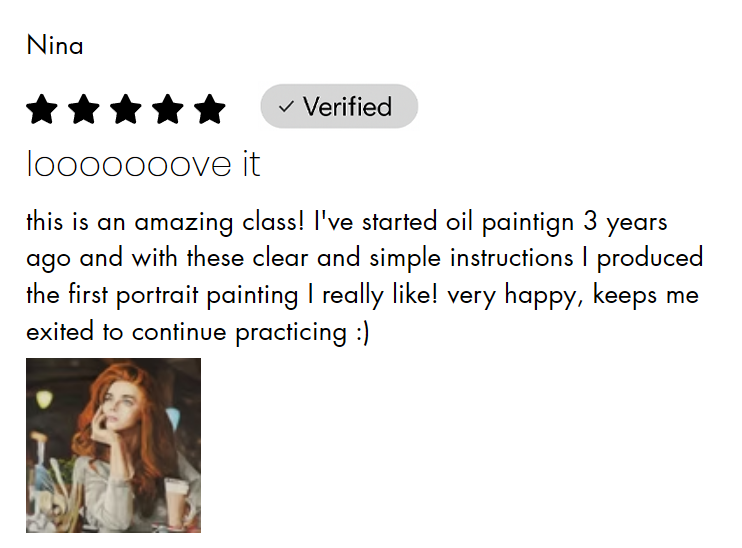
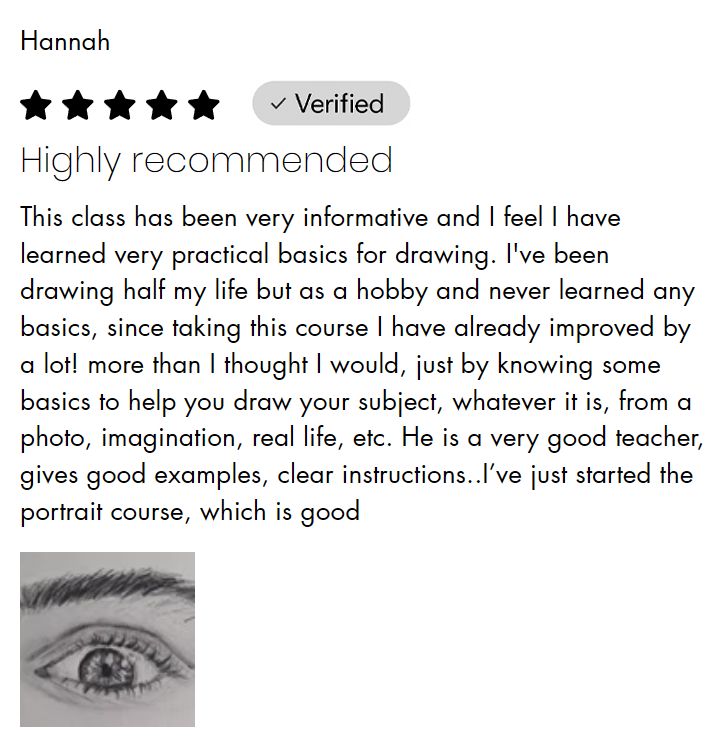
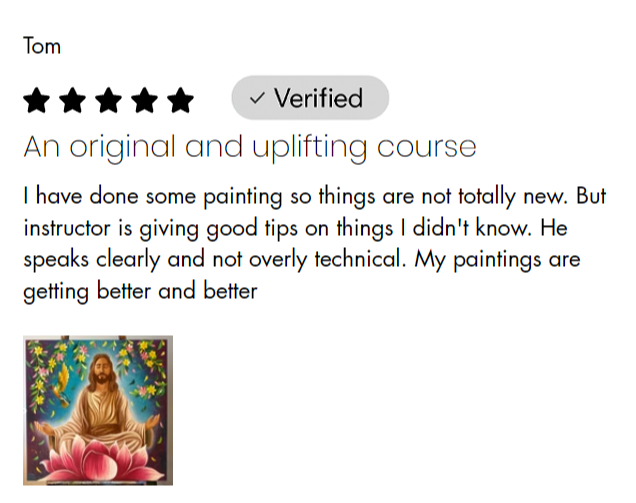
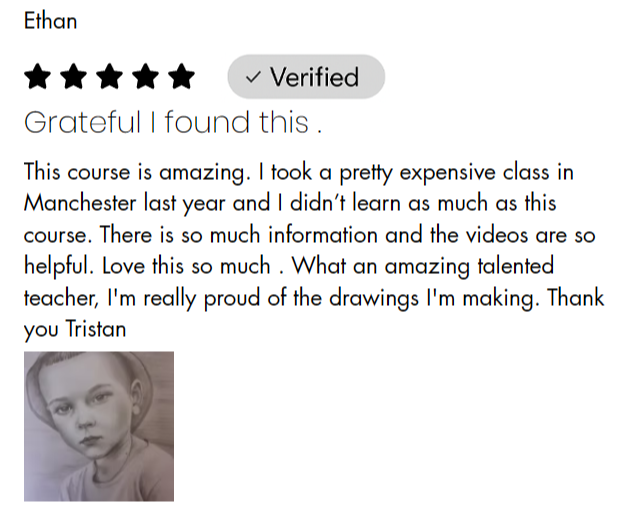
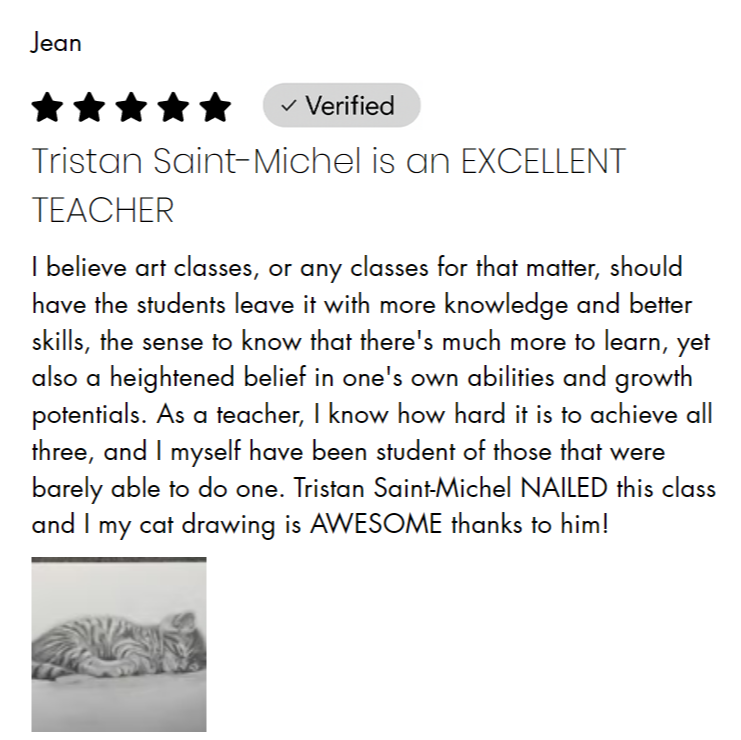
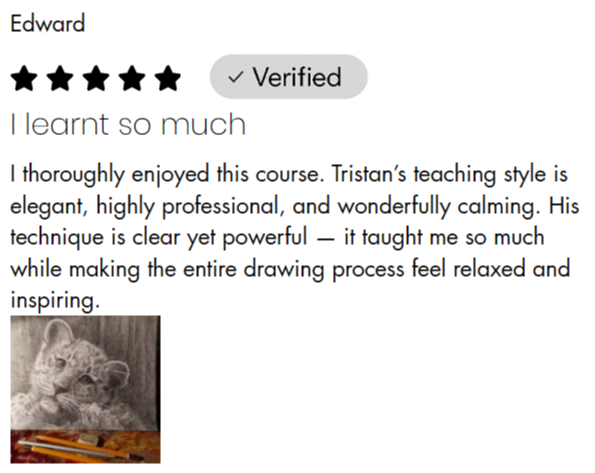
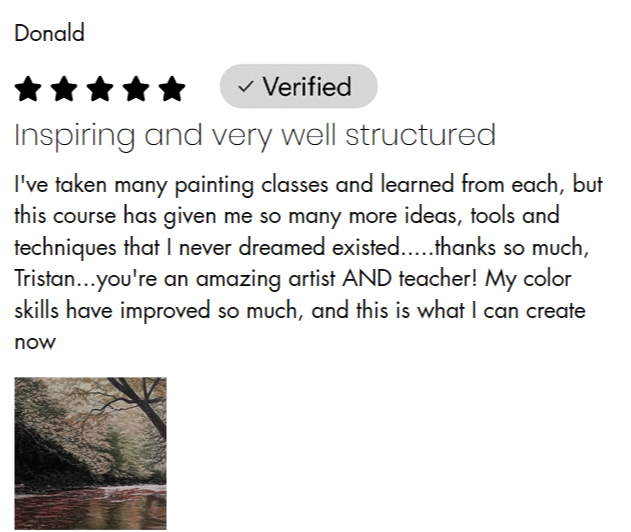
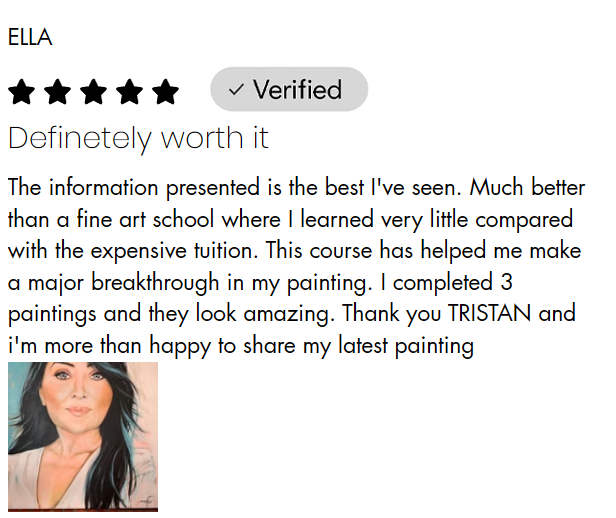
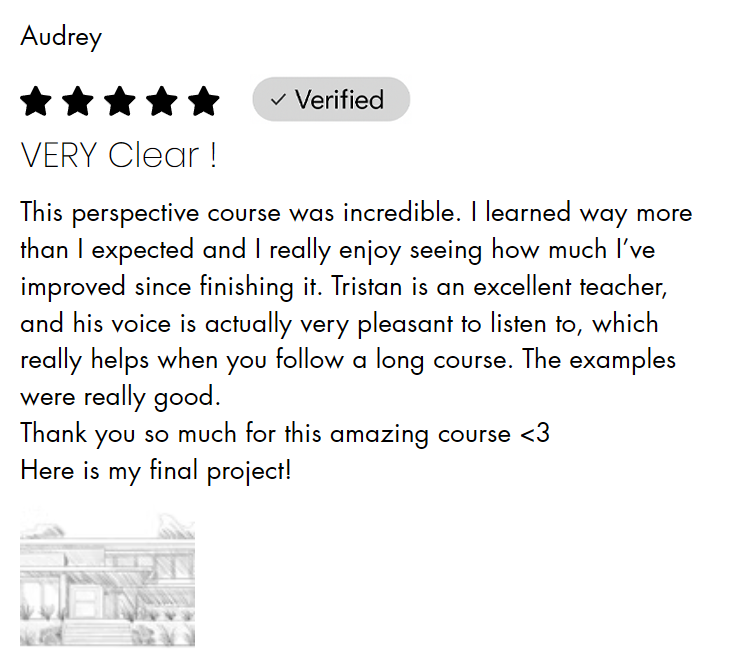
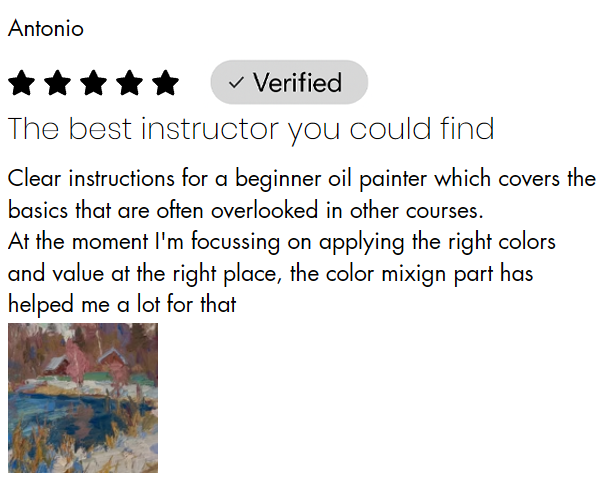
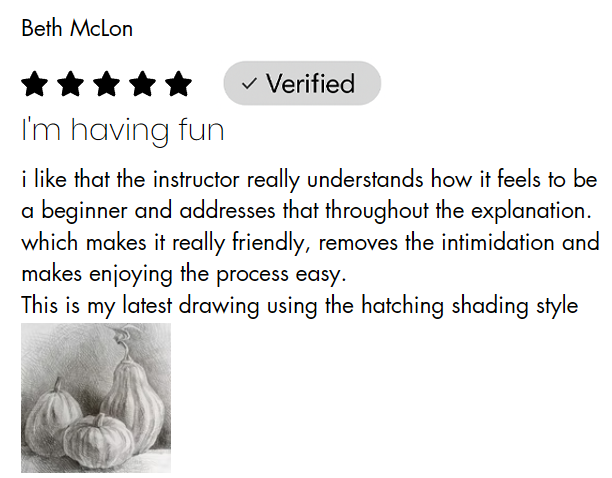
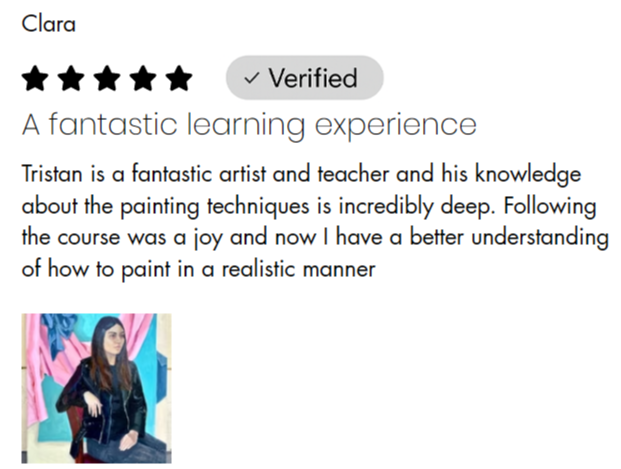
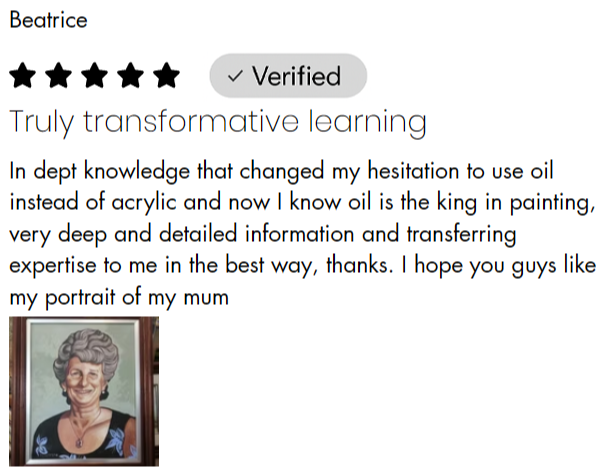
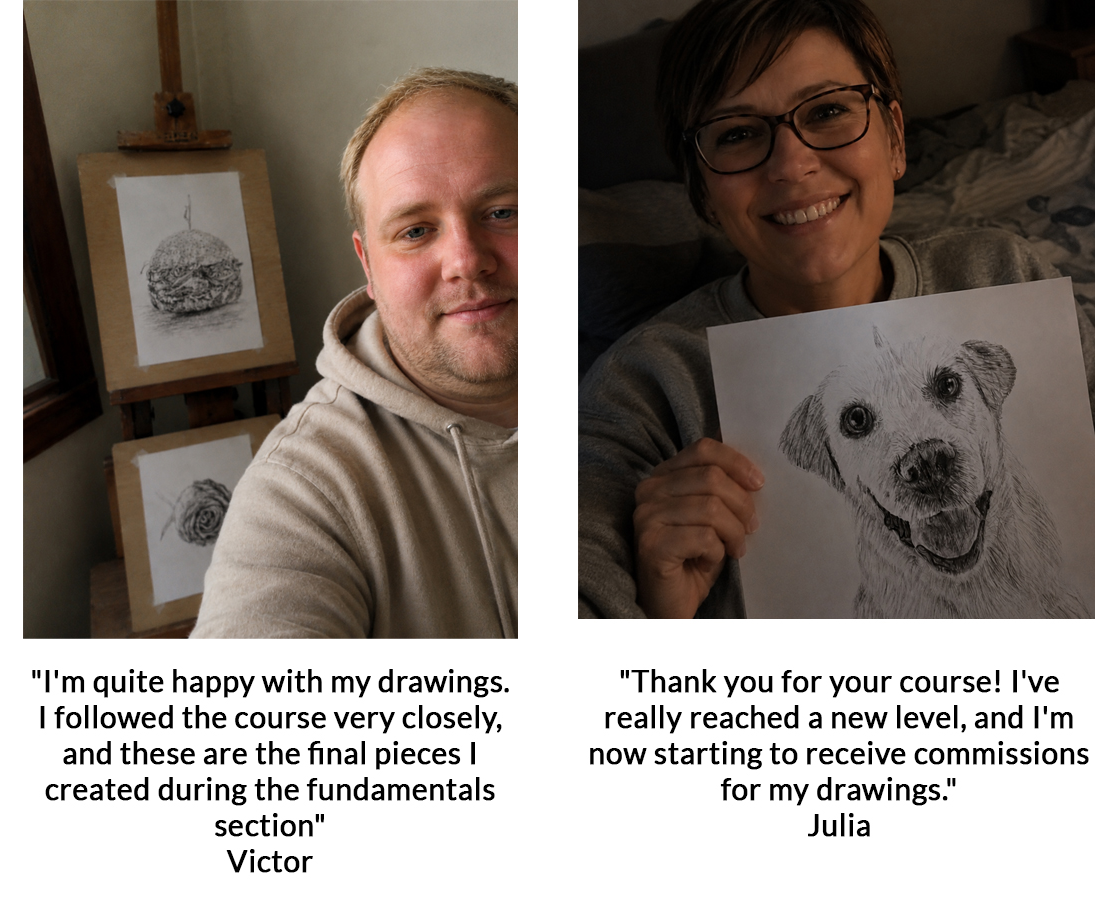
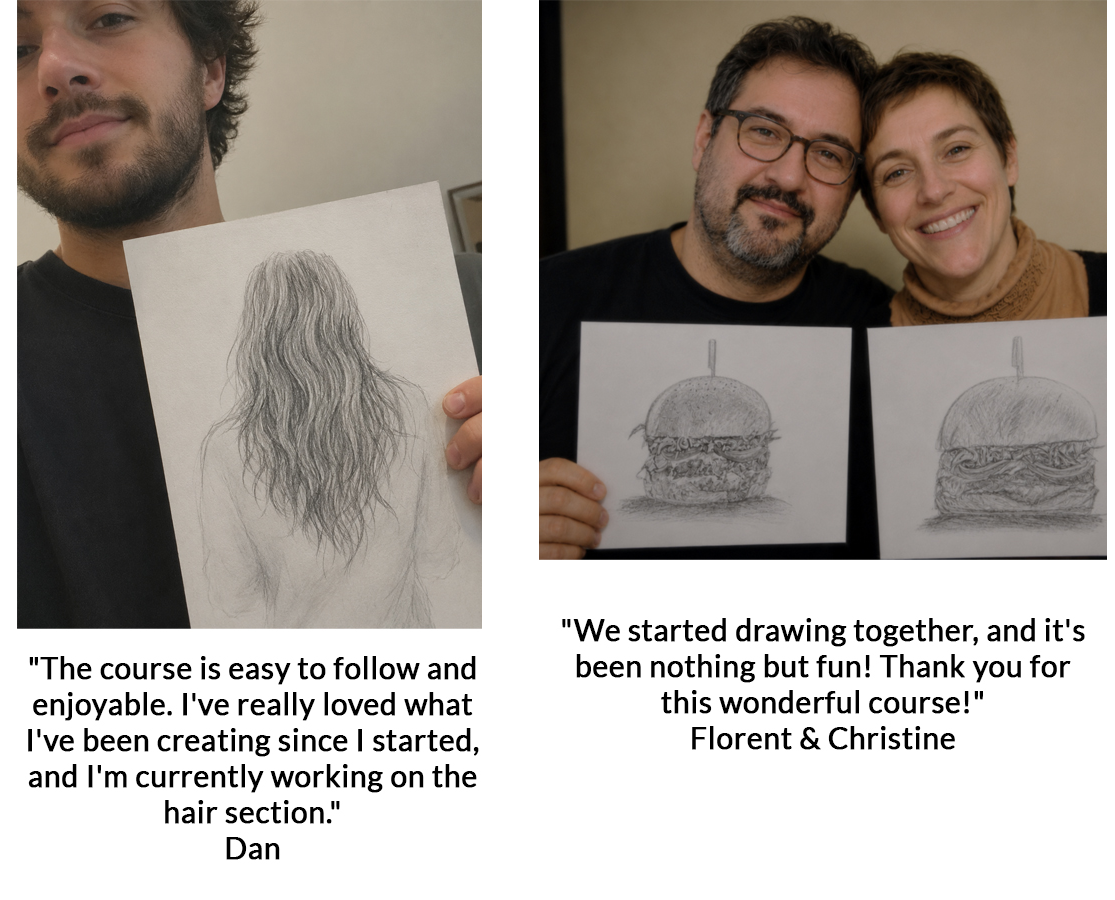
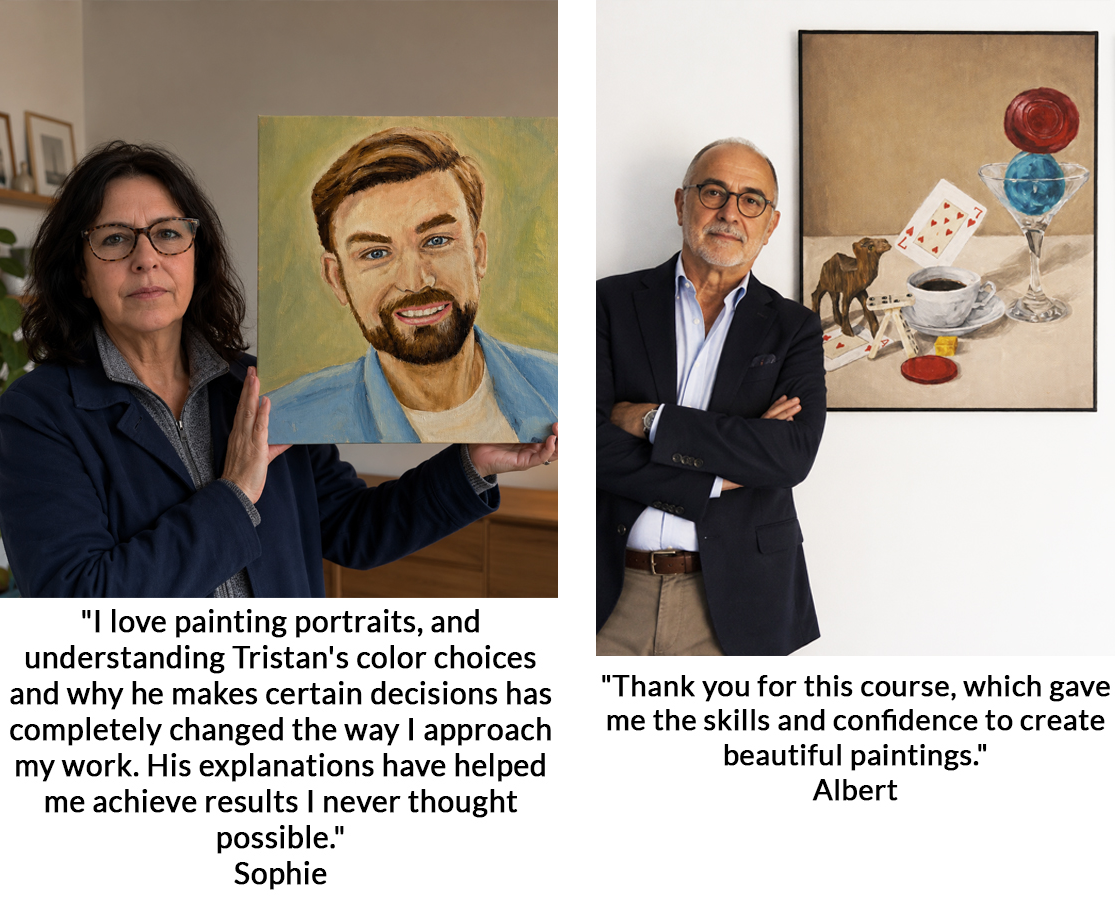
The Results Of My Students

Results achieved through a clear, step-by-step method


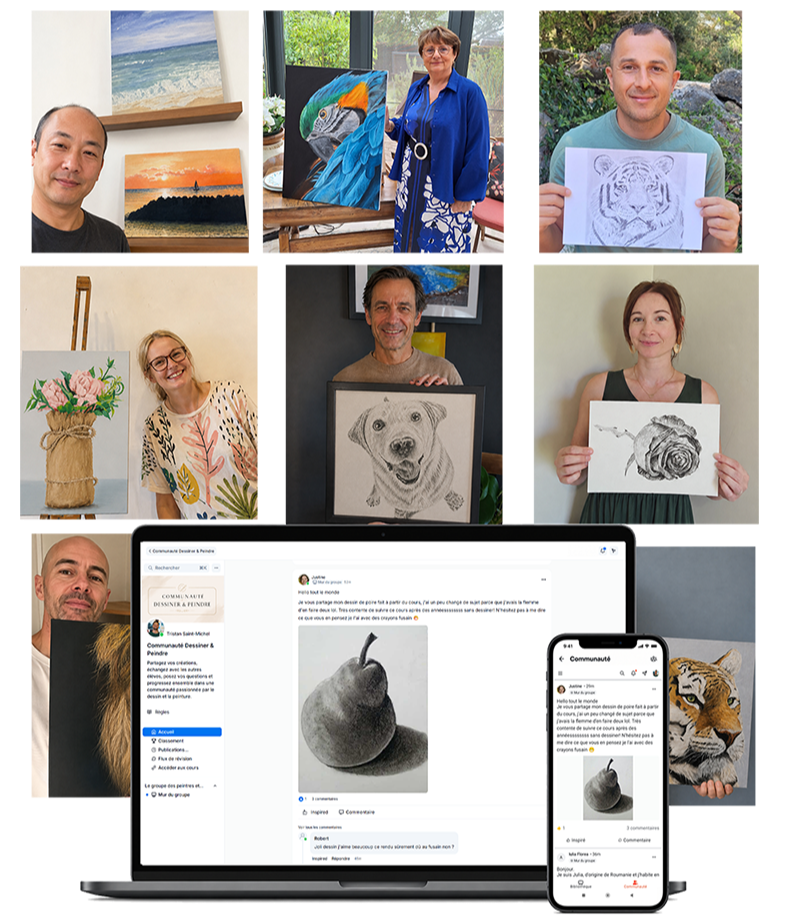
Meet the Students Behind These Drawings

From complete beginners to more experienced artists, discover their journey through their artwork.

Swipe to see more artwork

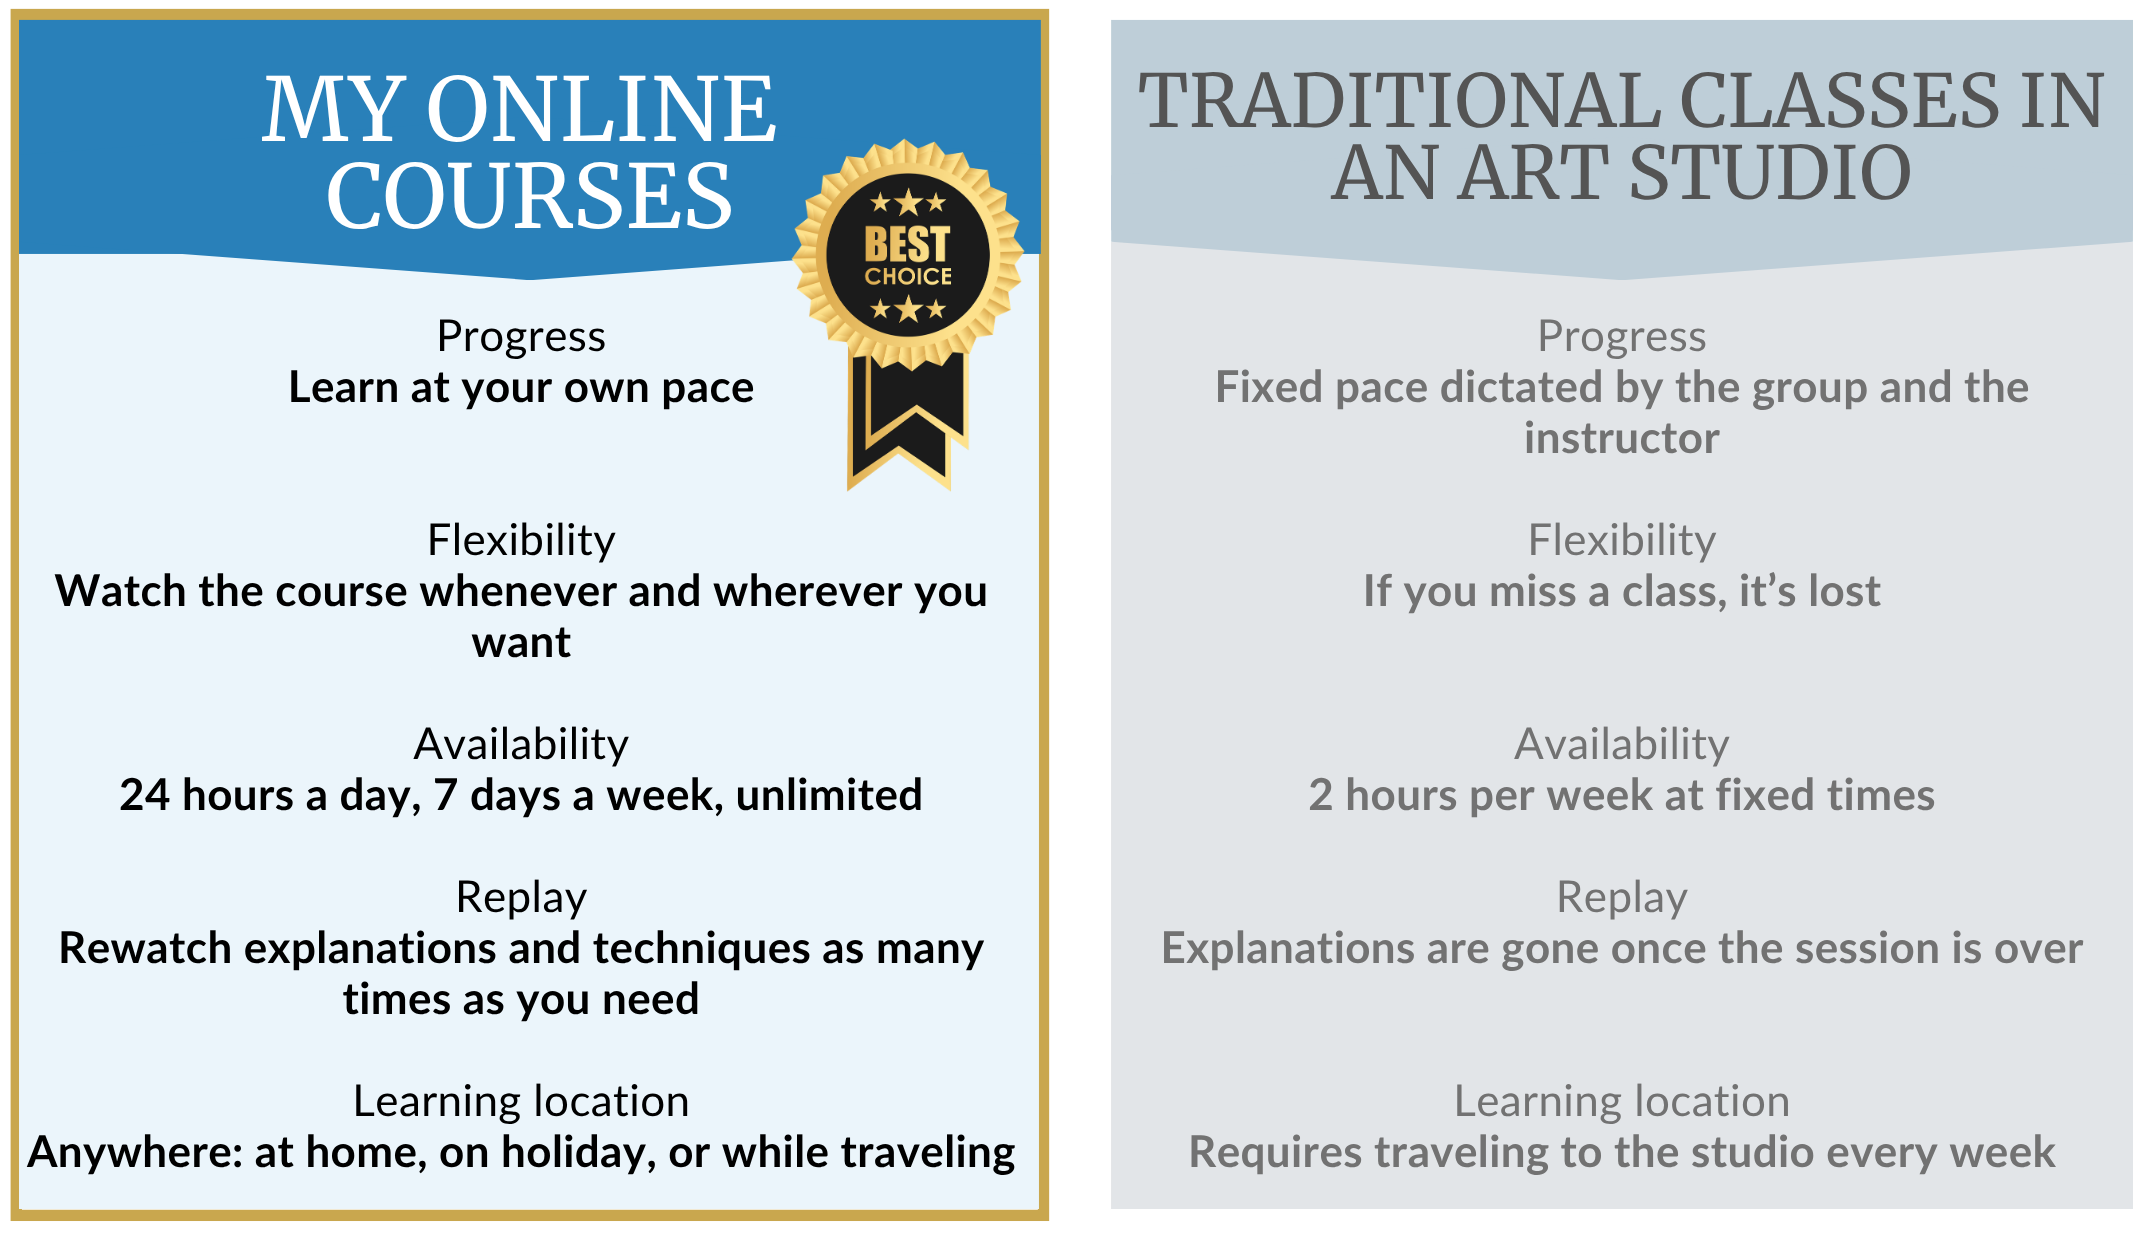
A Complete Alternative To Art Classes

Lifetime access, learn at your own pace, with no schedules or commuting

For the price of a few in-person classes, get access to 150 hours of complete training

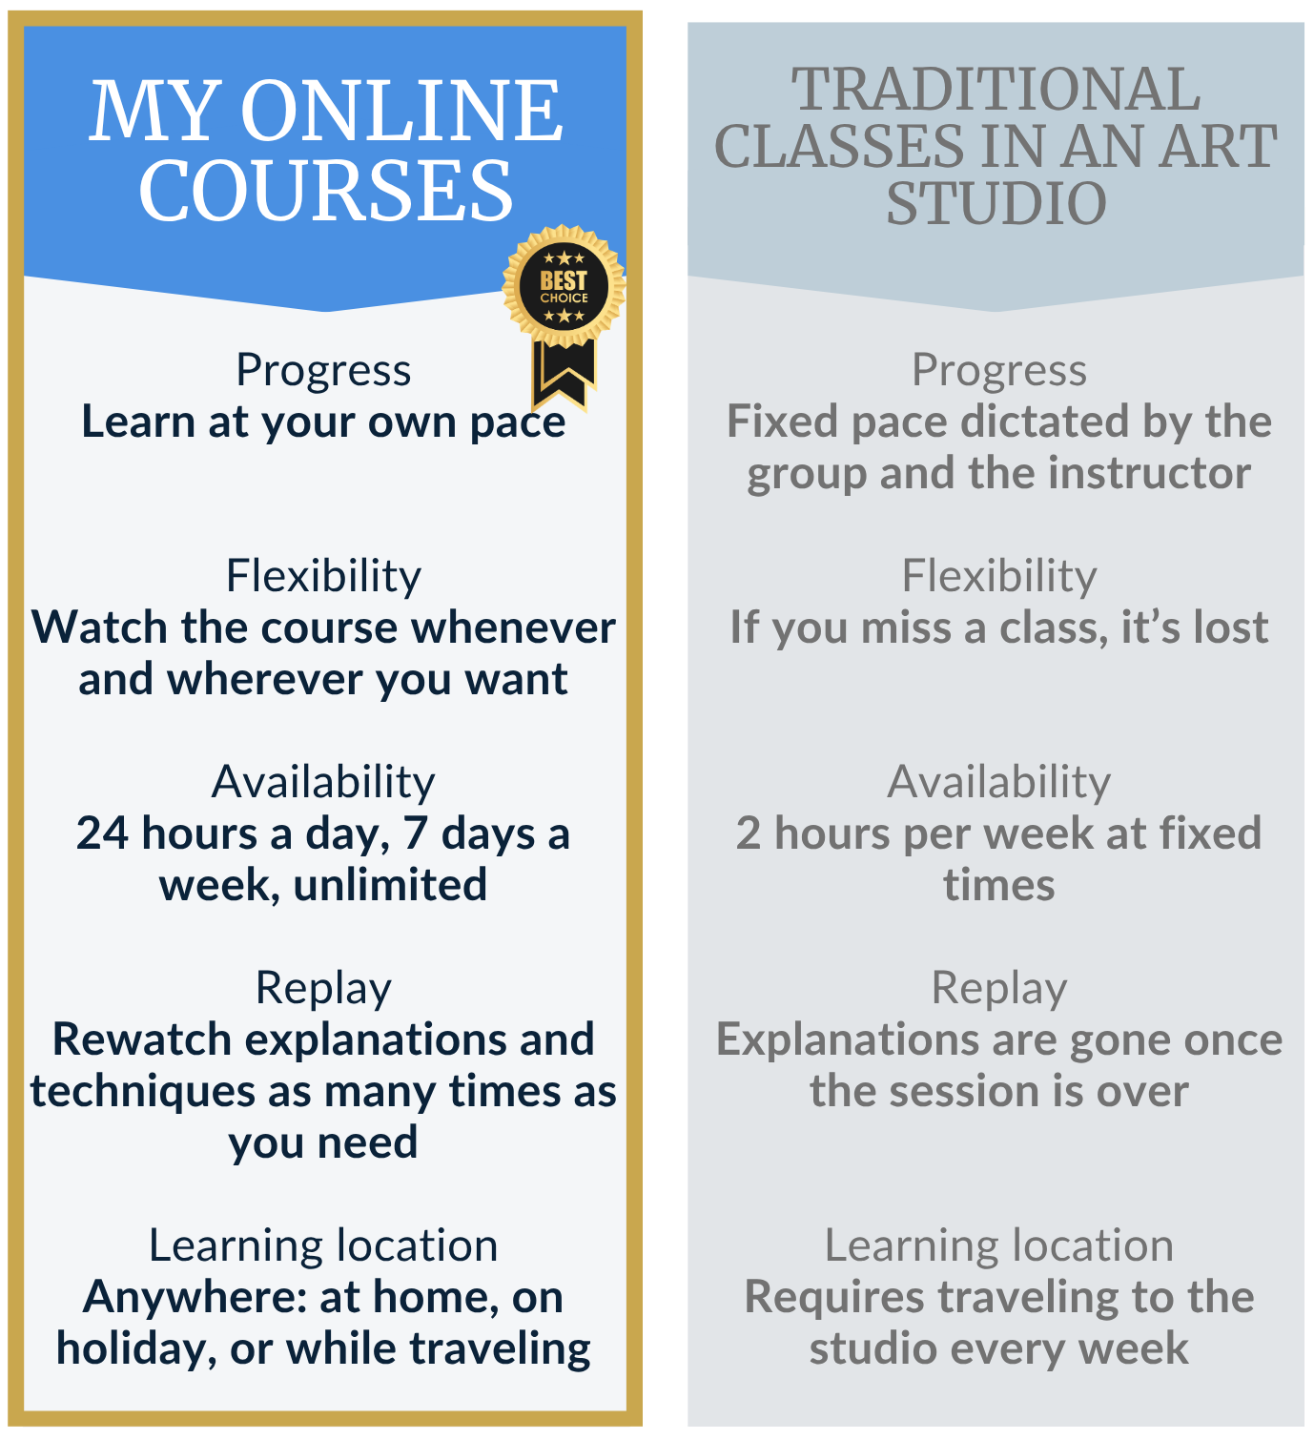
A Complete Alternative To Art Classes

Lifetime access, learn at your own pace, with no schedules or commuting

For the price of a few in-person classes, get access to 150 hours of complete training

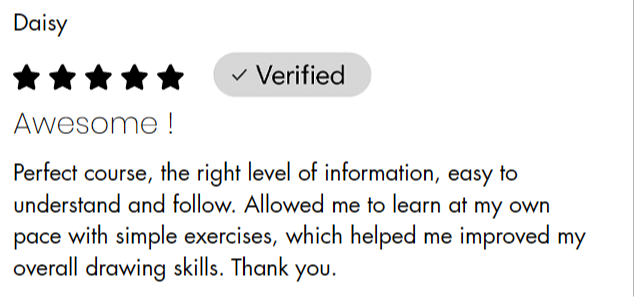
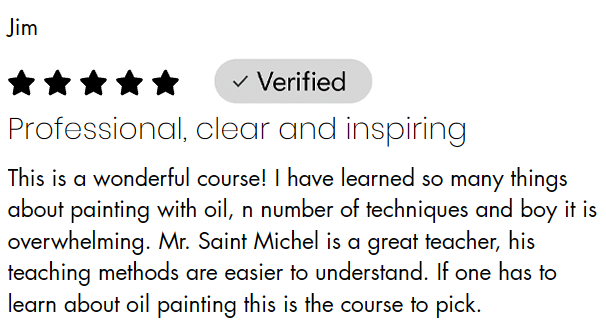
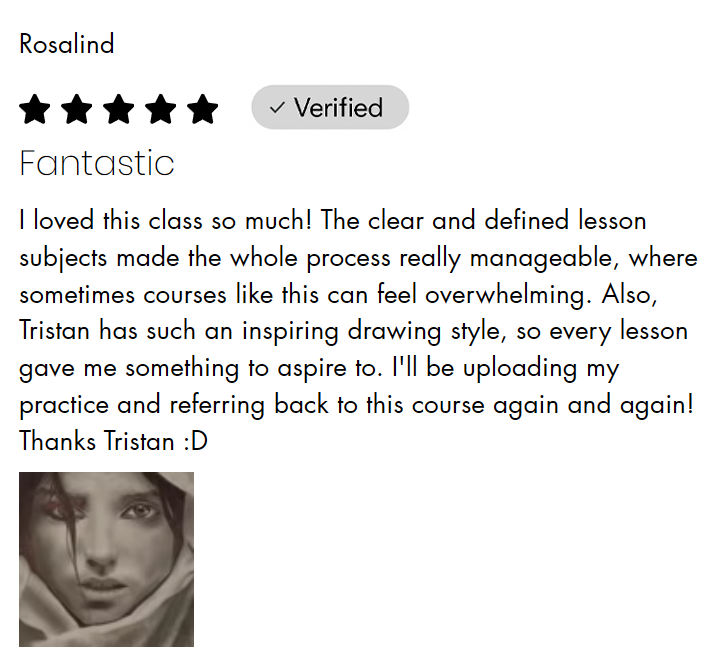
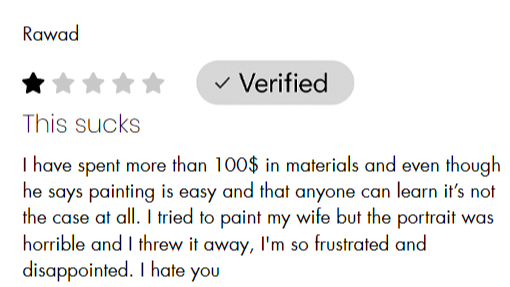
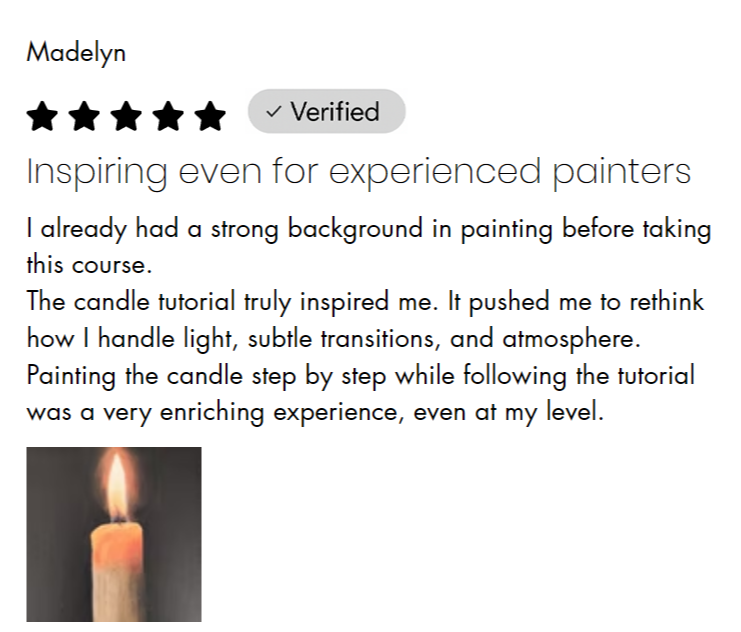
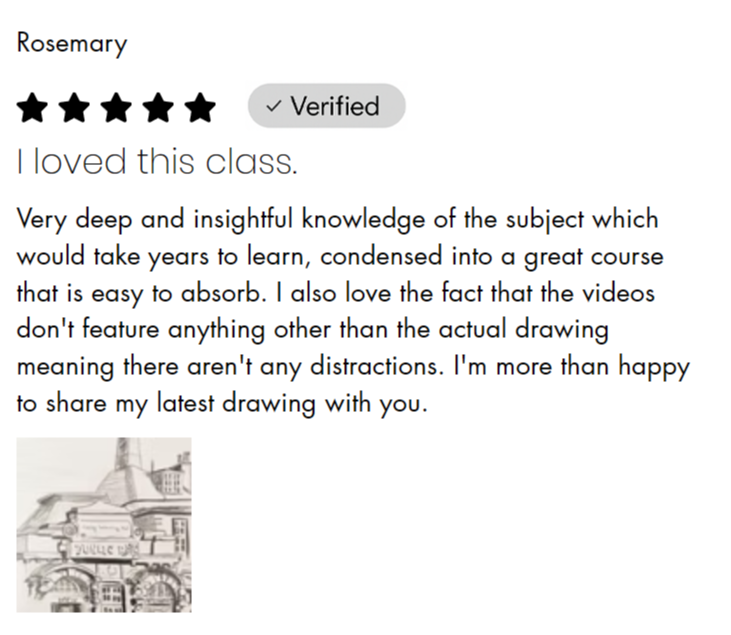
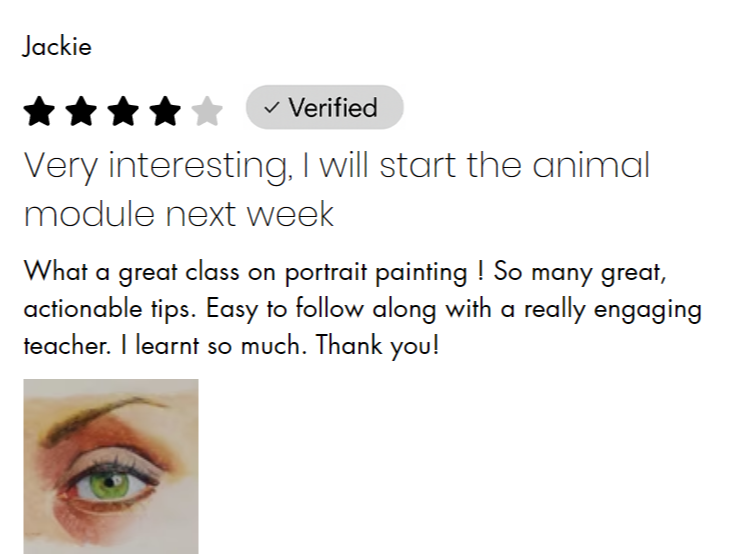
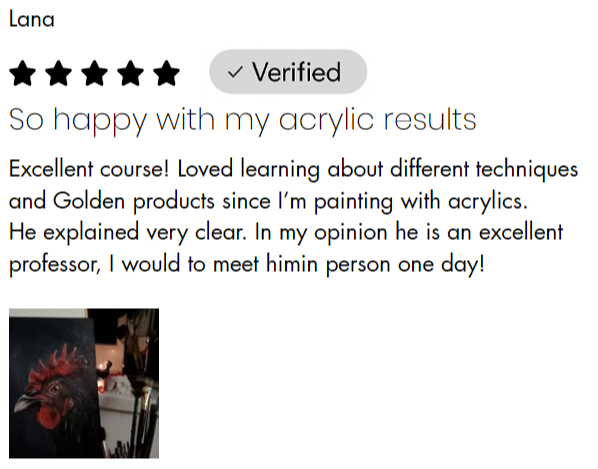
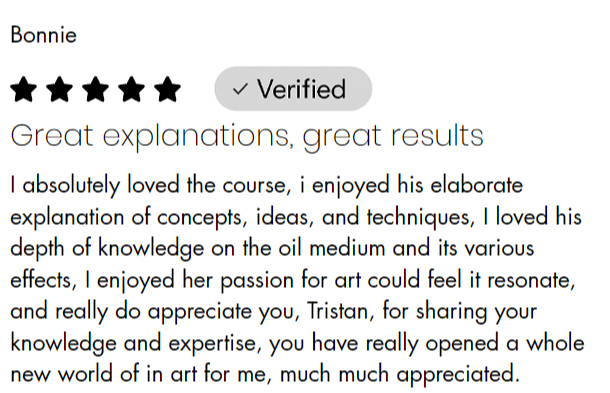
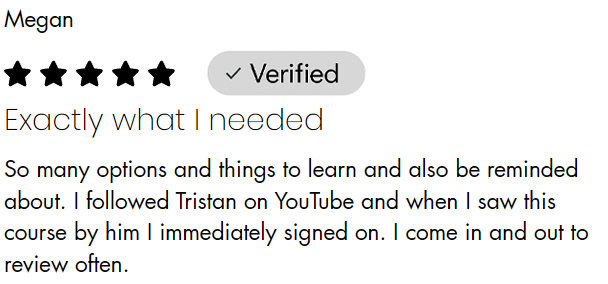
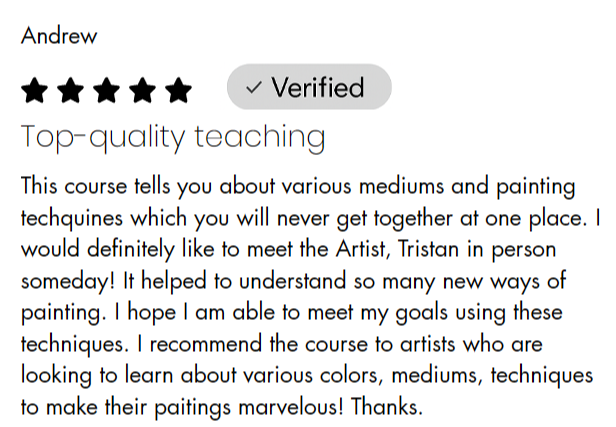
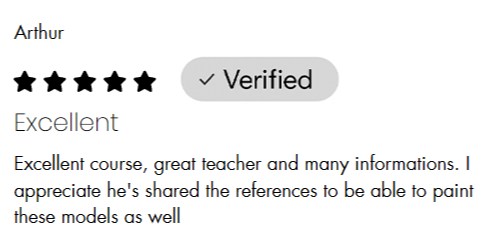
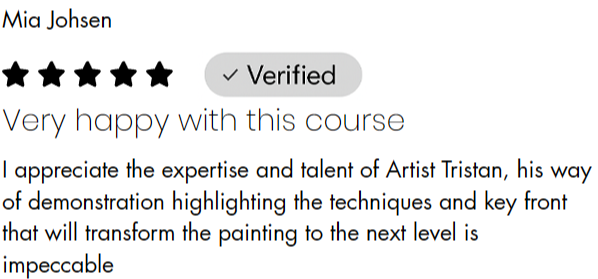
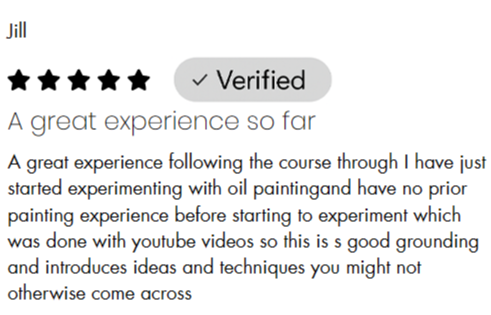
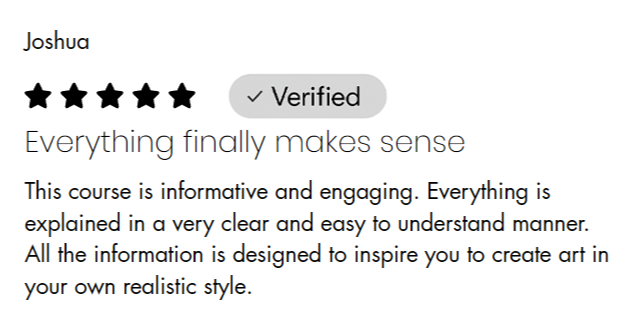
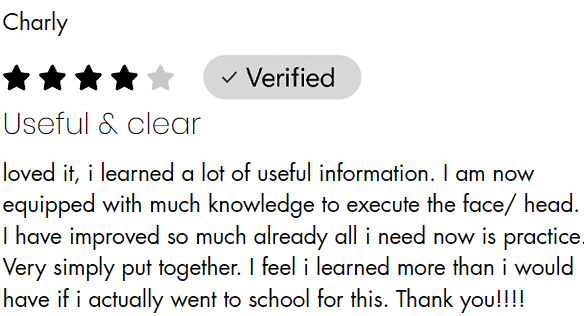
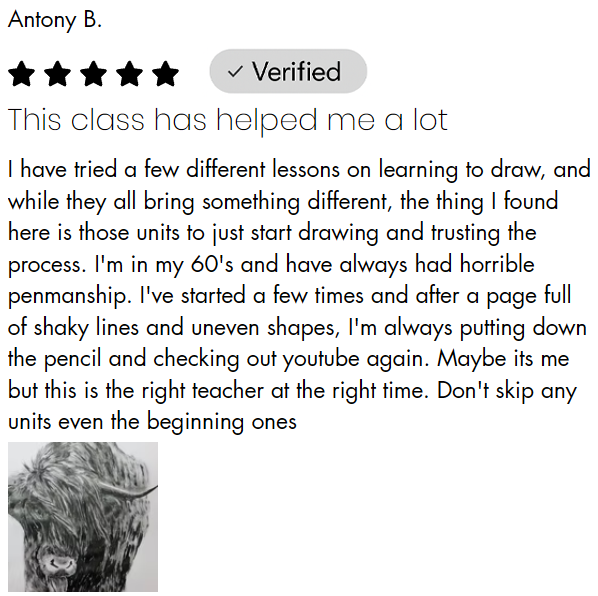
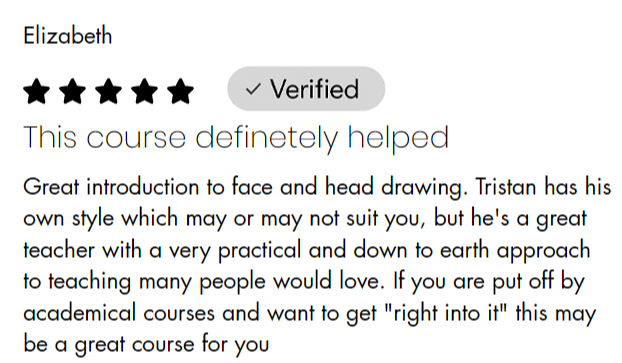
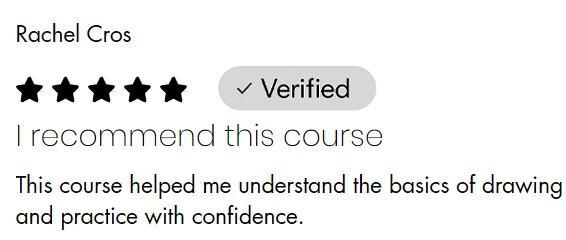
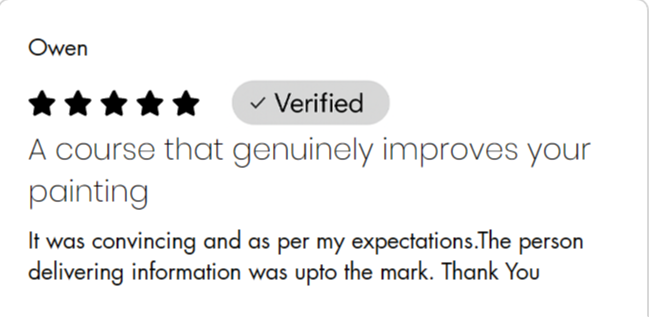
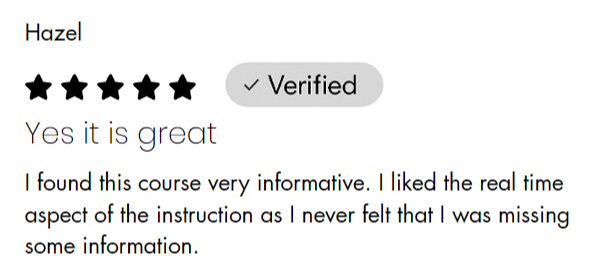
What Students Are Saying

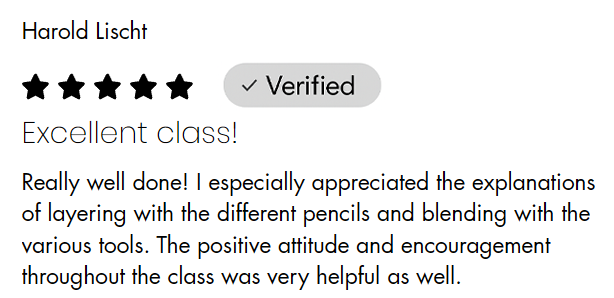
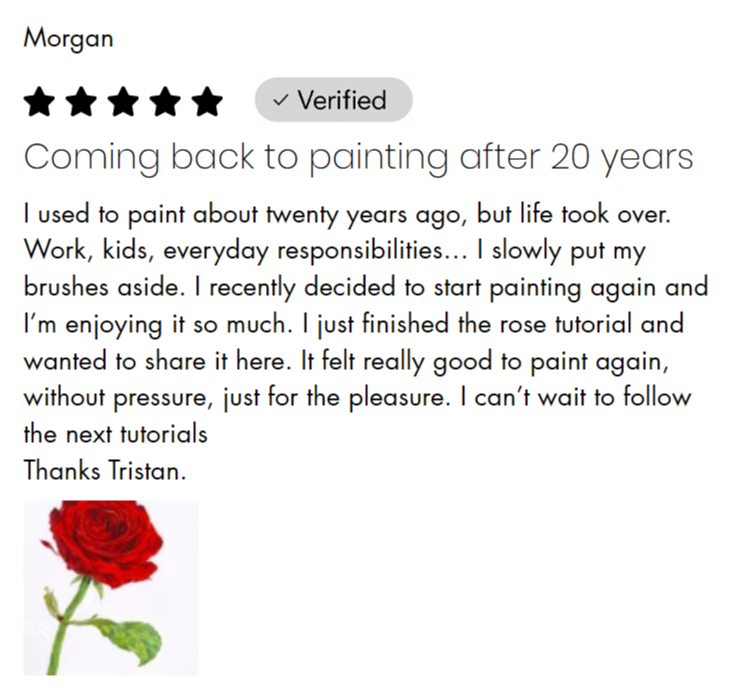
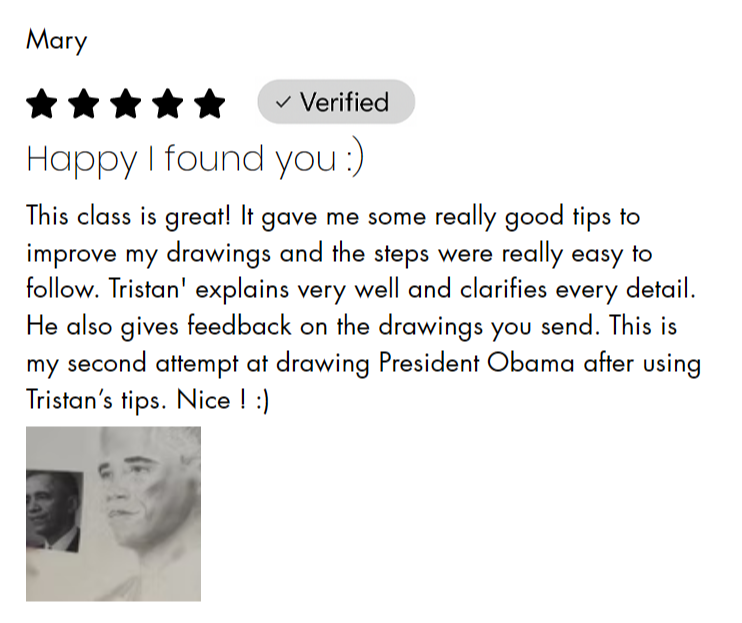
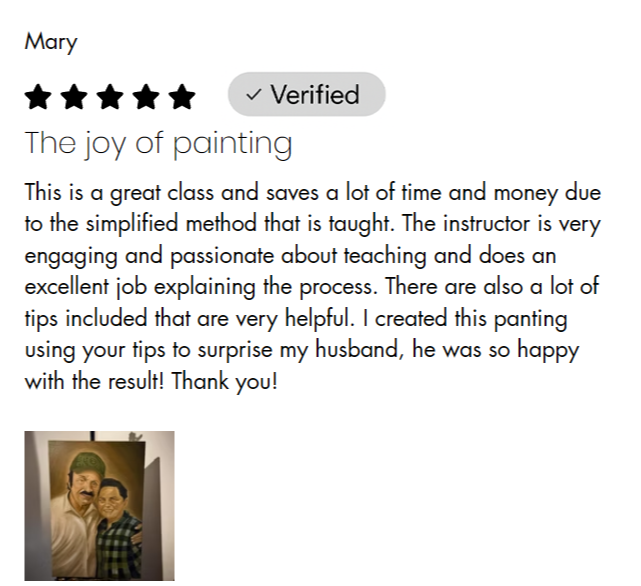
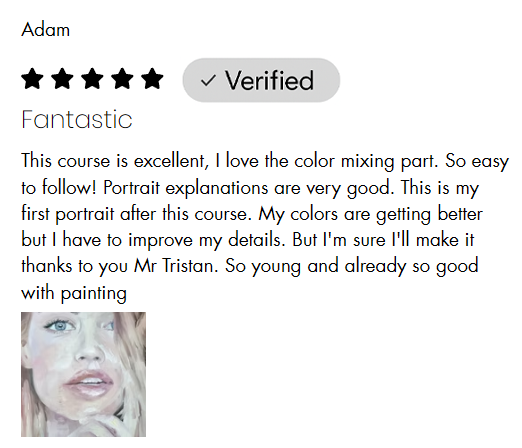
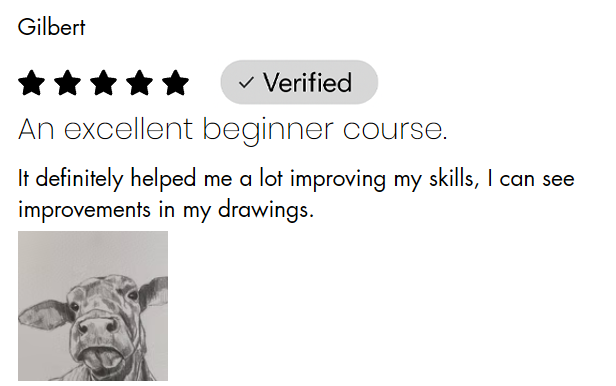
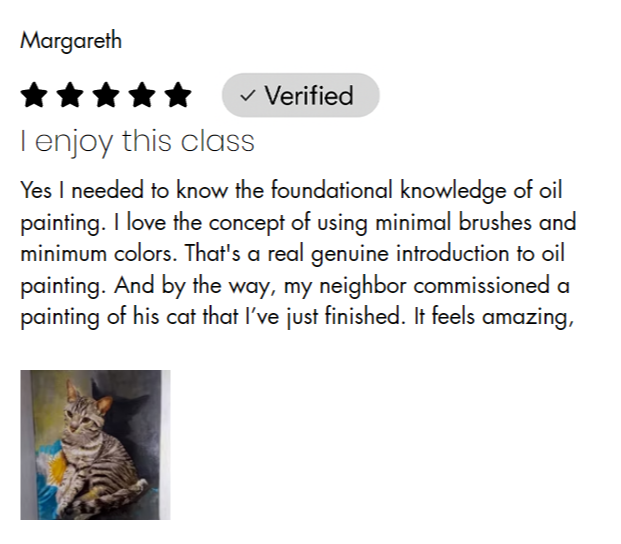
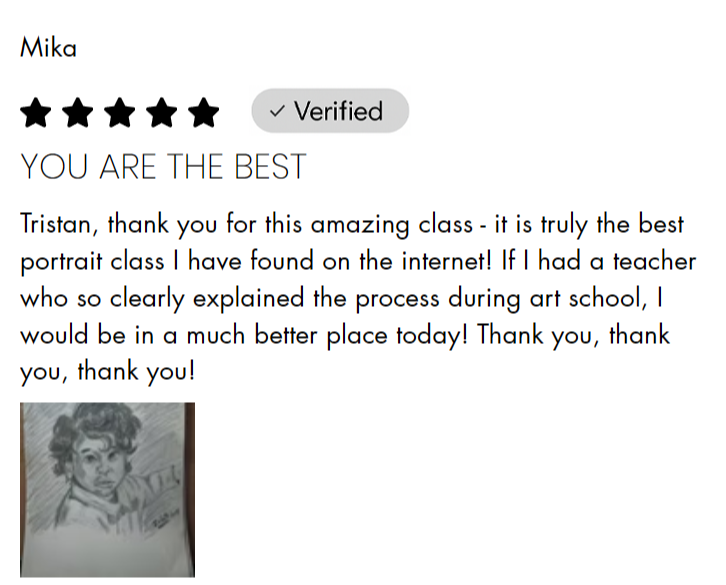
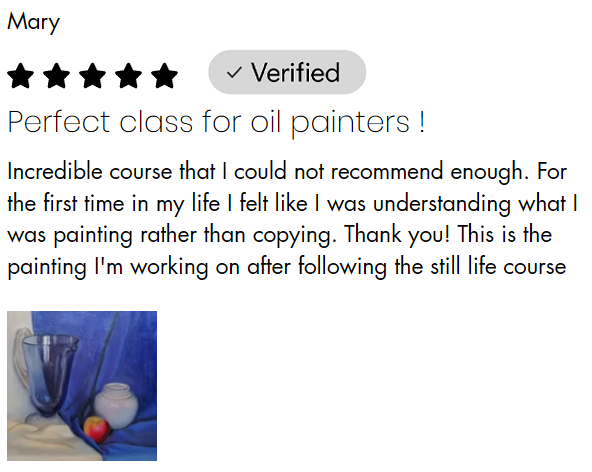
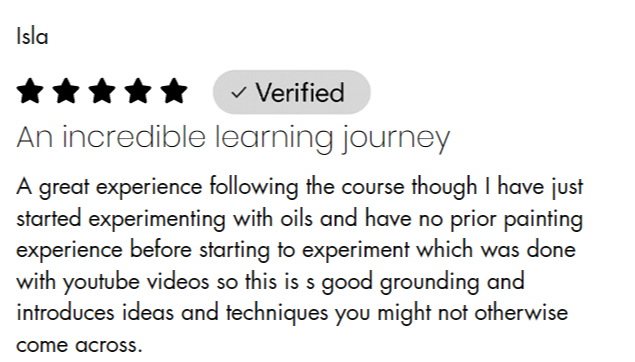
Over 100 Testimonials from Students Who Took the Course.

See +100 student reviews

Start Your Painting Journey Today

Secure Payment • No Subscription • Lifetime Access • 14-Day Guarantee

One-Time Payment

(recommended)

$297

Instant access to the 10 courses (valued at $850)

Lifetime access, no time limits

14-day money-back guarantee

Start Learning Now

Installment Payment

 4 monthly payments of 

$79

Instant access to the 10 courses (valued at $850)

Lifetime access, no time limits

14-day money-back guarantee

Start Learning Now

Payment is in US dollars, but you can pay in any currency. Your bank will automatically convert it.

Learn with Complete Confidence

I want you to progress without stress, which is why I have set up simple and clear guarantees

14-Day Satisfaction Guarantee

14 days to explore the course 

Lifetime Access 

Learn at your own pace, with no pressure

Private Student Community

Connect with fellow students, ask questions, and receive helpful advice.
Accessible on all devices

Computer, tablet, or phone

You can join the course today with complete peace of mind

Enroll Now

What Does the Platform Look Like ?

Discover how the lessons are organized and how to progress step by step without ever feeling lost.

All the videos are in English and include subtitles in 5 different languages : English, Spanish, German, Italian, and Portuguese

 
Enroll Now

Much More Than a Course

When you join the course, you get much more than 50+ hours of lessons.

You also gain access to a private community of passionate artists, directly integrated into your learning platform.

pinceaux pour l'apprentissage de la peinture a l'huile

Inside the community, you can:

✔ Share your drawings and paintings

✔ Ask questions and receive personalized advice

✔ Connect with fellow passionate students

✔ Discover artwork created by other community members

✔ Stay motivated and keep improving throughout your learning journey

The community is included at no extra cost with your course.
The community is fully integrated into the learning platform, so you can access both your course and the community from a single place, whether you're using a computer or the mobile app.
Join the Course

Know Exactly What You're Getting

Explore the complete curriculum and discover how the course is structured from start to finish.

You'll also be able to watch 8 complete lessons taken directly from the program, so you can experience the teaching style and approach before making your decision.

No trailers or shortened previews. Just real lessons from the actual course.
See the Full Program & Sample Lessons

Learn with a Professional Artist

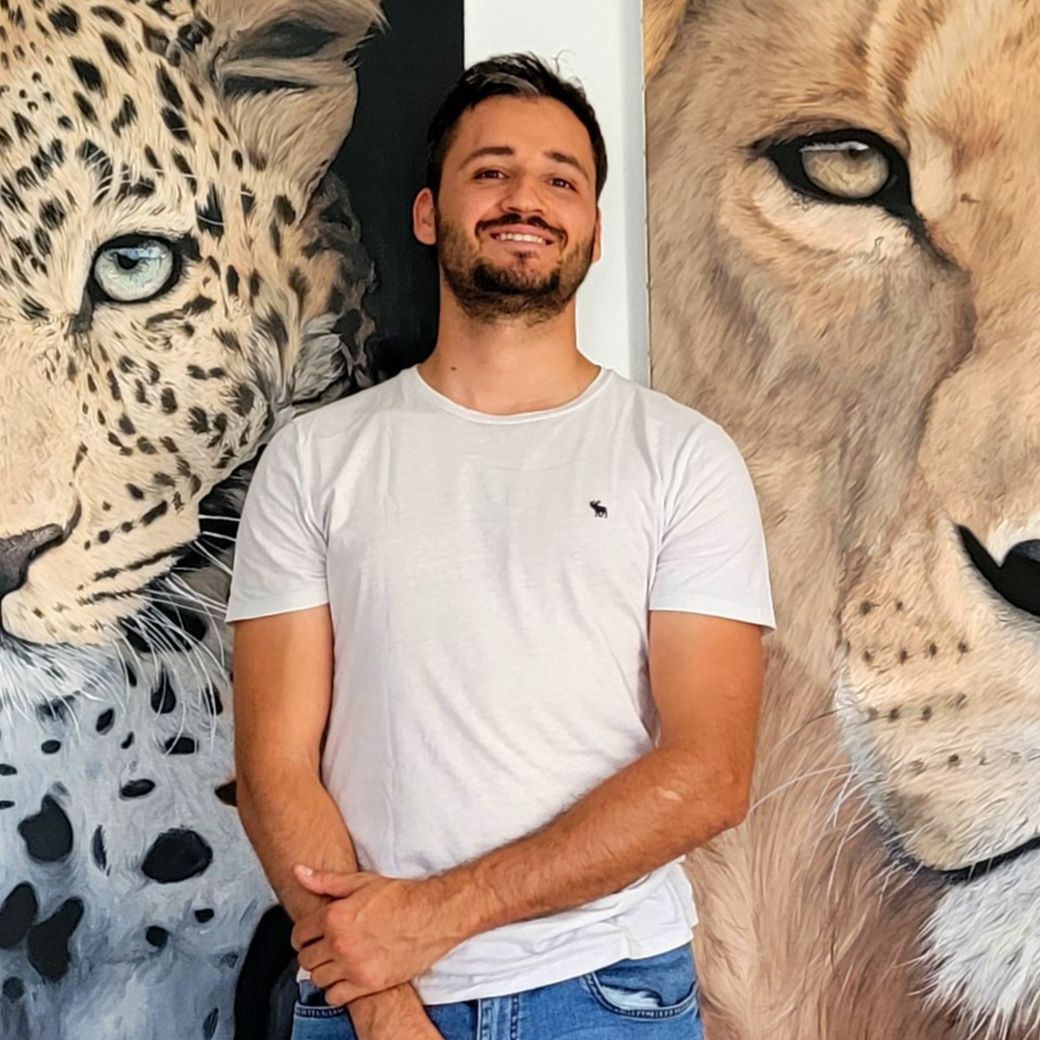
My name is Tristan Saint-Michel, gallery-exhibited painter and passionate teacher. I have trained hundreds of students in drawing and oil painting through a clear and progressive method, suited to both beginners and experienced artists.
My goal is to help you make real progress even if you think you are not "talented"

Learn Now

Learn with a Professional Artist

My name is Tristan Saint-Michel, gallery-exhibited painter and passionate teacher. I have trained hundreds of students in drawing and oil painting through a clear and progressive method, suited to both beginners and experienced artists.
My goal is to help you make real progress even if you think you are not "talented"

Join the Course

An Oil Painting Course You Can Also Follow With Acrylic

Even though the course is taught using oil painting, it is fully adapted to acrylic painting. The essential fundamentals are the same: color, volume, light, composition, precision of gesture, and more.

From the very beginning of the program, a specific pathway allows students who paint with acrylics to easily adapt the materials, mediums, and drying times.

As a result, you can follow the entire course using acrylic paint and progress with the same fundamentals, just as many students already do with excellent results.

Start Learning Now

Frequently Asked Questions

Start Painting Today

Contact

A question ? A message ?

I’m always happy to connect with visitors. Whether you have a question about the courses or have any other request, you can write to me directly using the form below. I take the time to personally reply to every message as quickly as possible.

The Complete Structure of the Course

The program is designed for step by step progression, from solid foundations to complete projects.
You can revisit any lesson at any time and watch the videos in any order.

Sample lessons are available at the bottom of the page

Click on the bold section titles to view the different lessons in the course.

The Complete Drawing Course

  1. Fundamentals of Drawing

    13 lessons
    1. Welcome !
    2. Drawing Materials
    1. Part 1 - Lines

      1. 1. Lines
    2. Part 2 - Shapes

      1. 1. Shapes - The different shapes
      2. 2. Shapes - Analysis
      3. 3. Shapes - Examples
      4. 4. Project – Shapes
    3. Part 3 - Contours

      1. 1. Contours
      2. 2. Project - Contours
    4. Part 4 - Light and Shadow

      1. 1. Light and Shadow – Theory
      2. 2. Light and Shadow – Value Scale
      3. 3. Light and Shadow – Shading, Blending, and Erasing Techniques
      4. 4. Project – Shading
  2. Fundamentals of Drawing - Part 2

    23 lessons
    1. Part 5 - Proportions

      1. 1. Proportions – Overview
      2. 2. Proportions – Sight-Size Method
      3. 3. Proportions – Angle Sighting
      4. 4. Proportions – The Grid Method
      5. 5. Proportions – Using the Grid in Real Life
      6. 6. Proportions – Practice Exercise with the Grid
    2. Part 6 - Perspective Basics

      1. 1. Perspective – Horizon Line
      2. 2. Perspective – One-Point Perspective
      3. 3. Perspective – Two-Point Perspective
      4. 4. Perspective – Three-Point Perspective
    3. Part 7 - Exercices Before Final Projects

      1. 1. Drawing a Figure Upside Down
      2. 2. Drawing Negative Space
      3. 3. Blind Contour Drawing Without Looking
      4. 4. Seeing the World in Black and White
      5. 5. Understanding Hard Edges and Soft Edges
    4. Final Projects

      1. 1. Final Project – Drapery
      2. 2. Final Project – Pears
      3. 3. Final Project – Burger – Part 1
      4. 4. Final Project – Burger – Part 2
      5. 5. Final Project – Burger – Part 3
      6. 6. Final Project – Rose – Part 1
      7. 7. Final Project – Rose – Part 2
      8. 8. Final Project – Rose – Part 3
  3. Drawing Animals

    25 lessons
    1. Part 1 - Drawing Animals Using Simples Shapes

      1. 1. Drawing Animals Using Simple Shapes – Identification
      2. 2. Drawing Animals Using Simple Shapes – Let’s Get Started
      3. 3. Drawing Animals Using Simple Shapes – A More Precise Contour to Finish
    2. Part 2 - Shading

      1. 1. Rhinoceros – Analysis and Construction Lines
      2. 2. Rhinoceros – Shading the Body
      3. 3. Rhinoceros – Shading the Head
    3. Part 3 - Textures

      1. 1. Textures – Introduction
      2. 2. Fur – Cat
      3. 3. Wool – Sheep
      4. 4. Scales – Snake
      5. 5. Feathers – Rooster
      6. 6. Spots – Giraffe
      7. 7. Wrinkled Skin – Elephant – Part 1
      8. 7. Wrinkled Skin – Elephant – Part 2
    4. Part 4 - Final Projects

      1. 1. Dog – Part 1
      2. 1. Dog – Part 2
      3. 2. Eagle – Part 1
      4. 2. Eagle – Part 2
      5. 3. Horse – Part 1
      6. 3. Horse – Part 2
      7. 4. Labrador – Part 1 (Using the grid technique with animals)
      8. 4. Labrador – Part 2
      9. 5. Tiger – Part 1
      10. 5. Tiger – Part 2
      11. 5. Tiger – Part 3
  4. Drawing Portrait

    51 lessons
    1. Start with a Complete Portrait - Female Portrait

      1. 1. Introduction – Female Portrait
      2. 2. Female Portrait – Contours
      3. 3. Female Portrait – First Eye
      4. 4. Female Portrait – Second Eye
      5. 5. Female Portrait – Forehead
      6. 6. Female Portrait – Nose
      7. 7. Female Portrait – Cheek
      8. 8. Female Portrait – Mouth
      9. 9. Female Portrait – Hair – Part 1
      10. 10. Female Portrait – Hair – Part 2
    2. Start with a Complete Portrait - Male Portrait

      1. 1. Introduction – Male Portrait
      2. 2. Male Portrait – First Eye
      3. 3. Male Portrait – Second Eye
      4. 4. Male Portrait – Nose
      5. 5. Male Portrait – Cheek
      6. 6. Male Portrait – Forehead
      7. 7. Male Portrait - The mouth
      8. 7. Male Portrait – Area Between Nose and Mouth
      9. 8. Male Portrait – Ear
      10. 9. Male Portrait – Chin
      11. 10. Male Portrait – Hair
      12. 11. Male Portrait – Neck
    3. Drawing the Different Facial Features - Mouth

      1. 1. Closed Mouth
      2. 2. Smiling Mouth
      3. 3. Open Mouth
    4. Drawing the Different Facial Features - Nose

      1. 4. Nose – 3/4 View
      2. 5. Nose – Profile View
      3. 6. Nose – Front View
      4. 7. Crooked Nose
      5. 8. A Tool to Draw the Nose
    5. Drawing the Different Facial Features - Eyes

      1. 9. Eye – Front View
      2. 10. Eye – Profile View
      3. 11. Eye – 3/4 View
      4. 12. Closed Eye
      5. 13. A Tool to Better Draw Eyes
    6. Drawing the Different Facial Features - Ears

      1. 14. Ear – Profile View
      2. 15. Ear – Front View
    7. Drawing the Different Facial Features - Hair

      1. 16. Hair – Straight
      2. 17. Hair – Wavy
      3. 18. Hair – Long Male
      4. 19. Hair – Short
    8. Facial Proportions - The Loomis Method

      1. 1. Head Analysis
      2. 2. Front View Portrait
      3. 3. Profile Portrait
      4. 4. Three Quarter View Portrait
      5. 5. Additional Exercise
      6. 6. Sculpting a Simplified Loomis Head in Clay
    9. Advanced Studies

      1. 1. Working on the Gaze of an Elderly Person
      2. 2. Working on Dark Skin
      3. 3. Drawing a Complex Hairstyle – Part 1
      4. 3. Drawing a Complex Hairstyle – Part 2
  5. Drawing the Human Body

    14 lessons
    1. Create a Precise Contour

      1. 1. Analyzing the Body Using Simple Shapes
      2. 2. Drawing the Body Using Shapes
      3. 3. From Shapes to a Precise Contour
      4. 4. Drawing All Body Postures
      5. 5. Human Body Proportions
    2. Drawing Different Parts of the Human Body

      1. 1. The Chest
      2. 2. The Hand
      3. 3. The Back
    3. Foreshortening

      1. 1. Foreshortening – Introduction
      2. 2. Foreshortening of the Human Body
    4. Final Projects

      1. 1. Standing Woman – Subject Introduction
      2. 1. Standing Woman
      3. 2. David – Part 1
      4. 2. David – Part 2
  6. Drawing Perspective

    44 lessons
    1. Basic Techniques

      1. 1. The Horizon Line
      2. 2. One-Point Perspective
      3. 3. Two-Point Perspective
      4. 4. Three-Point Perspective
      5. 5. Exercises to Better Master Perspective
      6. 6. The Cone of Vision, Station Point, and Distortion in Perspective
      7. 7. Division in Perspective
      8. 8. Multiplication in Perspective
    2. Ellipses in Perspective

      1. 1. Ellipse Basics
      2. 2. Arches
      3. 3. Dividing an Ellipse
      4. 4. A Cylindrical Tower
    3. Proportions Techniques in Perspective

      1. 1. Overview of the Techniques Covered
      2. 2. One-Point Perspective Grid
      3. 3. Two-Point Perspective Grid
      4. 4. Scaling Objects
      5. 5. When Vanishing Points Are Too Far Away – The Brewer Method
      6. 6. The Brewer Method – Demonstration
      7. 7. Perfect Squares and Cubes in Perspective
    4. Slopes in Perspective

      1. 1. Basics of Slopes
      2. 2. Creating a Precise Angle
      3. 3. Special Case – A Dormer Window
      4. 4. A Staircase – Simple Method
      5. 5. A Staircase – More Precise Method
      6. 6. A Road Going Up and Down
    5. Advanced Techniques

      1. 1. Dynamic Planes in Perspective
      2. 2. Complex and Curved Forms in Perspective
      3. 3. Breaking Down Volumes
      4. 4. Complex Forms in Perspective – Practical Demonstration
      5. 5. Atmospheric Perspective
      6. 6. Five-Point Perspective
      7. 7. Five-Point Perspective – Second Example
    6. Cast Shadows

      1. 1. Front Lighting
      2. 2. Side Lighting
      3. 3. Shadow Projection on a Wall or Other Surface
      4. 4. Multiple Light Sources
      5. 5. Radiating Light
      6. 6. Top Lighting
    7. Finals Projects

      1. 1. Introduction to the Final Demonstrations
      2. 2. One-Point Perspective Final Project
      3. 3. Two-Point Perspective Final Project
      4. 4. Interior Scene in Perspective
      5. 5. Drawing a Daily Object in Perspective – A Table
      6. 6. A Car in Perspective

The Complete Painting Course

  1. The Fundamentals of Painting - Basic Gestures

    20 lessons
    1. Welcome !
    1. The basic gestures

      1. 1. Choosing the right materials without breaking the bank
      2. 2. How to apply paint properly and control your brush
      3. 3. How to clean your brushes
      4. 4. How to clean your palette
      5. 5. How to paint a flat, even background
      6. 6. Creating a smooth blend between two colors
      7. 7. A practice exercise to improve blending
      8. 8. How to create your medium and follow the fat over lean rule
      9. 9. How to use Liquin
      10. 10 How to sign your artwork
      11. 11. How to varnish your painting
      12. 12. How to create an accurate drawing before painting
      13. 13. The grid method
      14. 14. A practice exercise to better master the grid method
      15. 1st Practical Exercice - Painting with only two colors
    2. Basic gestures – adaptations for acrylic painting

      1. 2 - How to apply paint properly and control your brush
      2. 3 - How to clean your brushes
      3. 8 - The acrylic medium
      4. 9 - The alternative to Liquin
  2. Master Color Mixing

    13 lessons
    1. Master color and learn how to mix any color

      1. 1 - Introduction
      2. 2 - Vocabulary and definitions
      3. 3 - Drying time
      4. 4 - Mixing primary colors
      5. 5 - Mixing complementary colors
      6. 6 - Mixing all colors together
      7. 7 - Mixing any color: theory
      8. 8 - Mixing any color: demonstration
      9. 9 - Darkening or lightening a color
      10. 10 - Creating black
      11. 11 - How to create beige
      12. 12 - How to create brown
      13. 13 - Conclusion on color
  3. Practical Exercises

    10 lessons
    1. Practical exercises to improve

      1. 2 - An exercise to paint what you really see
      2. 3 - Understanding the difference between a hard edge and a soft edge
      3. 4 - Painting an egg in black and white, then in color
      4. 5 - Painting a sphere and creating volume
      5. 6 - How to paint a white object
      6. 7 - An apple in 5, 10, 20 brushstrokes
      7. 8 - The upside-down cup
      8. 9 - Painting blur
      9. 10 - Painting drapery
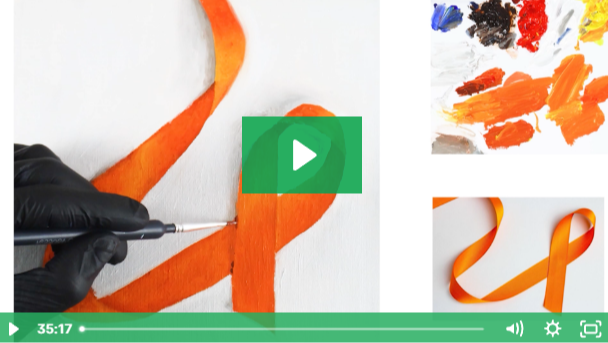
      10. 11 - The orange ribbon
  4. Our first complete subject: a beautiful composition!

    5 lessons
    1. Our first complete subject: a beautiful composition!

      1. 1 - Introduction and composition planning
      2. 2 - Materials for this painting
      3. 3 - Colors of our subject and painting the amphora
      4. 4 - Painting the flower
      5. 5 - Painting the background
  5. Painting Animals

    142 lessons
    1. How to make progress when you have little time
    2. Working specifically on fur
    1. The cat

      1. 1 - The cat: subject presentation
      2. 2 - Planning and organization for painting the cat
      3. 3 - The cat’s colors
      4. 4 - What does my drawing look like?
      5. 5 - Painting the eye
      6. 6 - The eye, part II
      7. 7 - Fur on the right side
      8. 8 - Fur on the right side, part II
      9. 9 - The ridge of the nose
      10. 10 - Fur on the left side
      11. 11 - The muzzle
      12. 12 - The whisker area
      13. 13 - The mouth and body area
      14. 14 - The background
      15. 15 - Painting the whiskers and final result
    2. The dog

      1. 1 - The dog: subject presentation
      2. 2 - The dog: planning and organization of the painting
      3. 3 - Colors of the eyes, mouth, and muzzle
      4. 4 - Painting the eyes
      5. 5 - Painting the muzzle
      6. 6 - Painting the tongue
      7. 7 - Background colors
      8. 8 - Painting the background
      9. 9 - Fur colors
      10. 10 - Fur around the eye
      11. 11 - Fur toward the ear
      12. 12 - The white area
      13. 13 - Confusing fur on the left side
      14. 14 - Lower fur
    3. The horse

      1. 1 - The horse: subject presentation
      2. 2 - The horse’s colors
      3. 3 - The horse’s eye
      4. 4 - Around the eye
      5. 5 - The upper part of the head
      6. 6 - The ear
      7. 7 - Along the head
      8. 8 - The area under the eye
      9. 9 - The right side of the head
      10. 10 - The right side of the head, part II
      11. 11 - Fur up to the muzzle
      12. 12 - The muzzle
      13. 13 - The neck
      14. 14 - The mane
      15. 15 - The chest
      16. 16 - Background colors
      17. 17 - The background
      18. 18 - Final details
    4. The lion

      1. 1 - Presentation of our subject: the lion
      2. 2 - Planning and organization of our lion painting
      3. 3 - The black background
      4. 4 - Eye colors
      5. 5 - The left eye
      6. 6 - The right eye
      7. 7 - Fur colors
      8. 8 - Under the right eye
      9. 9 - Above the right eye
      10. 10 - The forehead
      11. 11 - Above the left eye
      12. 12 - The nose area
      13. 13 - Under the left eye
      14. 14 - The whisker area
      15. 15 - Muzzle colors
      16. 16 - The muzzle
      17. 17 - Colors of the upper mane
      18. 18 - The upper mane
      19. 19 - Colors of the mane on the sides
      20. 20 - The right mane
      21. 21 - The goatee
      22. 22 - The lower mane
      23. 23 - Final details
    5. The elephant

      1. 1 - Subject presentation
      2. 2 - Organization of the elephant painting
      3. 3 - What does my drawing look like on the canvas?
      4. 4 - The eye
      5. 5 - The outline of the eye I
      6. 6 - The outline of the eye II
      7. 7 - The trunk I
      8. 8 - The trunk II
      9. 9 - The trunk III
      10. 10 - The difficult corner of the eye
      11. 11 - The upper part of the elephant
      12. 12 - The left side
      13. 13 - The remaining lower part
    6. The tiger

      1. 1 - Subject presentation: the tiger
      2. 2 - Organization of the tiger painting
      3. 3 - Eye colors
      4. 4 - The eyes
      5. 5 - Fur colors
      6. 6 - The tiger’s nose
      7. 7 - The area above the eye
      8. 8 - The ear
      9. 9 - The area under the eye
      10. 10 - The whisker area
      11. 11 - The muzzle
      12. 12 - The mouth
      13. 13 - An interesting spot
      14. 14 - The left ear
      15. 15 - Fur on the left side
      16. 16 - Lower fur
      17. 17 - The background
    7. The hummingbird

      1. 1 - Subject presentation: the hummingbird
      2. 2 - Organization of the painting
      3. 3 - Fur colors
      4. 4 - The eye and the beak
      5. 5 - The area around the head
      6. 6 - The end of the eye area
      7. 7 - The violet area
      8. 8 - The body, part I
      9. 9 - The body, part II
      10. 10 - The body, part III
      11. 11 - The tail
      12. 12 - The wing
      13. 13 - The wing, part II
      14. 14 - Mixing intense colors
      15. 15 - Continuing the head
      16. 16 - Continuing the head, part II
      17. 17 - The magenta area
      18. 18 - Continuing the tail
      19. 19 - Background colors
      20. 20 - Painting the background
      21. 21 - Painting the background, part II
    8. The parrot

      1. 1 - Subject presentation: the parrot
      2. 2 - Organization of the parrot painting
      3. 3 - Blue colors of the parrot
      4. 4 - Painting the background and the first feathers
      5. 5 - Large blue feathers
      6. 6 - Continuing the blue feathers
      7. 7 - Curved blue feathers
      8. 8 - Mixing the other feather colors
      9. 9 - Feathers on the top of the head
      10. 10 - Orange feathers
      11. 11 - Green feathers
      12. 12 - The black area
      13. 13 - Colors of the remaining areas
      14. 14 - The eye
      15. 15 - The gray area
      16. 16 - The gray area II
      17. 17 - The gray area III
      18. 18 - The gray area IV
      19. 19 - The beak
  6. Painting Portraits

    89 lessons
    1. How to make progress when you have little time
    2. A special portrait: with clearly defined areas
    1. Painting the different elements of the face

      1. The mouth
      2. The nose
      3. The eye in black and white, part I
      4. The eye in black and white, part II
      5. The eye in color, part I
      6. The eye in color, part II
      7. Skin texture: a specific study
    2. David’s head

      1. 1 - David’s head: subject presentation
      2. 2 - David’s head, part I
      3. 3 - David’s head, part II
    3. The white man

      1. 1 - The man facing forward: subject presentation
      2. 2 - The man facing forward: organization of the painting
      3. 3 - Eye color
      4. 4 - The first eye
      5. 5 - The second eye
      6. 6 - Skin color
      7. 7 - The left eyelid
      8. 8 - The right eyelid and eyebrow
      9. 9 - The forehead
      10. 10 - The left eyebrow
      11. 11 - The lower right eyelid
      12. 12 - Painting the cheek
      13. 13 - The nose
      14. 14 - The ear
      15. 15 - Hair color
      16. 16 - Painting the hair
      17. 17 - Hair, part II
      18. 18 - The beard and mustache
      19. 19 - Lip color
      20. 20 - The mouth
      21. 21 - The background
      22. 22 - The neck
      23. 23 - Final hair details
    4. The white woman

      1. 1 - The woman in profile: subject presentation
      2. 2 - Organization of the painting of the woman in profile
      3. 3 - Skin color
      4. 4 - The forehead
      5. 5 - The eyebrow
      6. 6 - Eye color
      7. 7 - The eye
      8. 8 - The nose
      9. 9 - Lip color
      10. 10 - Painting the mouth
      11. 11 - The cheek
      12. 12 - The chin
      13. 13 - Hair color
      14. 14 - Hair at the forehead
      15. 15 - The rest of the hair
      16. 16 - Final hair details
    5. The black child

      1. 1 - The child: subject presentation
      2. 2 - The child: organization of the painting
      3. 3 - Skin and eye colors
      4. 4 - Painting the iris
      5. 5 - Painting the white of the eye
      6. 6 - Painting the eyelid
      7. 7 - Painting the eyelid, continuation
      8. 8 - The eyebrows
      9. 9 - The second eye
      10. 10 - The nose
      11. 11 - The lower eyelid
      12. 12 - Painting the cheek
      13. 13 - The nostrils
      14. 14 - The ear
      15. 15 - Mouth colors
      16. 16 - The mouth
      17. 17 - The chin
      18. 18 - Hair colors
      19. 19 - The forehead and the hair
      20. 20 - The neck
      21. 21 - Final hair details
    6. The black woman

      1. 1 - The woman: subject presentation
      2. 2 - Organization of the painting
      3. 3 - Mouth and eye colors
      4. 4 - The eyes
      5. 5 - The mouth
      6. 6 - Skin colors
      7. 7 - The eyelid
      8. 8 - The forehead
      9. 9 - The lower eyelid
      10. 10 - The nose
      11. 11 - The cheek and the eyelid
      12. 12 - The ear
      13. 13 - Under the nose
      14. 14 - The neck
      15. 15 - Hair colors
      16. 16 - The hair
    7. The eye of an old woman

      1. The eye of an old woman
  7. Painting The Human Body

    51 lessons
    1. How to progress when you have little time
    2. The woman with a filter
    1. The different elements of the body

      1. The back
      2. The breast
      3. The leg
    2. The hand

      1. 1 - Presentation of the subject: the hand
      2. 2 - The palm
      3. 3 - The palm, part II
      4. 4 - The fingers
      5. 5 - The wrist
    3. The woman seen from behind

      1. 1 - The woman seen from behind: subject presentation
      2. 2 - Skin colors
      3. 3 - The back
      4. 4 - The buttocks
      5. 5 - The hair
      6. 6 - The legs
    4. The seated woman

      1. 1 - The seated woman: subject presentation
      2. 2 - Subject colors
      3. 3 - The arm
      4. 4 - The forearm and the hand
      5. 5 - The leg
      6. 6 - The foot
      7. 7 - The left leg
      8. 8 - The left hand
      9. 9 - The neck
      10. 10 - The face
      11. 11 - The hair
      12. 12 - The chair
    5. The muscular man

      1. 1 - Subject presentation: the muscular man
      2. 2 - Color mixing
      3. 3 - The thighs
      4. 4 - The calves
      5. 5 - The feet
      6. 6 - The pectorals
      7. 7 - The abs
      8. 8 - The arm
      9. 9 - The underwear
      10. 10 - The head
    6. Painting David

      1. 1 - Subject presentation: David
      2. 2 - The head
      3. 3 - The head, part II
      4. 4 - The pectorals
      5. 5 - The abs
      6. 6 - The right arm
      7. 7 - The left arm
      8. 8 - The lower abdomen
      9. 9 - The genitals
      10. 10 - The thigh
      11. 11 - The knee
      12. 12 - The feet
      13. 13 - The base
  8. Painting Still Life

    61 lessons
    1. How to make progress when you have little time
    1. Painting small elements

      1. The candle
      2. Painting glass: the glass of milk
      3. Painting metal: the hammer
      4. The apple
    2. The rose

      1. 1 - Subject presentation: the rose
      2. 2 - Painting the flower
      3. 3 - Painting the stem
    3. A classic composition with lilies

      1. 1 - Subject presentation: lilies
      2. 2 - Color mixing
      3. 3 - The first flowers
      4. 4 - The final flowers
      5. 5 - Leaf areas, small flowers, and background
      6. 6 - The vase
      7. 7 - Final details
    4. The bouquet of flowers

      1. 1 - Subject presentation: the bouquet of flowers
      2. 2 - Kraft paper colors
      3. 3 - The central part of the vase
      4. 4 - The lower part of the vase
      5. 5 - The upper part of the vase
      6. 6 - Flower and leaf colors
      7. 7 - The flowers
      8. 8 - The leaves
      9. 9 - The background
    5. Burger and fries: a contemporary still life

      1. 1 - Burger and fries: subject presentation
      2. 2 - Organizing the painting
      3. 3 - Burger colors
      4. 4 - The bun
      5. 5 - The shallot and the tomato
      6. 6 - The cheese
      7. 7 - The steak
      8. 8 - The lettuce
      9. 9 - Finishing the burger
      10. 10 - The fries and their colors
      11. 11 - The newspaper and the bowl
      12. 12 - Wood colors
      13. 13 - The bowl
      14. 14 - The wooden board
      15. 15 - The background
    6. A fruity composition

      1. 1 - Subject presentation: a fruity still life
      2. 2 - Pomegranate colors
      3. 3 - Painting the pomegranate
      4. 4 - Orange colors
      5. 5 - Painting the oranges
      6. 6 - Leaf colors
      7. 7 - Painting the leaves
      8. 8 - Cherry and date colors
      9. 9 - Painting the cherries and dates
      10. 10 - Drapery colors
      11. 11 - Painting the drapery
    7. The final artwork: a modern still life

      1. 1 - The final artwork: presentation
      2. 2 - Subject colors
      3. 3 - The coffee cup
      4. 4 - The cube and the token
      5. 5 - The dominoes
      6. 6 - The dromedary
      7. 7 - The playing card
      8. 8 - Colors of the second part of the artwork
      9. 9 - The spheres
      10. 10 - The stemmed glass
      11. 11 - The background
  9. Painting Landscapes

    47 lessons
    1. How to make progress when you have little time
    1. Small subjects to get started

      1. The cypress
      2. The cloudy sky
    2. The tree

      1. 1 - The tree: subject presentation
      2. 2 - Color mixing and painting the trunk
      3. 3 - The sky
      4. 4 - The foliage
    3. The fog

      1. 1 - The fog: subject presentation
      2. 2 - Color mixing and background
      3. 3 - The area on the left
      4. 4 - The rest of the painting
    4. The field

      1. 1 - The field: subject presentation
      2. 2 - Subject colors and painting the sky
      3. 3 - Distant trees
      4. 4 - The grass field
    5. The snowy mountain

      1. 1 - The mountain: subject presentation
      2. 2 - Colors and painting the sky
      3. 3 - The left side of the mountain
      4. 4 - The right side of the mountain
    6. The rough sea

      1. 1 - The rough sea : subject presentation
      2. 2 - The sky: color mixing and painting
      3. 3 - Sea colors
      4. 4 - Waves
      5. 5 - Backwash
      6. 6 - Sand
    7. Sunset over the sea

      1. 1 - Sunset: subject presentation
      2. 2 - The sky
      3. 3 - The sea
    8. The calm sea

      1. 1 - The calm sea: subject presentation
      2. 2 - Sky colors and painting
      3. 3 - The sea in the distance
      4. 4 - The large wave
    9. The final landscape

      1. 1 - The final landscape: subject presentation and painting organization
      2. 2 - Sky and mountain colors
      3. 3 - The sky
      4. 4 - The upper part of the mountain
      5. 5 - The forest
      6. 6 - The lower part of the forest
      7. 7 - The rocky area
      8. 8 - The slope on the left
      9. 9 - Lake colors
      10. 10 - The lake
      11. 11 - The plain and the beach
      12. 12 - Field colors
      13. 13 - Fir trees
      14. 14 - The house
      15. 15 - The field

The full course includes all lessons listed above, with lifetime access and step-by-step guidance 

Start The Course

Discover the Teaching Method Through Real Lessons

These lessons come directly from the course and demonstrate how drawing and painting techniques are explained, practiced, and applied across different subjects.

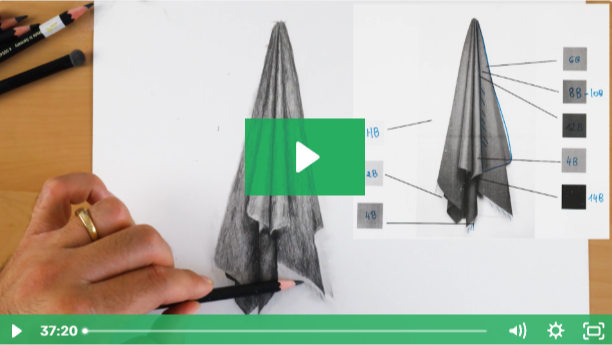
Understanding Shading and Volume From the Start

In this early lesson from the Foundations course, shading is introduced step by step to help build volume and structure. This is the very first complete drawing created in the program, and this third part focuses on putting shading into practice

A Complete Drawing Project From the Foundations Course

This final project from the Foundations section brings together proportions, shading, and observation to create a complete, realistic drawing.


How to Draw a Closed Eye With Accuracy

An excerpt from the Portrait course showing how facial features are constructed with precision, even in subtle subjects like a closed eye

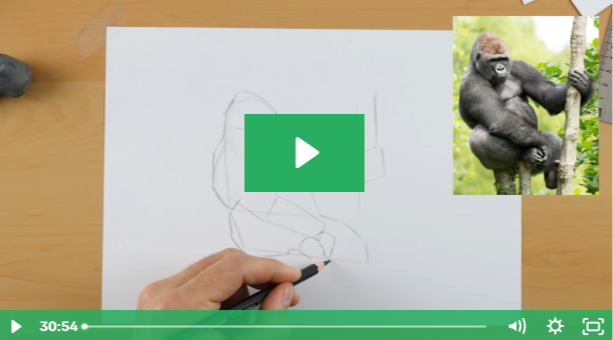
Building Animal Shapes From Simple Forms

In this introductory lesson from the Animals course, complex animal shapes are simplified to create clean, accurate contours.


Learning Brush Control Through a Simple Apple Study

A foundational exercise where the same subject is painted using 5, 10, and 15 brushstrokes to understand precision, economy, and control 

How to Lighten and Darken Colors Correctly

This lesson focuses on color control, showing how to adjust values without losing harmony or depth.


A Complete Painting Project From the Foundations Course

This final Foundations project demonstrates how technique, color, and brushwork come together in a structured painting process.

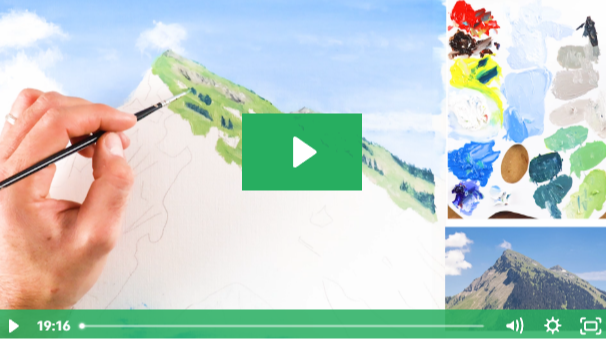
Painting Depth and Structure in a Landscape

An excerpt from the final painting of the Landscape course showing how mountains are built step by step to create depth and atmosphere within a larger composition.


Start Learning

If this teaching approach makes sense to you, the rest of the course follows the same structure and level of explanation — an approach that has helped many students finally make progress